Introduction
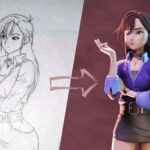
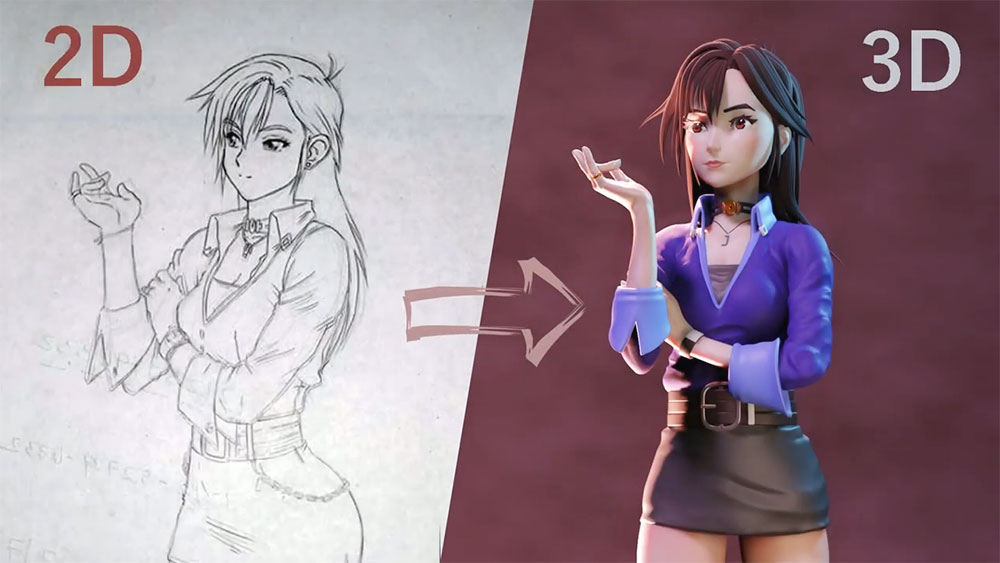
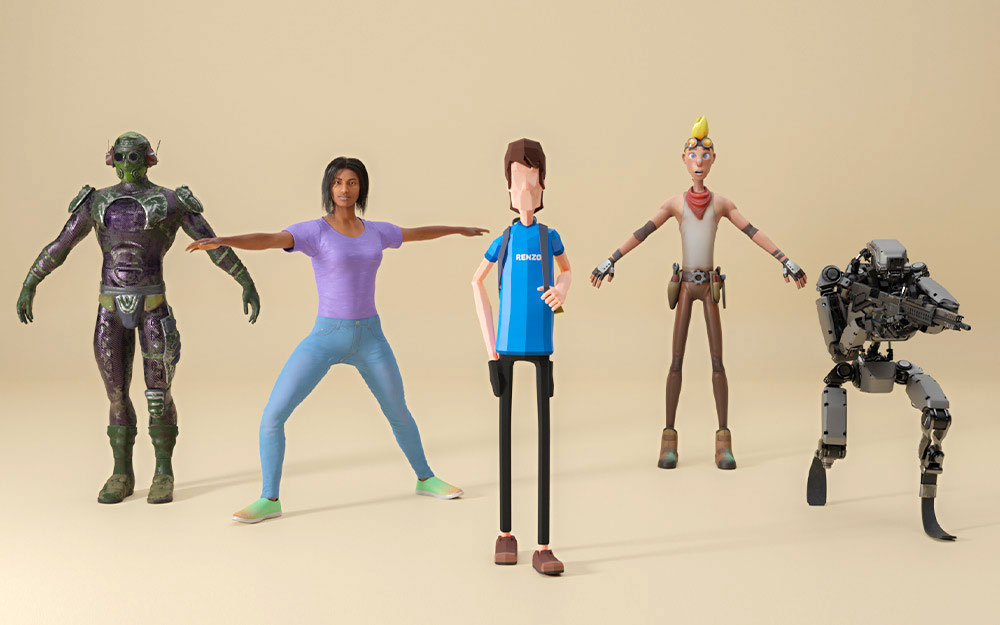
Your 3D object is good only as long as it looks realistic. The realism and details, correspondingly, can’t be achieved through creating a polygon mesh. You need textures.
That’s exactly when the subject of this article – the UV map – takes the stage. Most 3D modeling software creates the UV layout when the mesh is created. However, that doesn’t mean you don’t need to edit and adjust it to fit the requirements of a model. Then there is UV mapping and unwrapping which 3D modeling can’t do without.
Sounds difficult?

Still, these concepts only sound complicated. In reality, it is much simpler and we’re going to prove it.
What is a UV Map?
A UV map is a two-dimensional representation of a surface of the 3D object. It is constructed from UV or texture coordinates that correspond to the vertex of the model information. Each texture coordinate has a corresponding point in 3D space – a vertice. So, these coordinates serve as the marker points that define what pixels on the texture correspond to what vertices.
Note: U and V in the UV map denote the horizontal and vertical axes of the 2D texture, since X, Y, and Z are already used to denote these of a 3D space.
The UV map is vital to 3D workflow. So you can’t miss it out when you learn how to 3D model. Though most applications create the UV layout as the model is created, don’t rely on it to do all the work for you.
Very often you have to edit or even create a UV map from scratch. It is called UV unwrapping.
UV Unwrapping: Elements
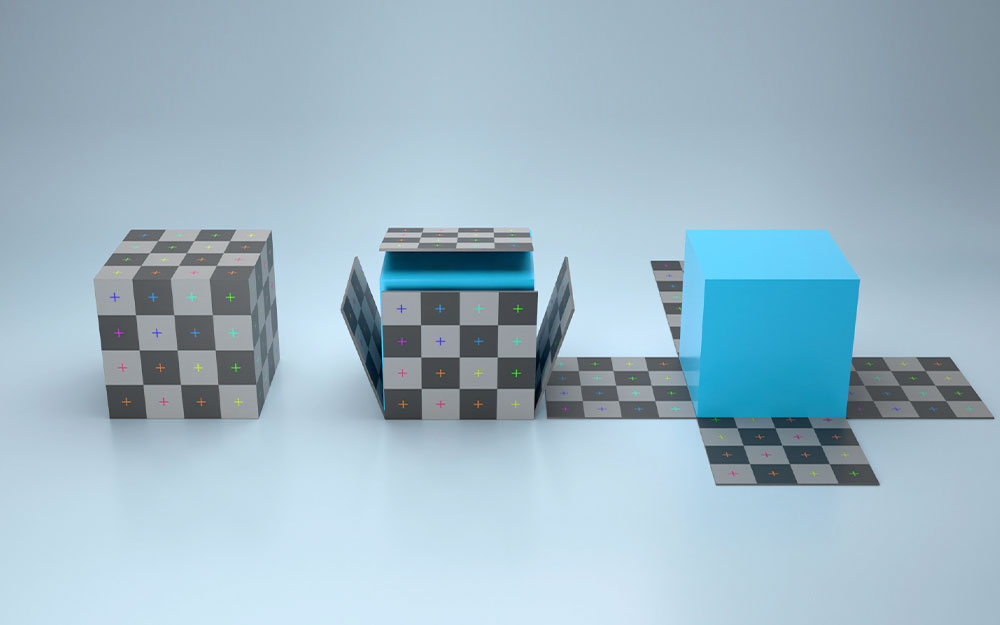
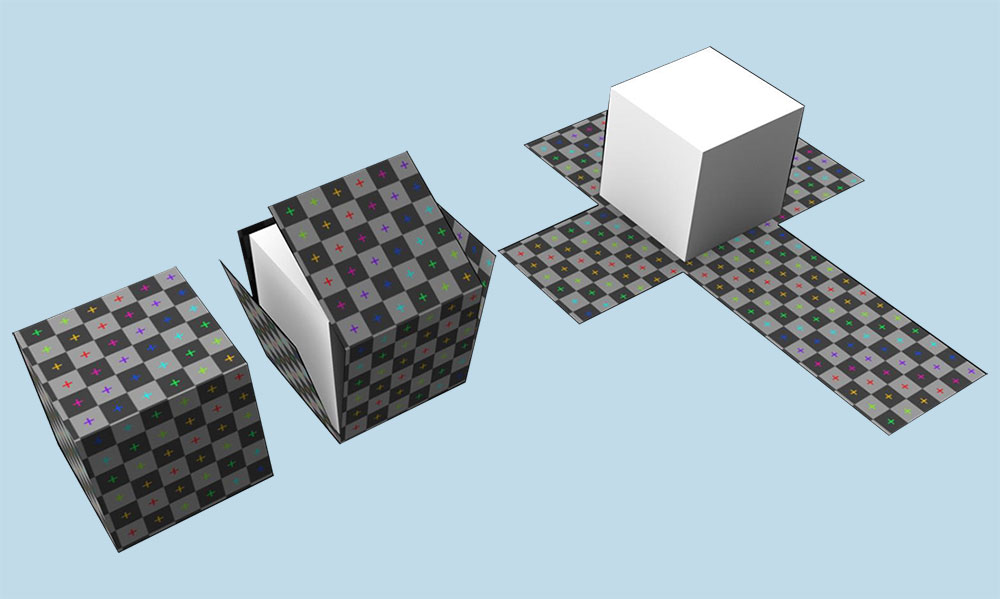
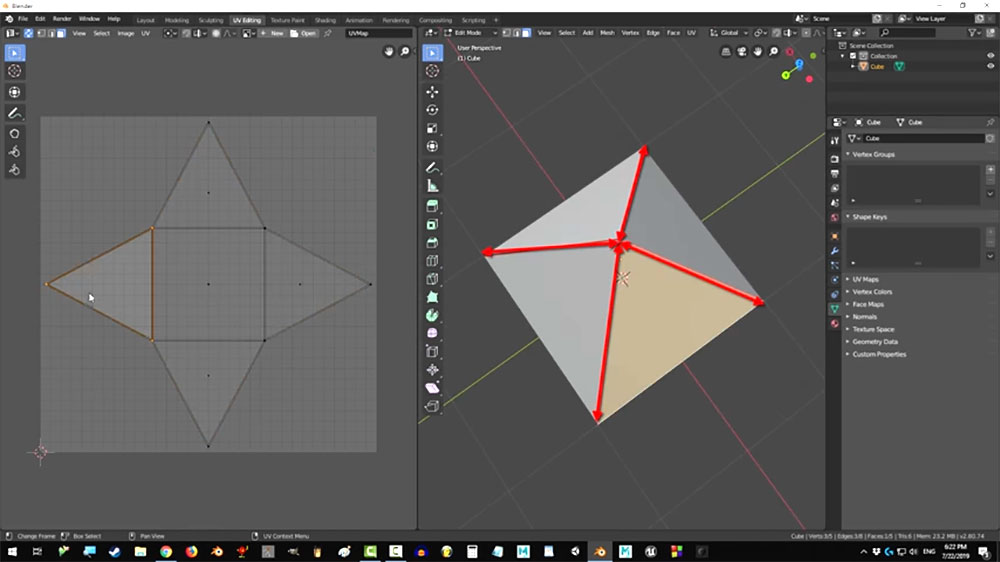
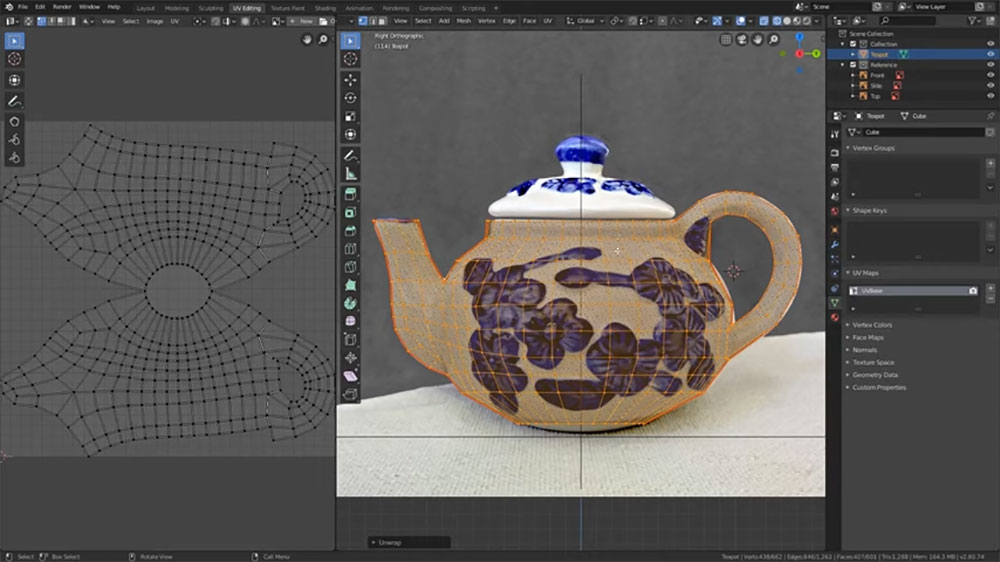
UV unwrapping is the process of unfolding or flattening your 3D geometry into a 2D representation so each polygon and face of a 3D object is tied to a face in the UV map.
Unfortunately, distortions are inevitable when you UV unwrap your model. The size and shape of polygons have and will change to fit the flattening process. So, you have to do your best to cause as few distortions as possible while keeping the seams to the minimum.
And there are other things too.
Seams
A seam is a part of the mesh you have to split to create a 2D UV map out of your 3D mesh.
If your texture isn’t stretched and the object has hard edges, splitting all the polygons could seem like a perfect option. However, it will only be a downside in the form of a large number of seams.
Is there a way around this?
You can reduce the number of seams at a price of distorted texture which eventually won’t flow around the object smoothly.
Don’t be hard on yourself. It is nearly impossible to make the seams unnoticeable. Instead, you can learn to hide them by following certain rules:
- Hide the seams behind other parts of an object.
- Use an automatic mapping projection tool to project UV maps from multiple planes.
- Make the seams follow the hard edges or cuts of the model.
- Create them to be underneath or behind a focal point of your model.
- Paint over the theme in the texture directly inside the 3D application.
Pro tip: once you create a UV map with the UV editor, create a snapshot of the UV map with the corresponding tool in your software. It will take a picture of your UV map and save it in the preferred image format. Then you’ll be able to import it in the 2D paint tool and paint onto the 3D model.
Overlapping UVs
Another pitfall you’re going to encounter when UV mapping is overlapping UVs. It happens when you have two or more polygons that occupy the same UV space. Correspondingly, overlapping UVs are when these polygons are put on top of one another and display the same texture.
Usually, you have to avoid overlapping UVs so the texture looks correct and varied. However, sometimes you may even use it intentionally to repeat the texture on multiple parts of your mesh if it’s too basic.
Note: It keeps the sizes of your texture down and makes the game engine run smoother if required, especially if the model is intended for mobile.
UV Channels
In case you need multiple UV maps for your 3D model, especially for game engines, you should explore UV channels.
Sometimes, you might not need texture maps for your model, but still, need a UV map for light baking. Many real-time engines, like Unity or Unreal Engine 4 need that. In this case, there is no place for overlapping UVs since the shadow information will be applied to the wrong parts of the model.
Alternatively, you can use 2 UV channels 一 one with the UV map for textures and the other with the UV information for lighting.
Now that we’ve covered the elements of the UV map, it’s time to delve deeper into how it is applied to the object.
UV Mapping Projection Types
While UV unwrapping is the process of translating your 3D model into a 2D representation, UV mapping is about projecting a 2D image on the 3D surface so the 2D texture is wrapped around it.
Usually, it is done through the projection technique which deploys different UV map projection types. They are usually based on simple geometric shapes which are a great way to start.
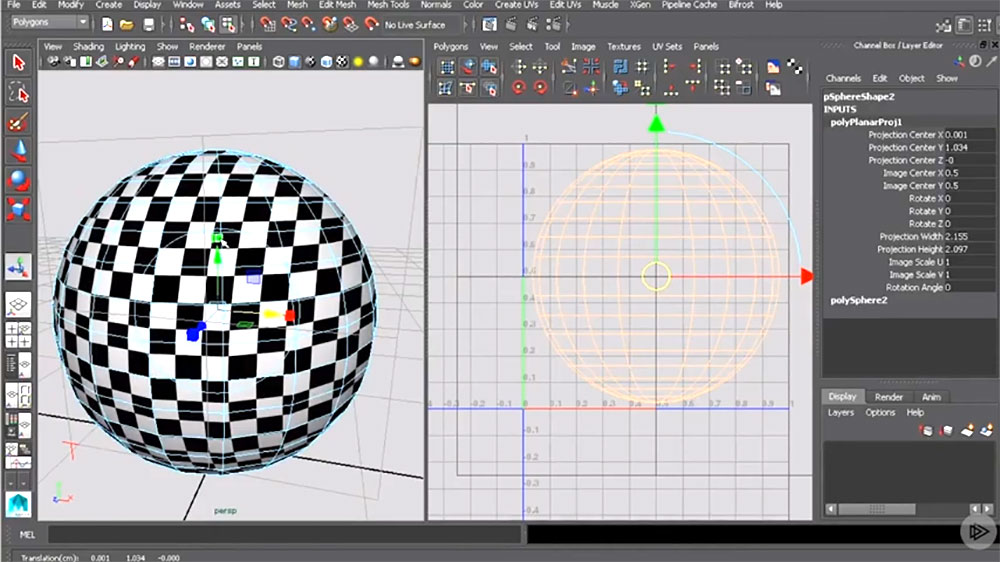
Spherical Map
As the name implies, spherical projection is used on the objects with the spherical form to wrap the texture around the polygon mesh.

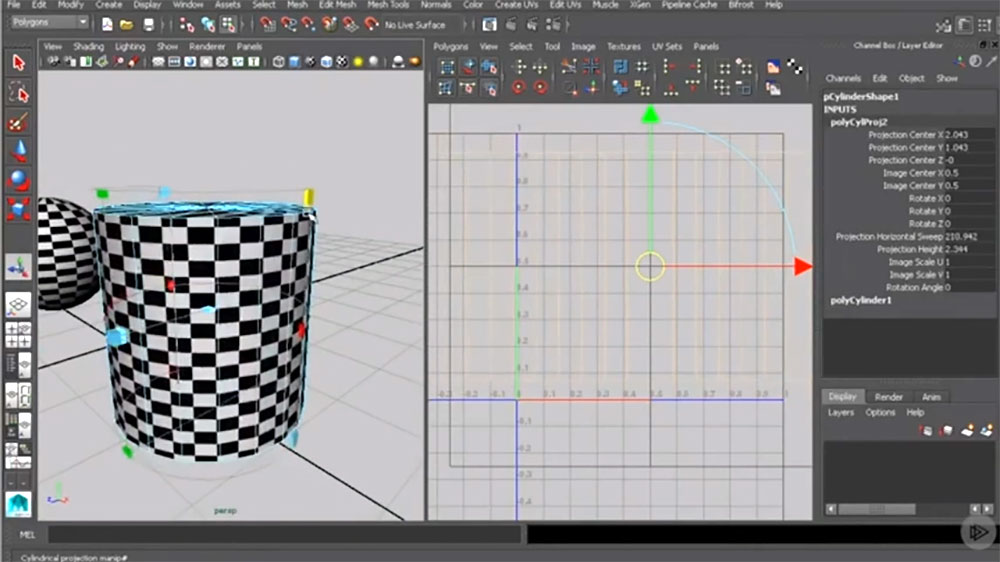
Cylindrical Map
Objects that can be enclosed completely and visible within the cylinder, like a leg or an arm, are mapped with the cylindrical projection type.
Planar Map
If a 3D object is very simple and relatively flat, planar projection is the best option to project a UV map onto it. Otherwise, if a model is too complex, the planar projection will cause overlapping UVs and distort the texture.
The same goes for all projection types we’ve just mentioned. Once you start 3D character modeling or any other type of modeling that works with complex meshes, you’ll find these projection types not very useful.
Nevertheless, you still have full control over the UV map since you can apply a different projection type to every face of the mesh to achieve better results. Besides, you can opt for some advanced features some software offers you too.
Best Software for UV Mapping
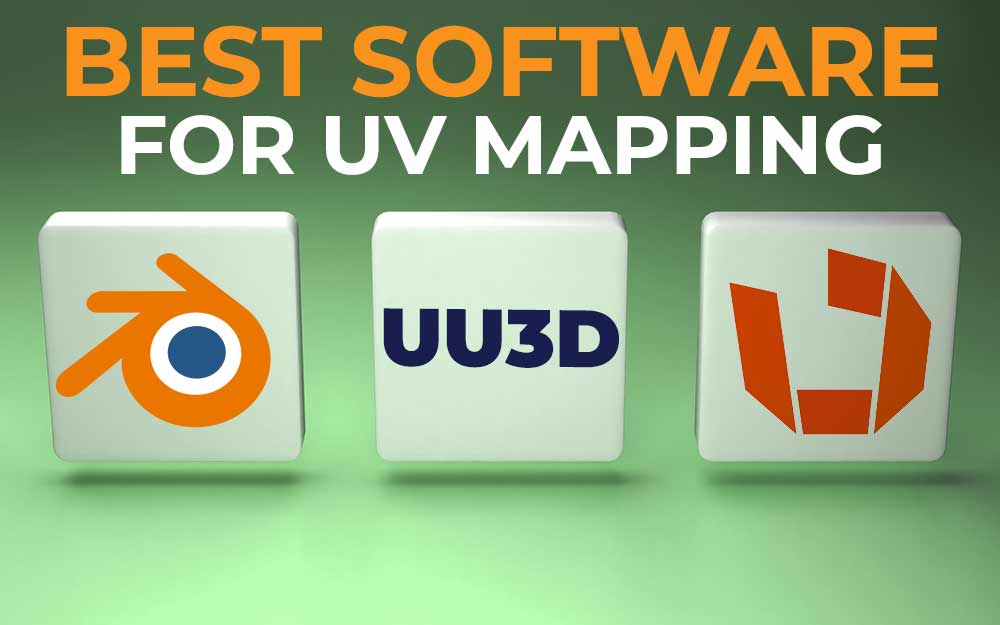
While you master UV mapping, you find out that some basic features are not enough to reach the results you aim for. That’s when using software is the best option. There are quite a lot of applications that offer you different features, but here are the top 3 you should consider:
- Blender 一 is an open-source free 3D modeling software for fast modeling. Except for all the features like the animation toolset, photorealistic rendering, simulations, and object tracking, it offers to reduce UV unwrapping from hours to minutes.
- Ultimate Unwrap 3D 一 a paid tool for Windows that allows you to infold and unwrap 3D models. Besides, it goes with a set of UV mapping projections, a comprehensive UV editor, and a camera mapping.
- Rizom UV 一 is also a paid tool with a set of features that justify the price. It offers UV copying, magnet wields, auto seams, poly loop selection, Tile/Island naming, and more.
Conclusion
UV mapping is a critical skill to know since it allows you to transition your texture onto the model smoothly. Besides, it is not only the flattened topology of your model but a basis for your map bakes.
So you have to keep mapping in mind while you create a model since a bad UV map can make even the best 3D objects look awful. Though UV mapping is a set of concepts and terms that may confuse you at first, it starts getting simpler along the way. Hope this guide helps you get one step closer to understanding UV maps better.