Introduction
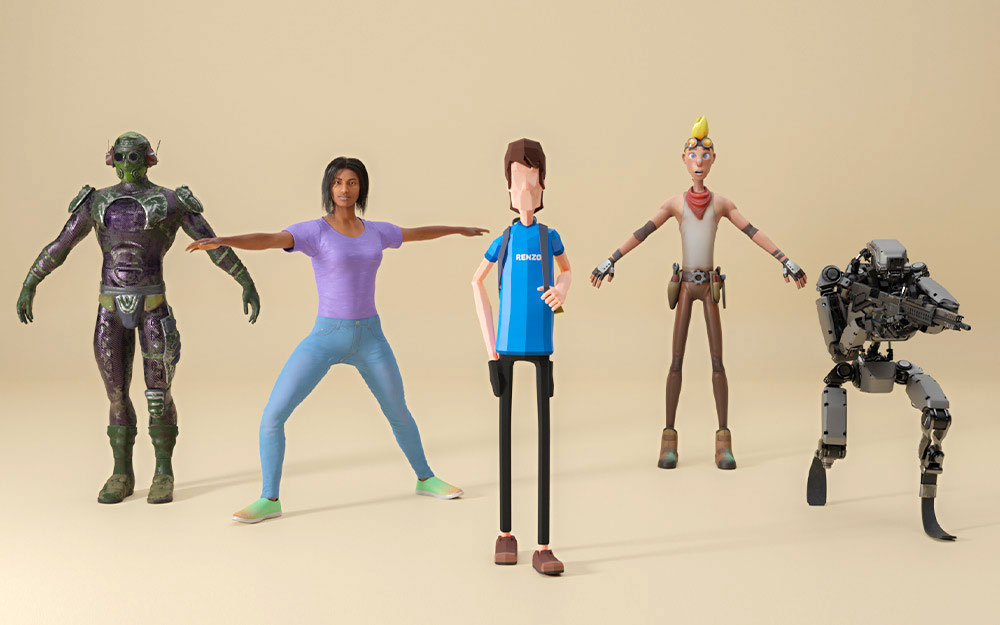
Take any modern game and remove all of the characters from it. Despite the outstanding setting, you will have nothing to play with, literally. Character modeling is a pivotal element of any 3D modeling services since they are in high demand in a lot of industries: games, movies, cartoons, marketing, etc.
Creating a 3D character model might not seem different from any other kind of modeling. But is it, since it requires a certain level of skills and multi-steps to complete a character.
In this complete guide, we’ll walk you through every stage or character modeling: from drafting basic outlines to animation and rendering and anything in between.
However, let us compare it to 2D characters first.
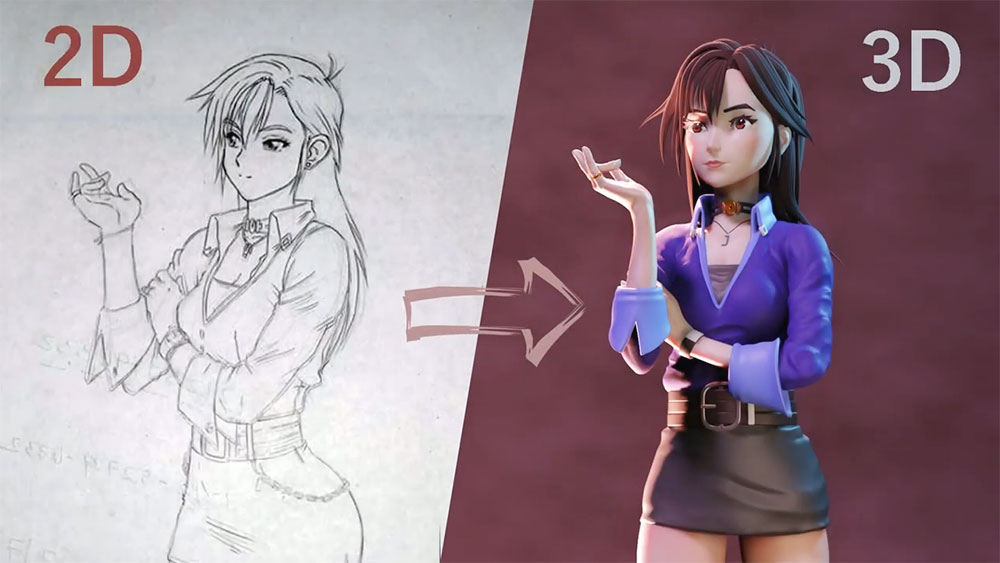
3D Character Model vs 2D Character Model
Gaming and movie industries have developed long ago and seem nothing like the ones we know now. So basically, the main difference is that you no longer use 2D in games since 3D has all the benefits.
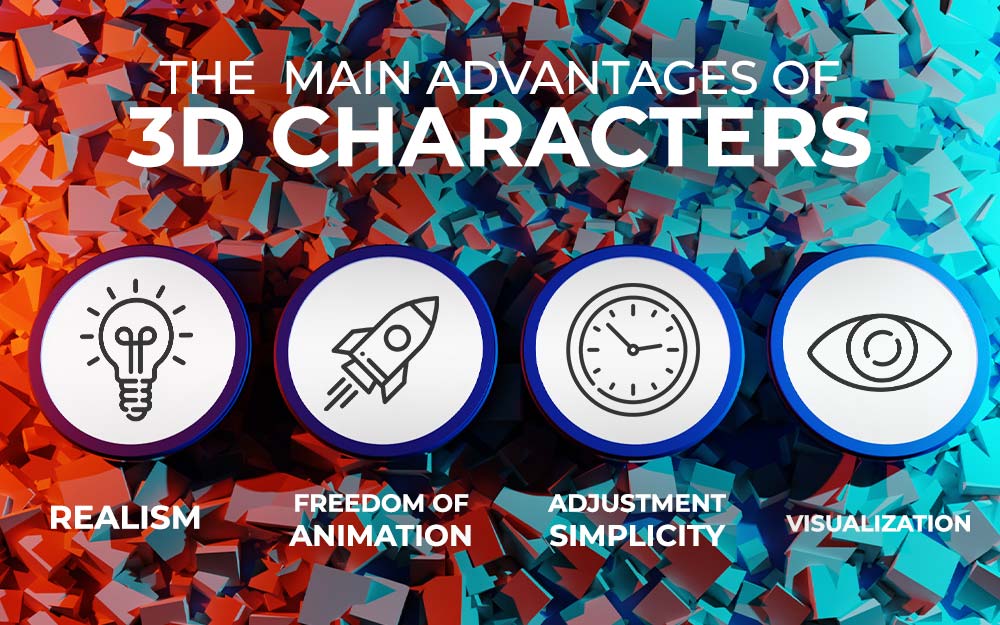
While they both have the right to exist, here is are the main benefit of the 3D character model over its 2D counterpart:
Animation 一 3D character model is easy to animate since it is already created in 3D space. There is no need to redraw it in different poses to display movements.
Realism 一 3d characters are created with photographic accuracy and an extreme level of detail, original 2D sketches just can’t provide.
Visualization 一 unlike 2D, you can view 3D characters from different angles with more color and realism.
The simplicity of adjustment 一 it is much quicker to update, adjust and reuse 3D models to create new characters or supplement the existing scenes.
No wonder 3D character modeling is more popular than 2D in games, right?
Which Technique is Best for 3D Character Modeling?
Now that you know it’s best to put your efforts on the scales of a 3D character model, it’s time to choose the technique you will use.
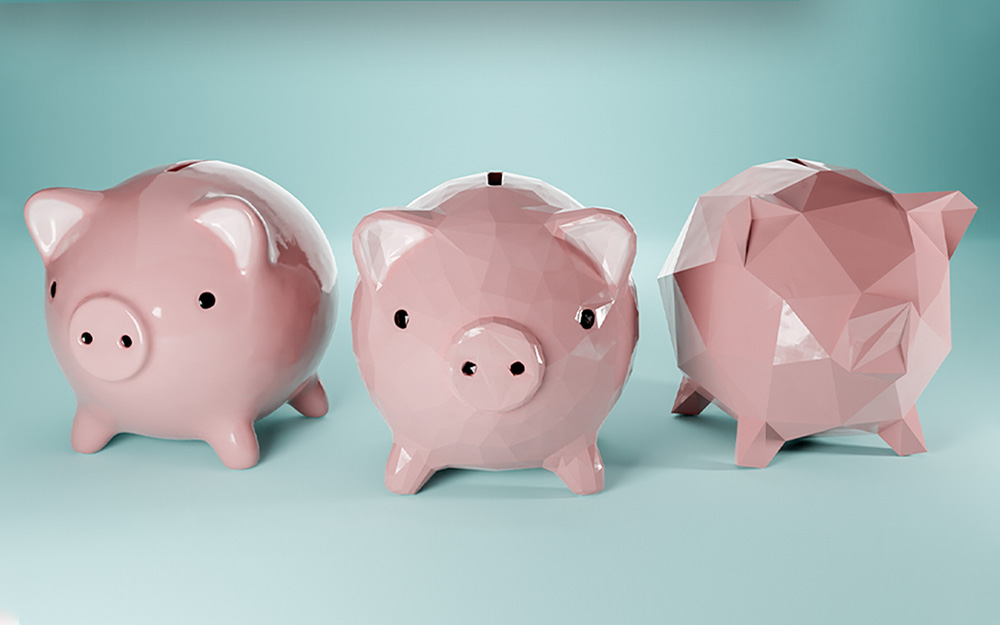
Polygon Modeling
Polygon modeling is the basic form of 3D modeling any novice or expert comes across. It is used to create 3D models with polygons that form a polygon mesh.
Modelers use this technique to create not only 3D characters, but any other game assets since polygons are easy to edit.
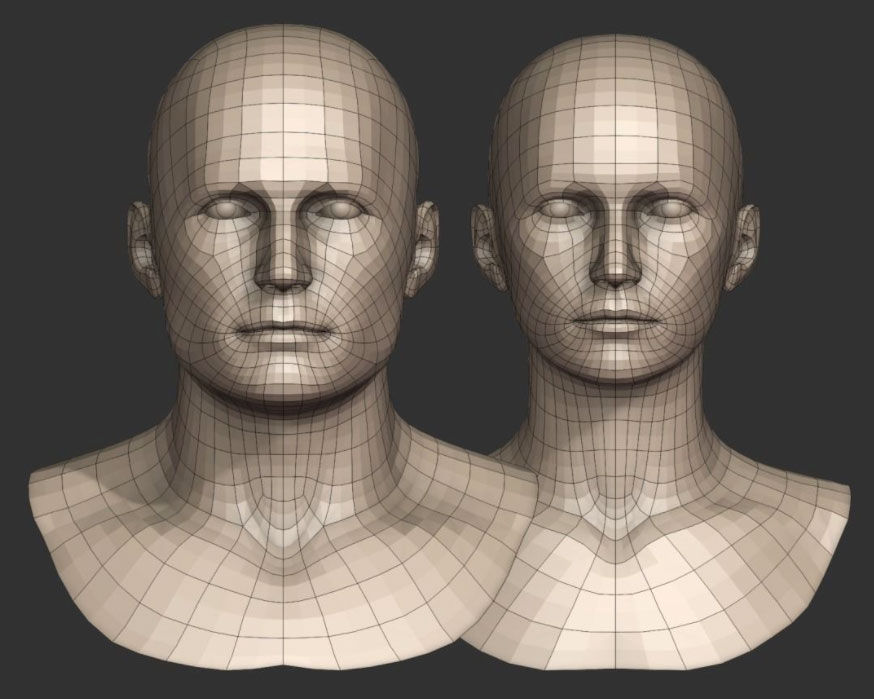
Note: to make sure your model is moving smoothly, remember to add a sufficient number of polygons on movable parts like knees and elbows by subdividing the polygons.
The best thing about this method is you can use high poly modeling to achieve finer details of the objects close to the camera. However, if you need to model background objects or characters you’ll need to learn what is LOD and use low poly.
NURBS Modeling
NURBS modeling, also known as spline modeling, is a method of creating 3D objects with flexible curves defined by complex mathematics. Applying this technique makes the 3D character model smooth.
Still, there is a disadvantage.
Individual parts of the model set by the mathematical formula are hard to edit. You can’t edit it without violating the integrity of the whole model. So, the NURBS technique is used less often when it comes to character modeling.
3D Character Modeling Process
As mentioned before, creating a 3D character model is a multi-step process that you should cast a look at before you start. So, now we’ll go through it step-by-step.
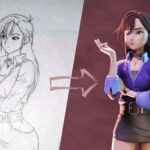
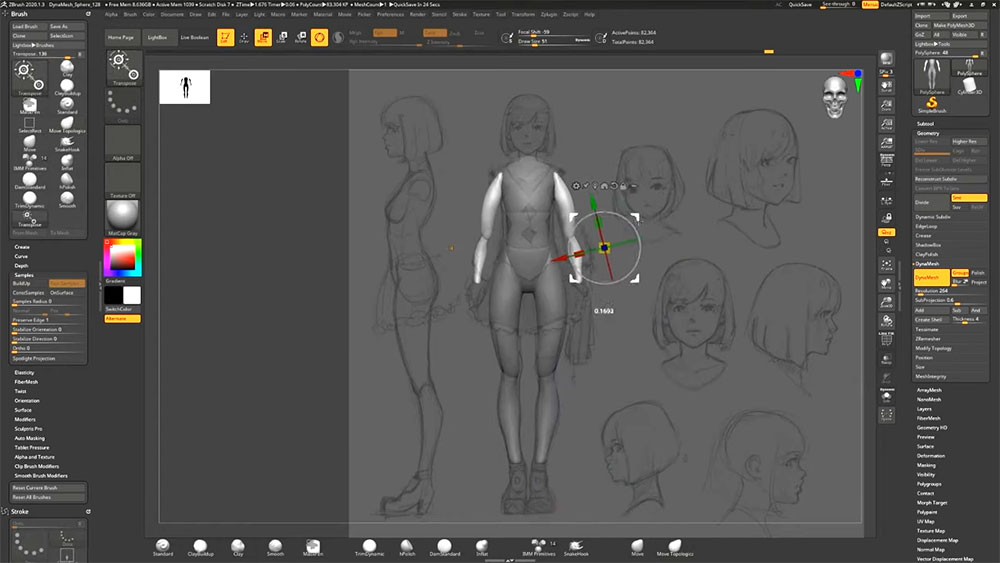
Step 1: Creating Basic Design
The very first step in this process is to create a sketch of your future character model with the outline and all of the major features. There is no need to dive deep into details right from the start. It is enough to have an idea of the size and shape of the model to create front and side views.
You can start with a simple 2D drawing or draft the sketch in the 3D modeling software. Most of them provide that. Once you finish with the outline, place the cube or any other basic geometry to sit in the X, Y, and Z planes. It should correspond to the top, bottom, and sides of your object.
If you want to get more into your character concept you can also draw additional images of different movements, features, and costumes before you move on. But that’s not a necessity at this stage.
Step 2: Character Modeling
When the basic ideas are finished, the actual modeling process begins. That’s the longest stage in 3D character modeling that also includes several steps.
Blocking
Blocking is the stage when you combine different primitives to create the basic shape of your future model. This forms the basic outline of your character, including face, body, skeleton, and muscle frame. For example, you can combine several cubes and cylinders to fit your 3D character form which you’ll stylize later.
At this stage, you’ll understand that character modeling requires certain knowledge of anatomy to get the harmony of proportions even in hypertrophied forms.
Sculpting
One of the most important parts of the 3D character modeling process is digital sculpting. Artists use something similar to digital clay to form a high level of detail.
That’s where many of you might wonder why we didn’t include it in the character modeling techniques.
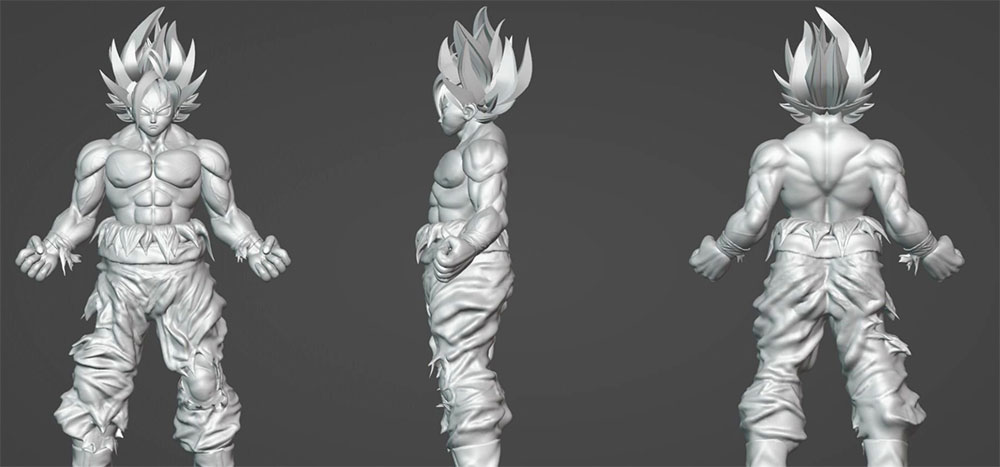
The thing is sculpting is used to create hyperrealistic details of the object that you couldn’t otherwise achieve with traditional modeling techniques. Still, it is best to use sculpting at this stage to create more details by inserting them into your polygon mesh.
Retopology
The topology of a 3D character model that will be animated is as important as the proper number of polygons. The structure of the surface determines the visual characteristics of the object and makes some details voluminous.
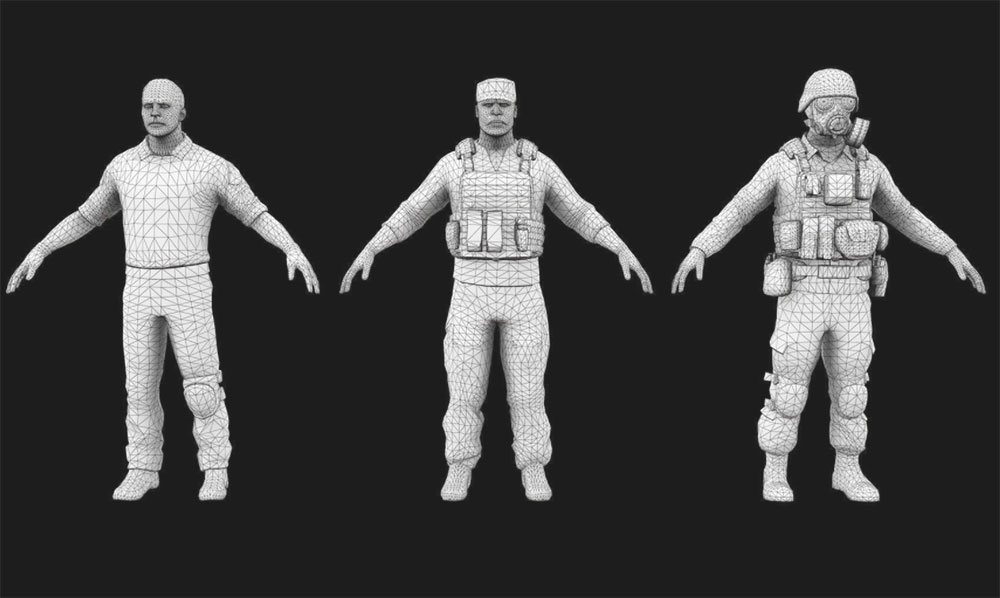
However, precise 3D characters need to have an ideal topology where the number of polygons doesn’t influence their quality. That is why you have to retopologize your model to organize and align polygons locally. In other words, retopology aims at reducing the number of polygons in a model so the animation runs smoothly.
Unwrapping and Baking
The last thing in the character modeling stage before you can move it into the UV mapping and texturing stages is UV unwrapping and baking. You need to create a 2D representation of your 3D character model and bake it.
This was the last step in modeling a 3D character. But there is also one more to go through to make it complete.
Step 3: Texturing
Even if your 3D character model has impeccable details after you sculpt it and finetune the forms, you still need texture. It brings life to your model and makes it more real-like by applying color and surface.
Typically, 3D characters have complex textures. So, once you UV unwrap your model you have to use the texture paint tool to apply multiple surface and color attributes like bumps and occlusions.
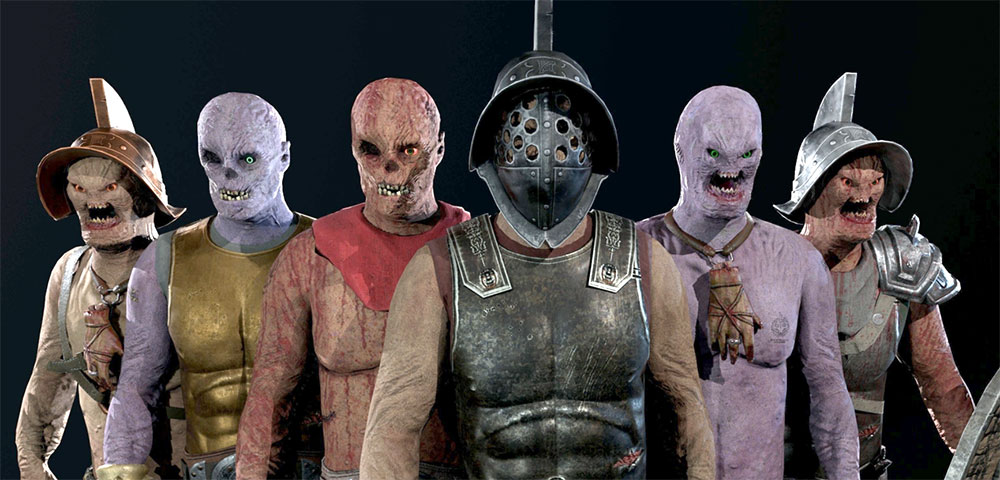
Those are micro details that matter the most after all. You need the texture to help you cover light effects, reflections, and other physical properties to make your 3D character realistic.
Note: creating shades and setting basic colors requires you to apply different texture maps to your model. Only after this, you can use the material textures to finish up.
Once you texture your 3D character model it is considered complete. All of the other stages need to be covered only in case you want to animate your model. And since 3D characters usually are animated, we have to cover them for you too.
Step 4: Rigging and Skinning
Character animation is a whole new level of 3D modeling. It requires you to know your character joint structure and how they operate to make your model move. For that, it also requires “preparation” in the form of rigging and skinning.
Rigging is the process of creating a virtual skeleton of your 3D character model that defines the main points to integrate the body of your character together and make it move.
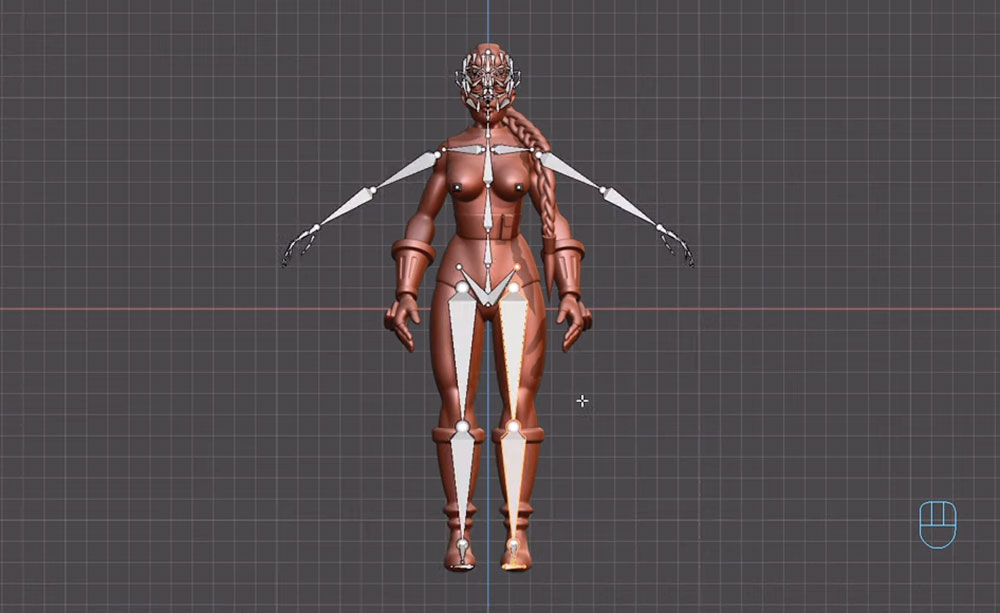
Pro tip: to create a balance between flexibility and realism of your character model movements you usually need from 20 to 100 bones. However, large bone numbers make it hard to manipulate.
Most 3D modeling software comes with ready-made skeleton samples. However, the rig must be consistent with the design of the model. Pay attention to that.
Next comes skinning that you use to secure the surface of the model and the skeleton together. The quality of skinning defines how a 3D character model appears when performing any actions. Once you skin the model, it is ready to be animated.
Step 6: Animation
Animation is the ultimate step in the 3D character modeling pipeline. It deserves a separate article, but we’ll delve into a few nuances to help you understand it better.
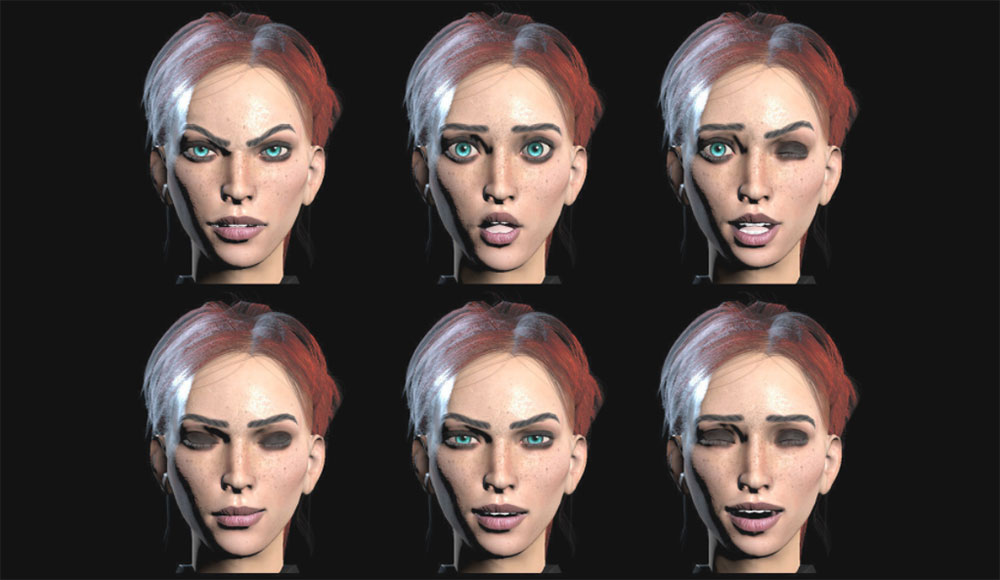
At this point, you breathe life into your 3D character. You animate its body movements, create facial expressions and evoke emotions to make it as close to real as possible. Usually, you use special tools to create all of these gestures and manipulate separate body parts.
But how does it usually work?
As you know, the animation is a series of static images with different details. To reach the maximum realism of the movements, artists use keyframe animation. They define the character position in the first and last frames. All of the other frames are calculated by the program.
It may sound complicated, but in reality, it is much simpler.
Top 3D Character Modeling Software
At this point, you might be agitated to jump right into the 3D character modeling process. It is totally justified since character modeling is extremely popular right now.
However, before you do, you need to choose reliable software that will help you go through all of the stages we’ve just covered.
1. 3d Max
It is a paid 3D modeling software that is worth your while. It is one of the most popular character modeling software out there. It provides ready-made models and is compatible with most plug-ins and add-ons. 3d Max will help you to create not only 3D character models but a game environment and the whole world.
The only drawback is that novices might find it overwhelming. So it is used mainly by professionals.
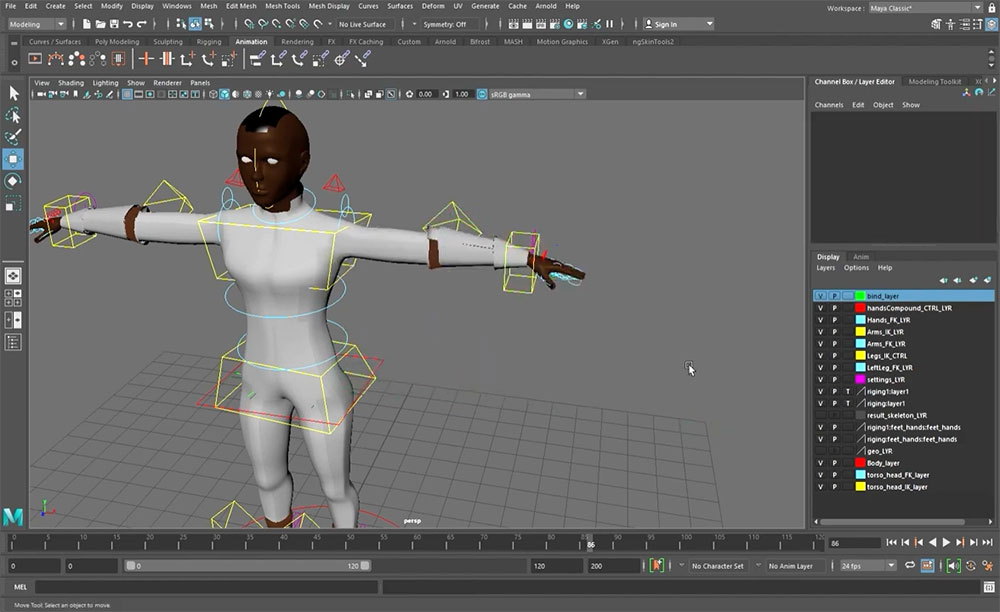
2. Maya
Same as 3d Max, Maya is the Autodesk-native software for the character animation stage. Already rigged and skinned models are imported into Maya to get the finest details. It allows artists to work on the smallest movements of hair, clothes, and facial expressions. Maya offers a large set of tools and outstanding rendering capabilities to make the most out of the model.
3. Blender
If you’re new to 3D character modeling, Blender is the best way to start with any level of knowledge and budget. This is the most popular free option for creating 3D character models and any other 3D objects. Though many of you might get confused with the interface, there are plenty of tutorials and guides to get you going with any character modeling type.
4. ZBrush
Looking for the standalone modeling and sculpting tool you must come across ZBrush. It is the software-best suited for organic forms which game 3D characters usually are. So it is the best fit if you want to not only model and sculpt an object, but create a UV map, add texture and prepare it for rendering. It seems it does all of the same things as Blender, so there appears to be a never-ending battle of Blender vs ZBrush.
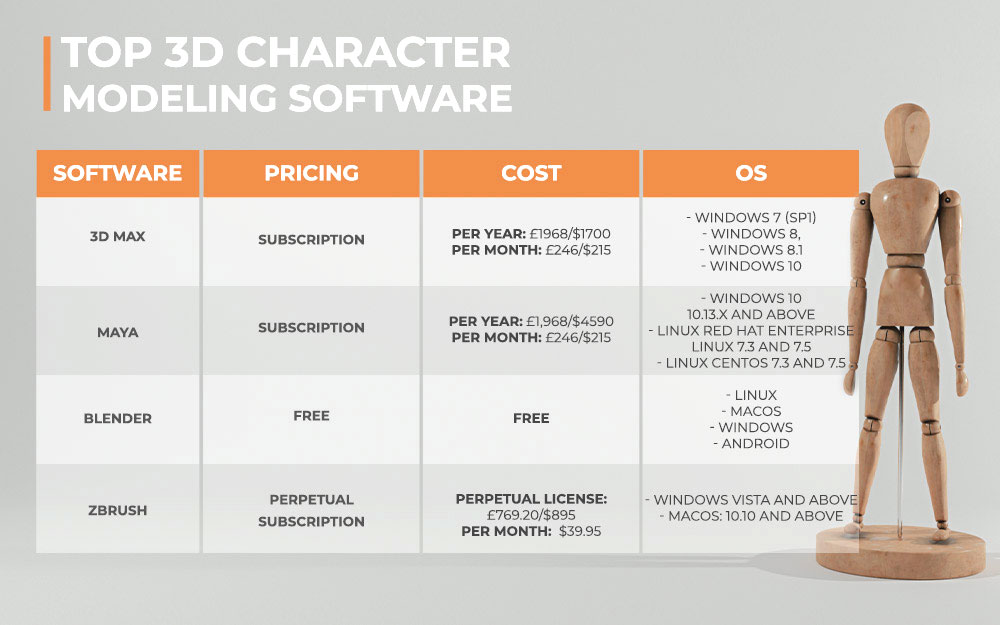
| Software | Pricing | Cost | OS |
| 3d Max | Subscription | Per year: £1968/$1700 Per month: £246/$215 | – Windows 7 (SP1)- Windows 8, – Windows 8.1 – Windows 10 |
| Maya | Subscription | Per year: £1,968/$4590 Per month: £246/$215 | – Windows 1010.13.x and above- Linux Red Hat Enterprise Linux 7.3 and 7.5- Linux CentOS 7.3 and 7.5- Apple macOS |
| Blender | Free | Free | – Linux- macOS- Windows- Android |
| ZBrush | Lifetime Subscription | Lifetime license: £769.20/$895 Per month: $39.95 a month | – Windows Vista and above- macOS: 10.10 and above |
Each of these character modeling software gives you a unique set of features you need at each stage. Nothing stops you from starting simple and moving towards complexity.
The 3D character modeling is full of challenges and pitfalls you have to and will come across along the way. However, it is also deeply satisfying and rewarding since you create something unique every time.
Hope this step-by-step will help you get into the process faster: right from the start and till the animation.