Introduction
A polygon mesh is a word used in 3D modeling so often, its meaning has almost faded away. So, if you want to learn what is 3D modeling, you have to delve into the polygon mesh concept too.
In this short guide, we’ll shed some light on its basic components, and the process in general to give you a better idea of a polygon mesh.
What is Polygon Mesh?
A polygon mesh is the collection of vertices, edges, and faces used to define the shape and the contour of the 3D object. It is the oldest form of geometry representation used in computer graphics to create objects in 3D space.
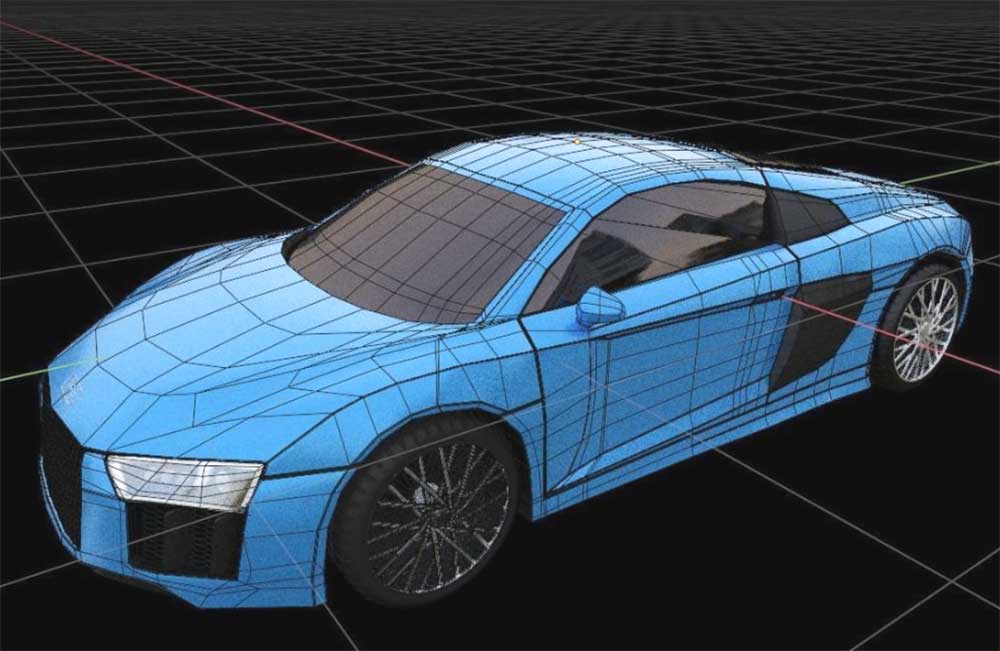
The idea behind it is simple. Polygon stands for the “planar” shape made out of connecting virtual points. But polygon mesh is far more than that.
So, let’s get into more detail here.
Polygon Mesh: Elements
Though the concept of the polygon mesh is a little blurry, it all comes to be simple once you study the geometry behind it.
These are the elements of a polygon mesh:
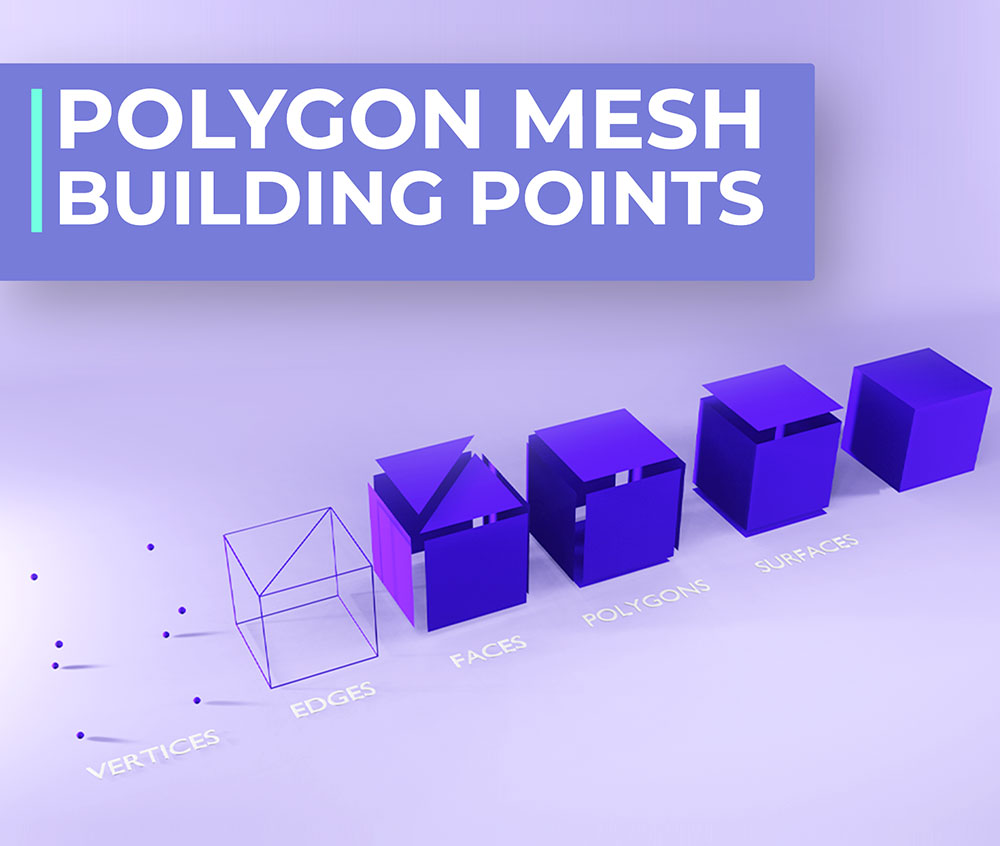
- Vertices 一 points in 3D space that comprise a face and store the x, y, and z coordinates information.
- Edges 一 lines that connect two vertices.
- Faces 一 closed set of edges where three-edged face forms a triangle mesh and a four-edged face 一 a quad. Faces contain surface information used for lighting and shadows.
- Polygons 一 a set of faces (usually when you have more than four connected vertices).
- Surfaces 一 groups of connected polygons that define different elements of the mesh.
Note: usually you want the number of vertices that make up a face to be in the same plane. However, if you have more than three vertices, polygons can be either concave or convex.
Except for all the elements we’ve already discussed, it’s important to mention the UV coordinates too, since most meshes support them. UV coordinates comprise the 2D representation of a 3D object to define how the texture is applied to it while UV mapping.
Though polygon mesh finds application through a variety of techniques, it is not the ultimate solution. There still are objects that you can’t create with the mesh representations.
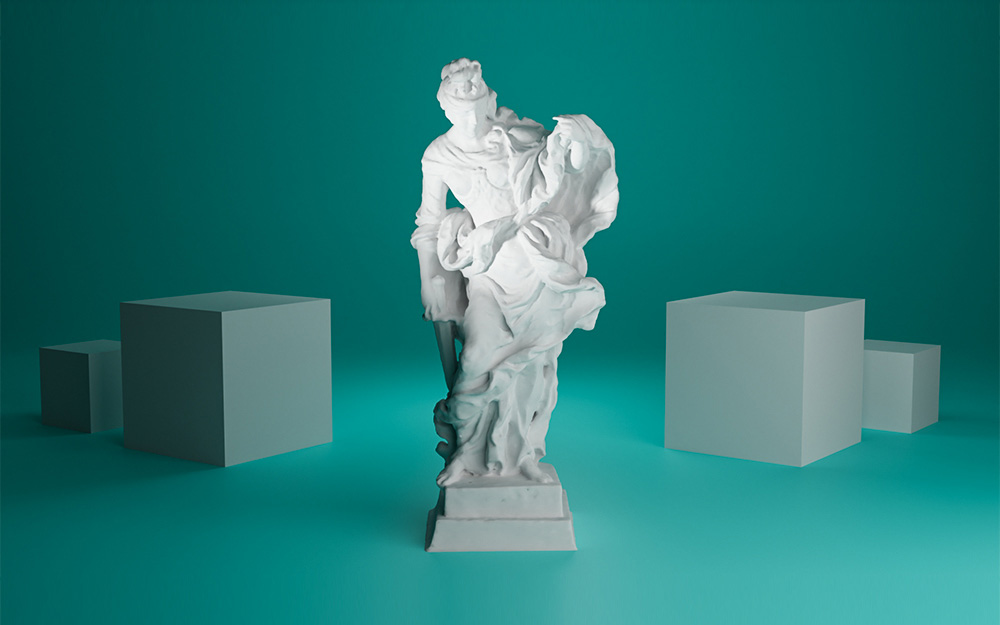
It can’t cover curved surfaces and organic objects generally. Not speaking about liquids, hair, and other creased objects which are hard to create with the basic polygon mesh.
Construction Of Polygonal Meshes
Before we get into more details of the polygon mesh creation process, we’d like to cover the most common tools you use for constructing them.
Though you could create a polygon mesh manually by defining all the vertices and faces, the more common way is to use specific tools.
Subdivision
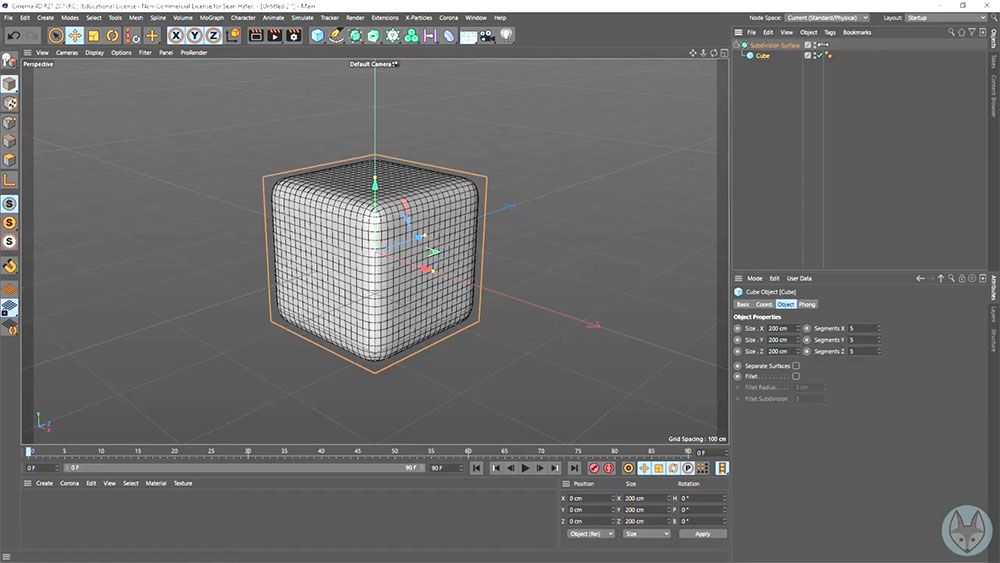
The Subdivision tool, as the name implies, splits edges and faces into smaller pieces by adding new vertices and faces. The old vertices and edges define the position of the new faces. However, it may alter the old vertices connected in the process.
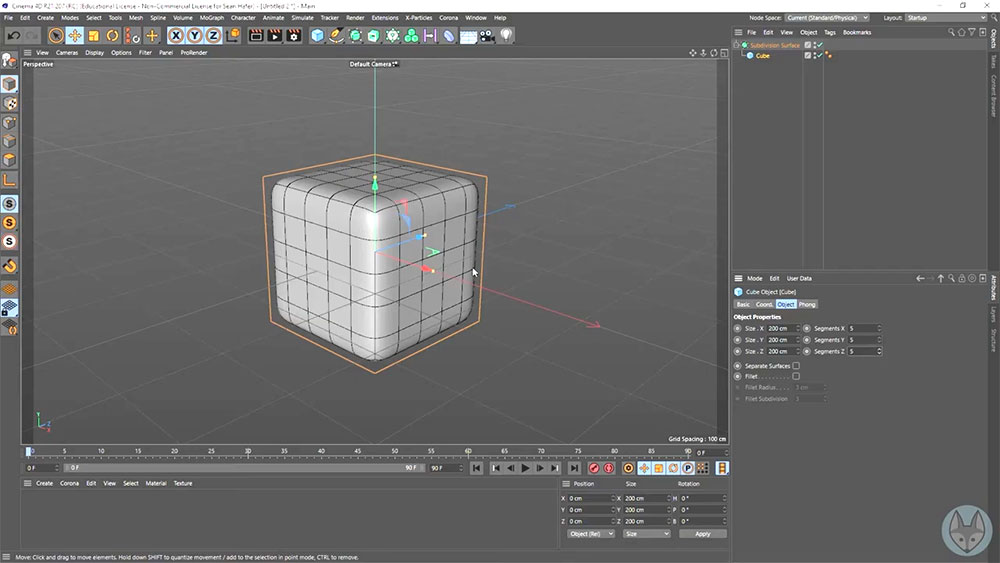
e.g. You can subdivide a square face into four smaller squares by adding one vertex at the center and each side of a square.
Generally, subdivision produces a much dense mesh with more polygonal faces and has practically no limit. It can continue infinitely many times until you create a more refined mesh.
Extrusion
In this method, the outline of the entire object is traced from the 2D image or drawing and extruded into 3D. Extrusion tool applied to a face or a group of faces to create a new face of the same size and shape.
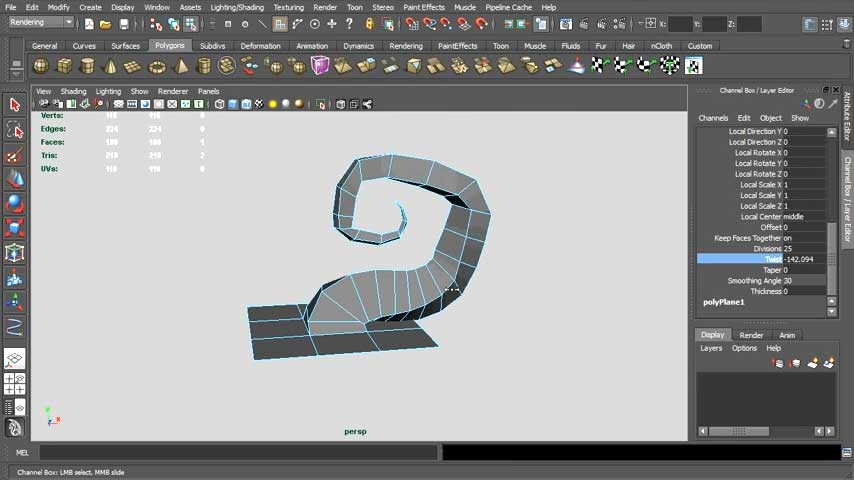
In other words, modelers create half of the object, duplicate the vertices, invert their location in relation to some plane and connect two parts. It is very common in modeling faces and heads to reach more symmetrical forms.
Conjunction
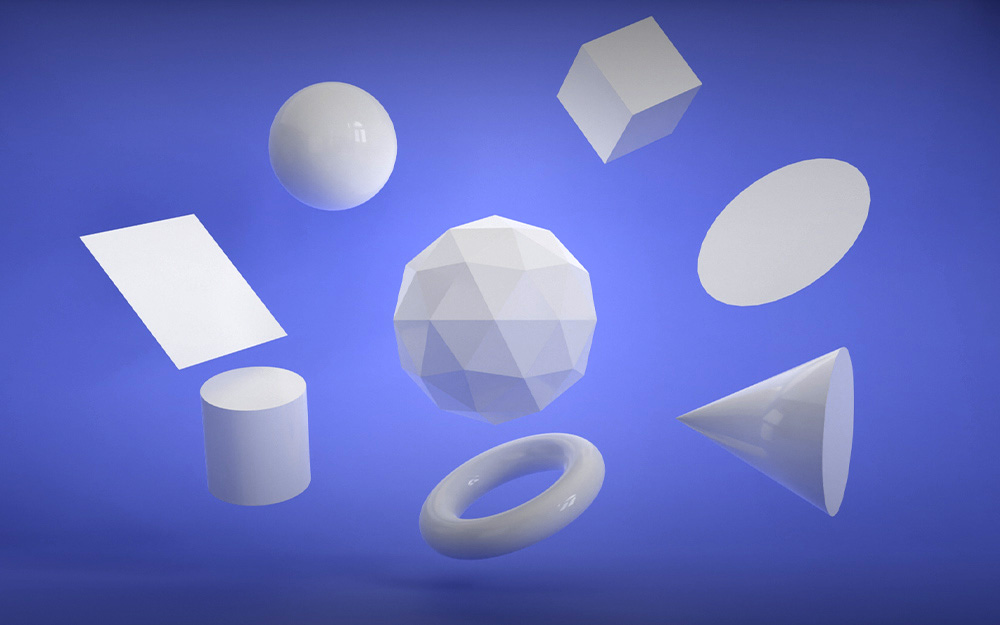
The last but not least method of creating polygon mesh is connecting different primitives 一 predefined polygonal meshes provided by most 3D modeling software. They include cylinders, cubes, pyramids, squares, discs, and triangles.
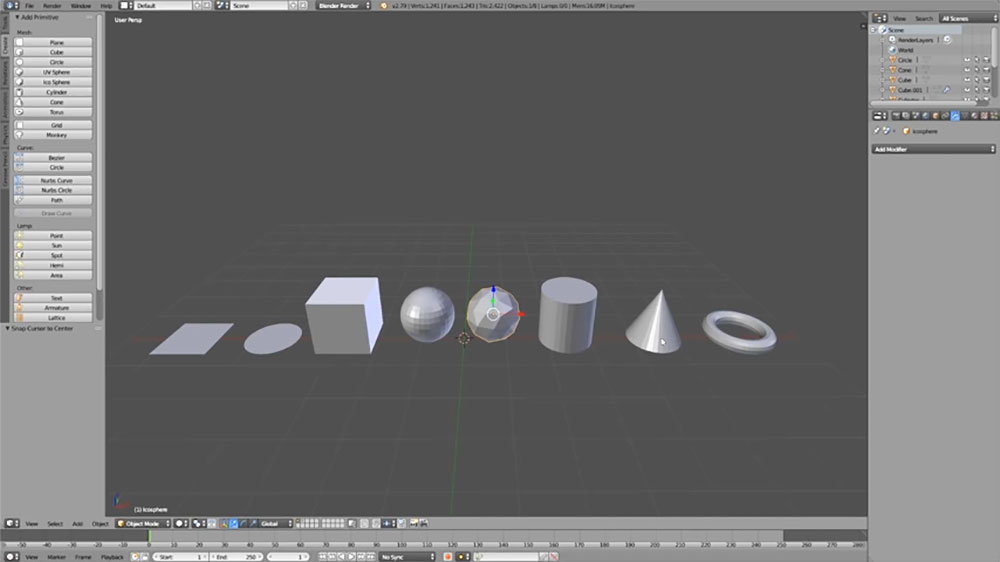
Now let’s walk you through the process of creating a polygonal mesh.
How Do You Create a Polygon Mesh?
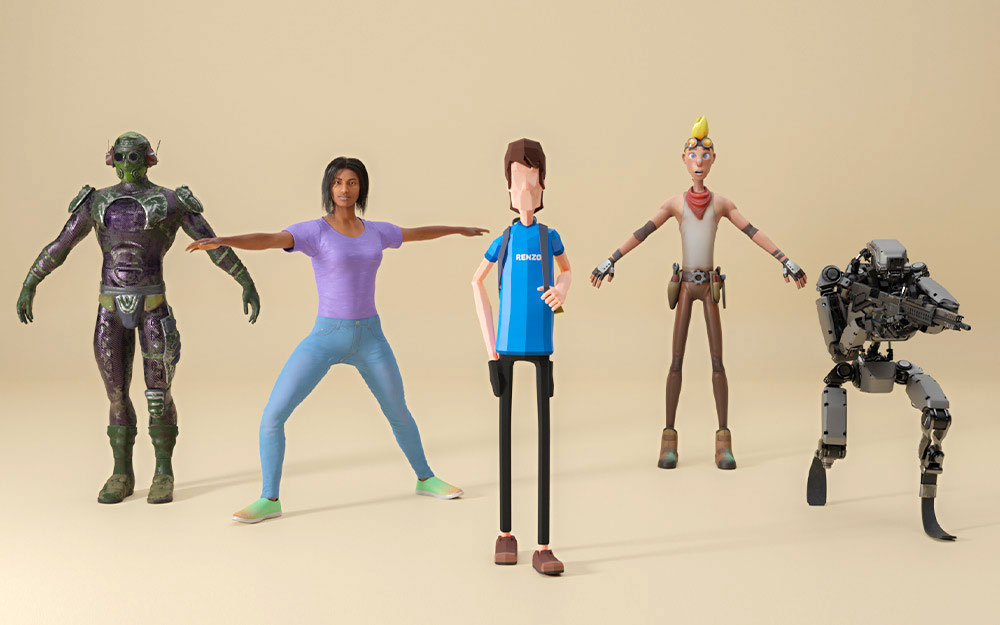
Whether it is a video game, 3D product, or cartoon character you’re modeling, it all starts from a mesh. That’s why all of the most popular 3D modeling software, like Maya, 3d Max, and Blender, provide you tools for creating, texturing, rendering, and animating 3D polygon meshes.
Creating polygon mesh usually starts from drawing the basic shapes of the future object from different angles. At least front, and side views.
The actual modeling process starts from creating a low poly model to define the general forms of the object. To add on details to your input mesh, you move it into a high poly modeling stage and increase the number of polygons with any construction tool you like.
Note: higher number of polygons makes your model resource-heavy and hard to process on applications with small computational power. Keep that in mind while creating your model.
Once modelers reach the intended level of detail with the polygon mesh, they texture the object to make it more real-like. However, adding basic color doesn’t cover it.
To make a model look like a variety of surfaces and even apply each plane a unique texture, 3D modelers map places of the mesh on an image. That’s exactly when UV coordinates come into play.
And that covers it.
That’s the final step for your polygon mesh, but not your model. If you want to animate your object, it also has to go through the rigging and any other part of the 3D animation pipeline.
To see how this all works in action, check this awesome guide:
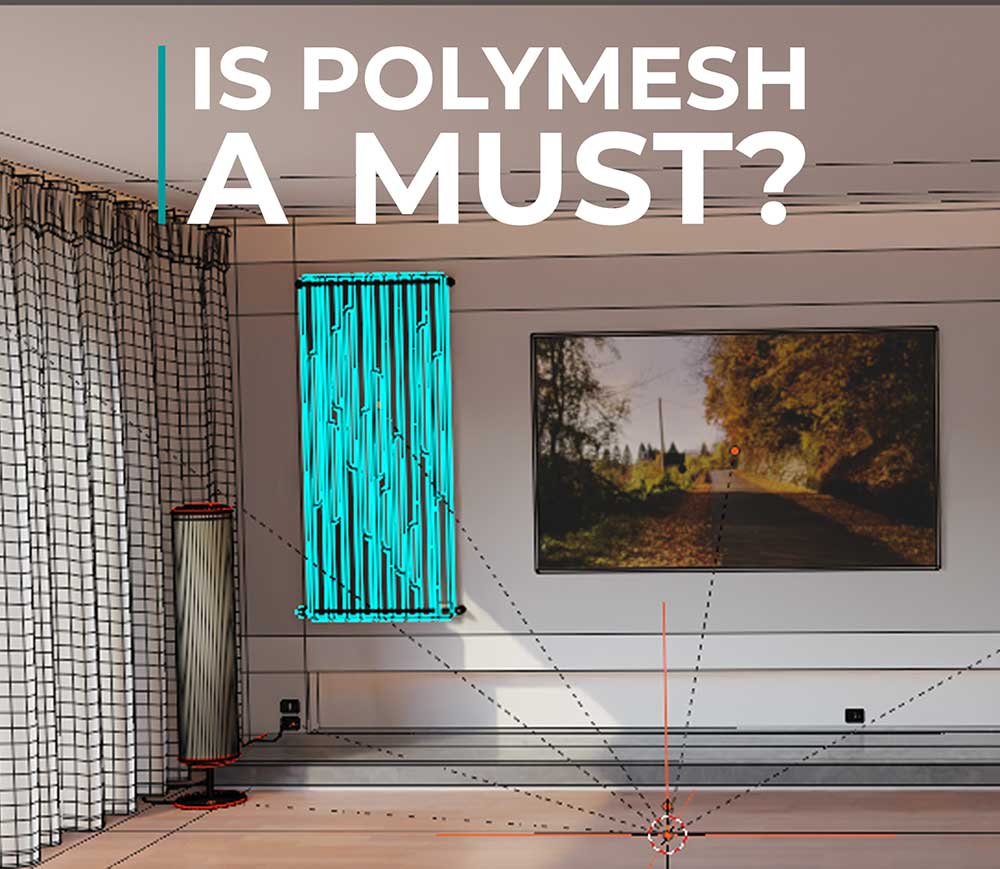
Is Polygon Mesh a Must?
Once you read through the article, you’ll know the answer to this question. It is the basis of 3D since almost all modeling techniques use it. That draws a conclusion that you can’t really learn how to 3D model without learning about what a polygon mesh represents first.
At least now you know more about its basic elements. All you need next is to leverage that knowledge and dive into modeling.
