

Free AI rendering for architecture
From a screenshot of your 3D model
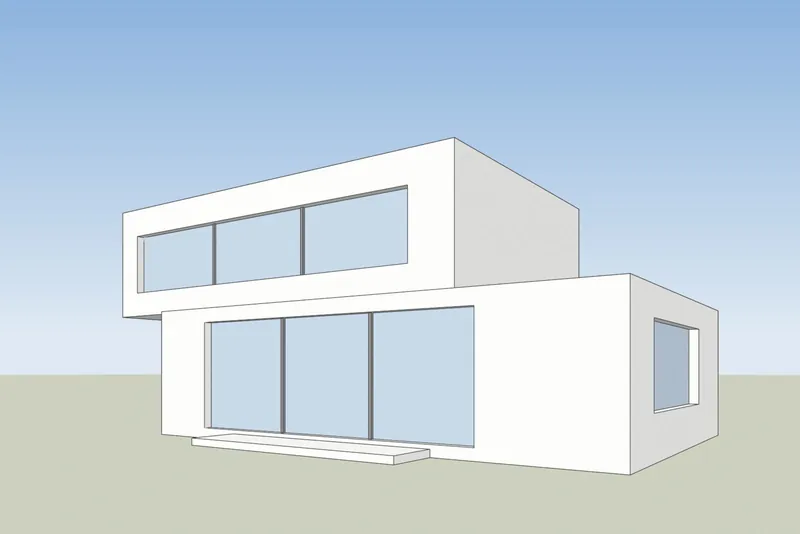
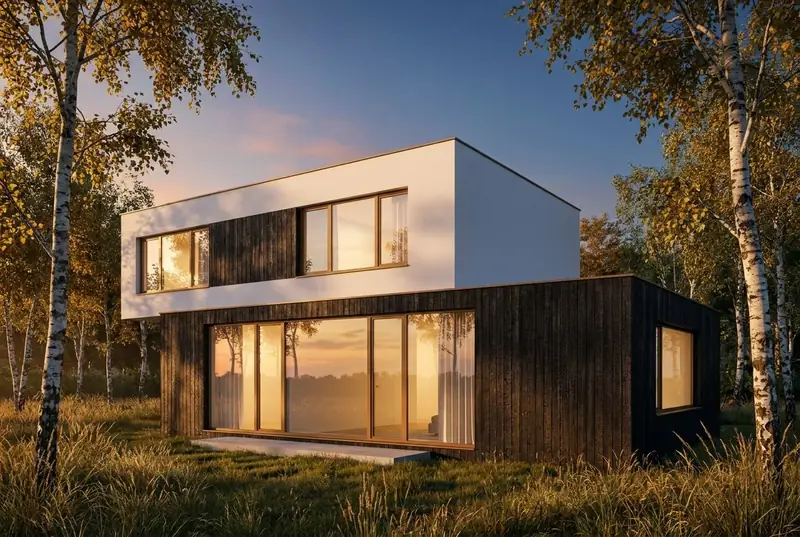
Upload a screenshot from SketchUp, Revit, Archicad or Rhino. In about 20 seconds you get a photoreal image with new materials, light and planting, and the same building.
- 3 free renders a day, no sign-up
- Works with any 3D program you already use
- Nothing to install and no plugin
 Your modelAI renderdus
Examples
Model screenshot in, photoreal render out
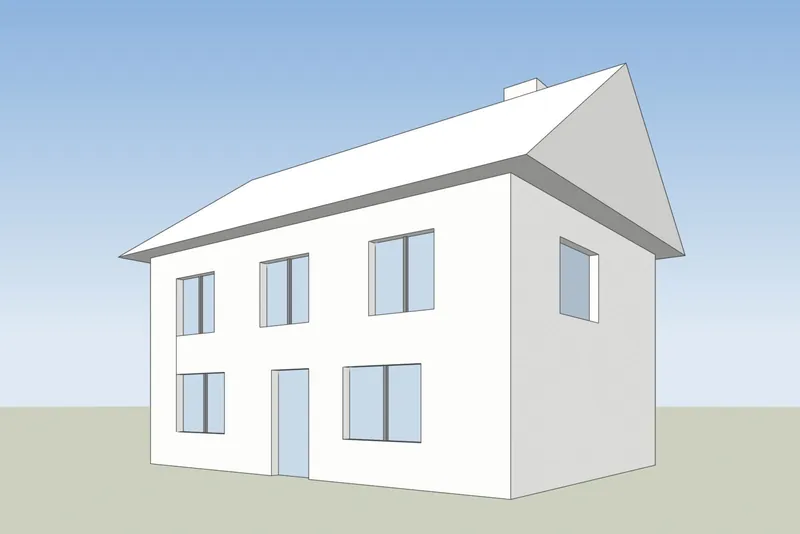
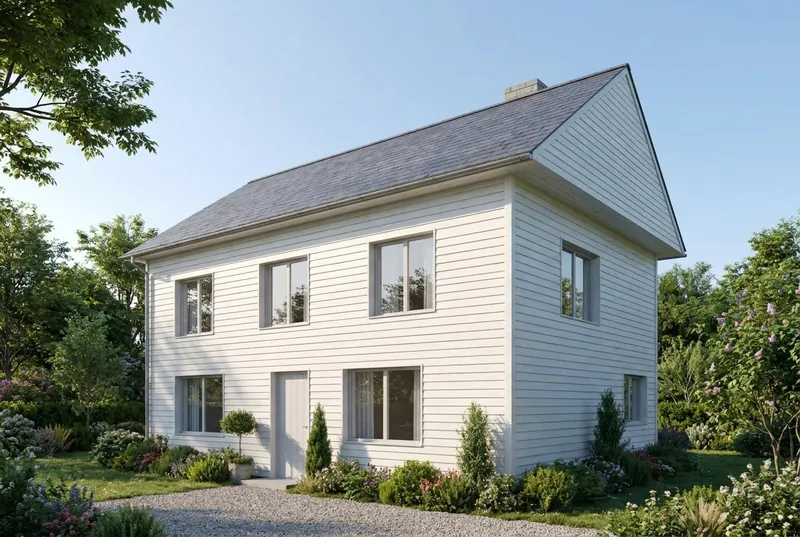
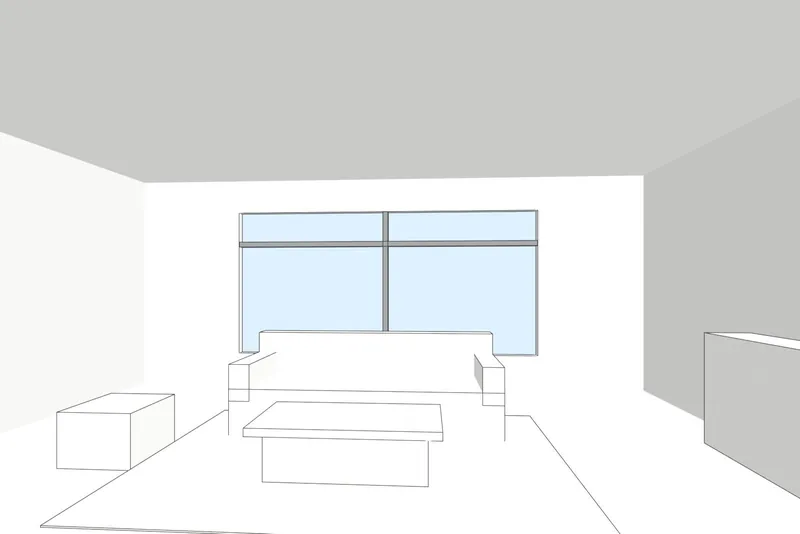
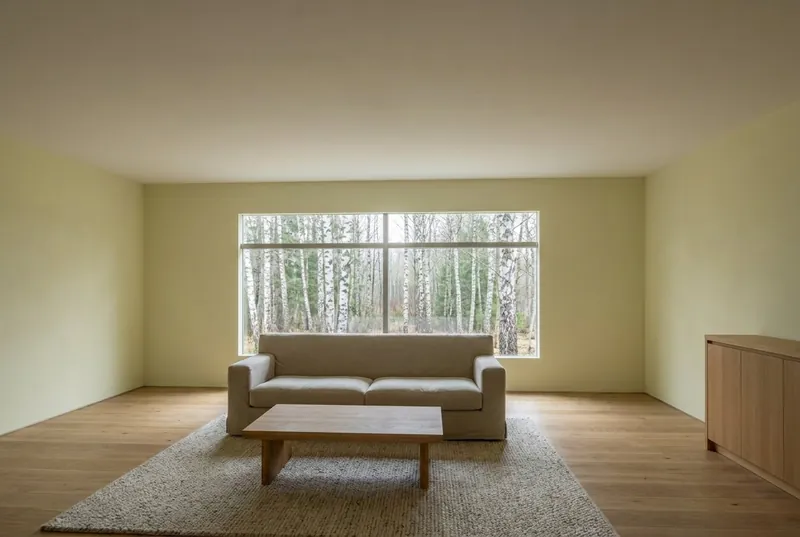
Drag across each image. The left side is the screenshot that was uploaded and the right side is the render that came back, not edited.
 Your modelAI renderdus
Family house
A pitched roof house in summer morning light. The gable, the chimney, the door and all 8 windows are where the model has them.
 Your modelAI renderdus
Apartment building
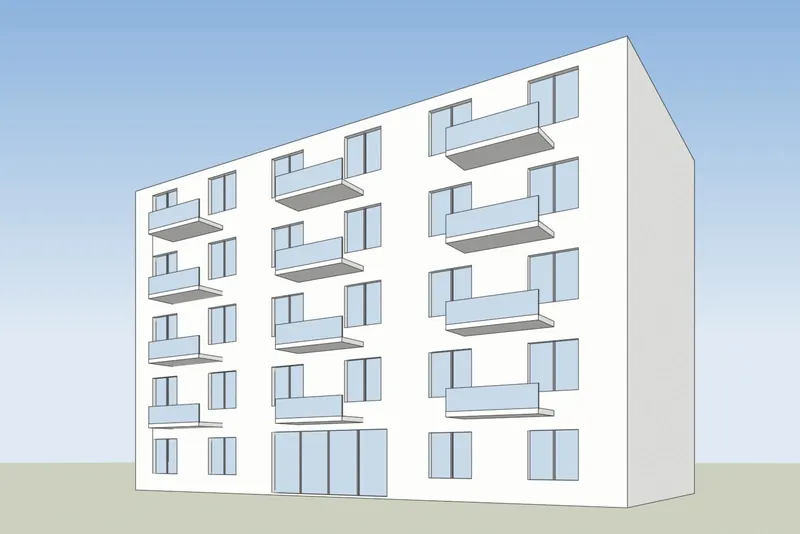
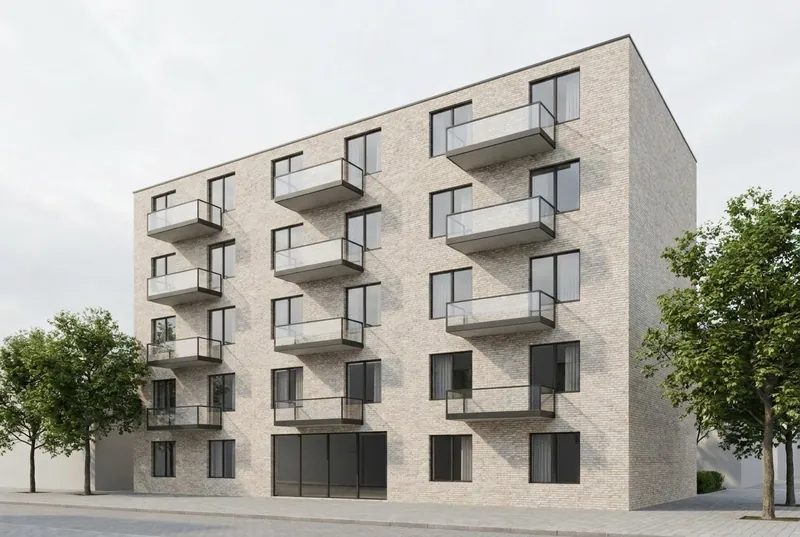
5 floors with balconies in soft overcast light. The balcony positions and the window grid follow the model.
 Your modelAI renderdus
Glass pavilion cafe
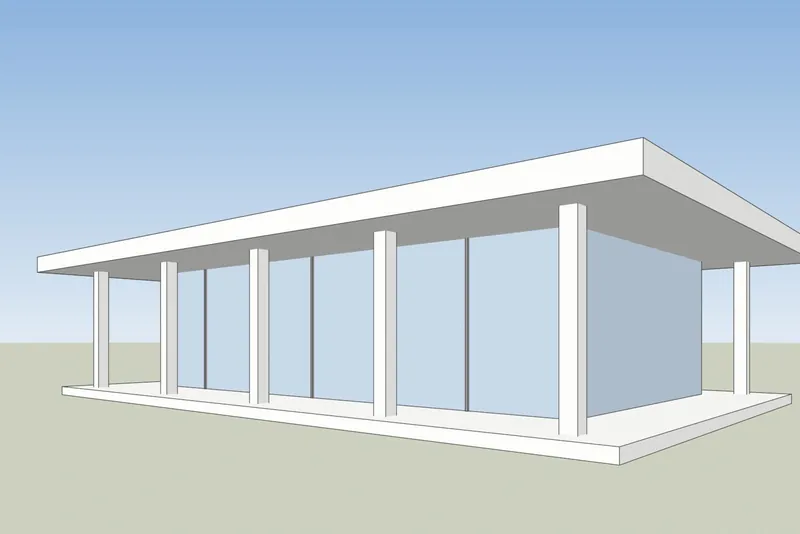
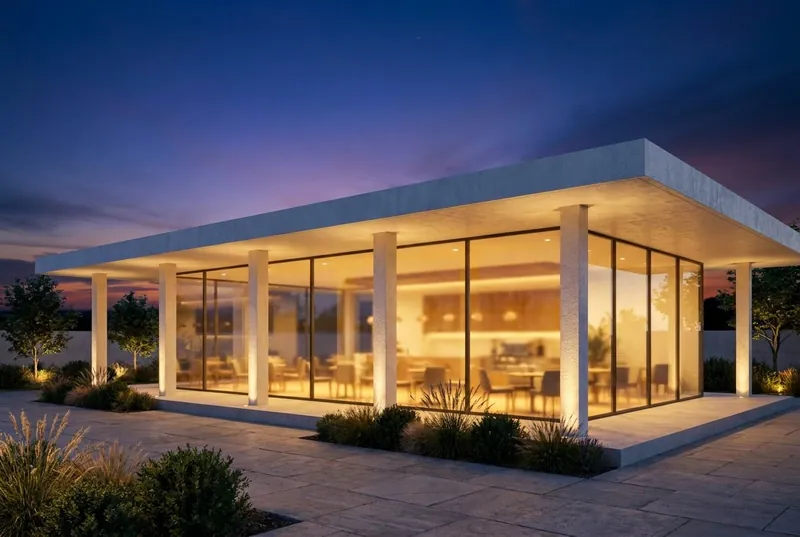
A flat roof pavilion at dusk with the interior lit. The columns and the roof overhang match the model.
 Your modelAI renderdus
Living room
An interior in north daylight. One window on the back wall, as drawn, with new floor, walls and furniture finishes.
Kuidas see töötab
How to make an AI render of your building
3 steps and about 20 seconds.
1. Take a screenshot
Frame the view in your 3D program and save a screenshot. A plain shaded or white model works best. Turn off shadows and textures you do not want in the picture.
2. Choose the light
Pick exterior or interior, then the light: daylight, overcast, evening sun or dusk. Add a short note about materials if you want, such as timber cladding or a stone floor.
3. Render and download
The render takes about 20 seconds. Drag across the result to compare it with your model, then download it or try another light on the same view.
Your 3D program
How to take the screenshot in SketchUp, Revit, Archicad and Rhino
Any screenshot works. These menu steps give the cleanest result.
SketchUp
Frame the view and set the face style to Shaded or Hidden Line. Then use File, Export, 2D Graphic and save a PNG. A normal screenshot of the window also works.
Revit
Open a 3D view and set the visual style to Shaded or Consistent Colors. Then use File, Export, Images and Animations, Image and save a PNG.
Archicad
Open the 3D window with a simple shaded 3D style. Then use File, Save As and choose PNG as the file type.
Rhino
Set the viewport to Shaded or Arctic. Then run the ViewCaptureToFile command and save a PNG at the size you want.
Mida oodata
What the AI keeps and what it changes
So you know what to show a client and what to send to our studio.
What stays the same
The shape of the building, the windows and doors, the roofline and the number of floors. The camera angle stays exactly as in your screenshot.
What the AI changes
Materials, light, sky, planting and furniture finishes. Use the note field to steer them, for example white render and oak windows.
What can be simplified
Very fine details, such as thin window bars or small railings, can come out simpler than in the model. For exact final images, use our studio.
What happens to your file
Only the screenshot is sent, never your model file. We do not use your images to train AI, and we do not publish your renders.
Hind
Start free, pay only if you render a lot
Credits never expire, and you can cancel from your account page.
Tasuta
3 renders a day with no account. Sign up for 40 credits, enough for 3 HD renders. No watermark, commercial use allowed.
Pro, 19 euro a month
600 credits a month, about 46 HD renders. Unused credits roll over and never expire. Cancel from your account page.
Studio, 49 euro a month
2,000 credits a month, about 153 HD renders, for a practice that renders options every week. Credits never expire.
When it has to be perfect
Need final images for a client or a competition?
AI renders are made for trying options. For images that sell, win planning or win a competition, our studio renders your model by hand.
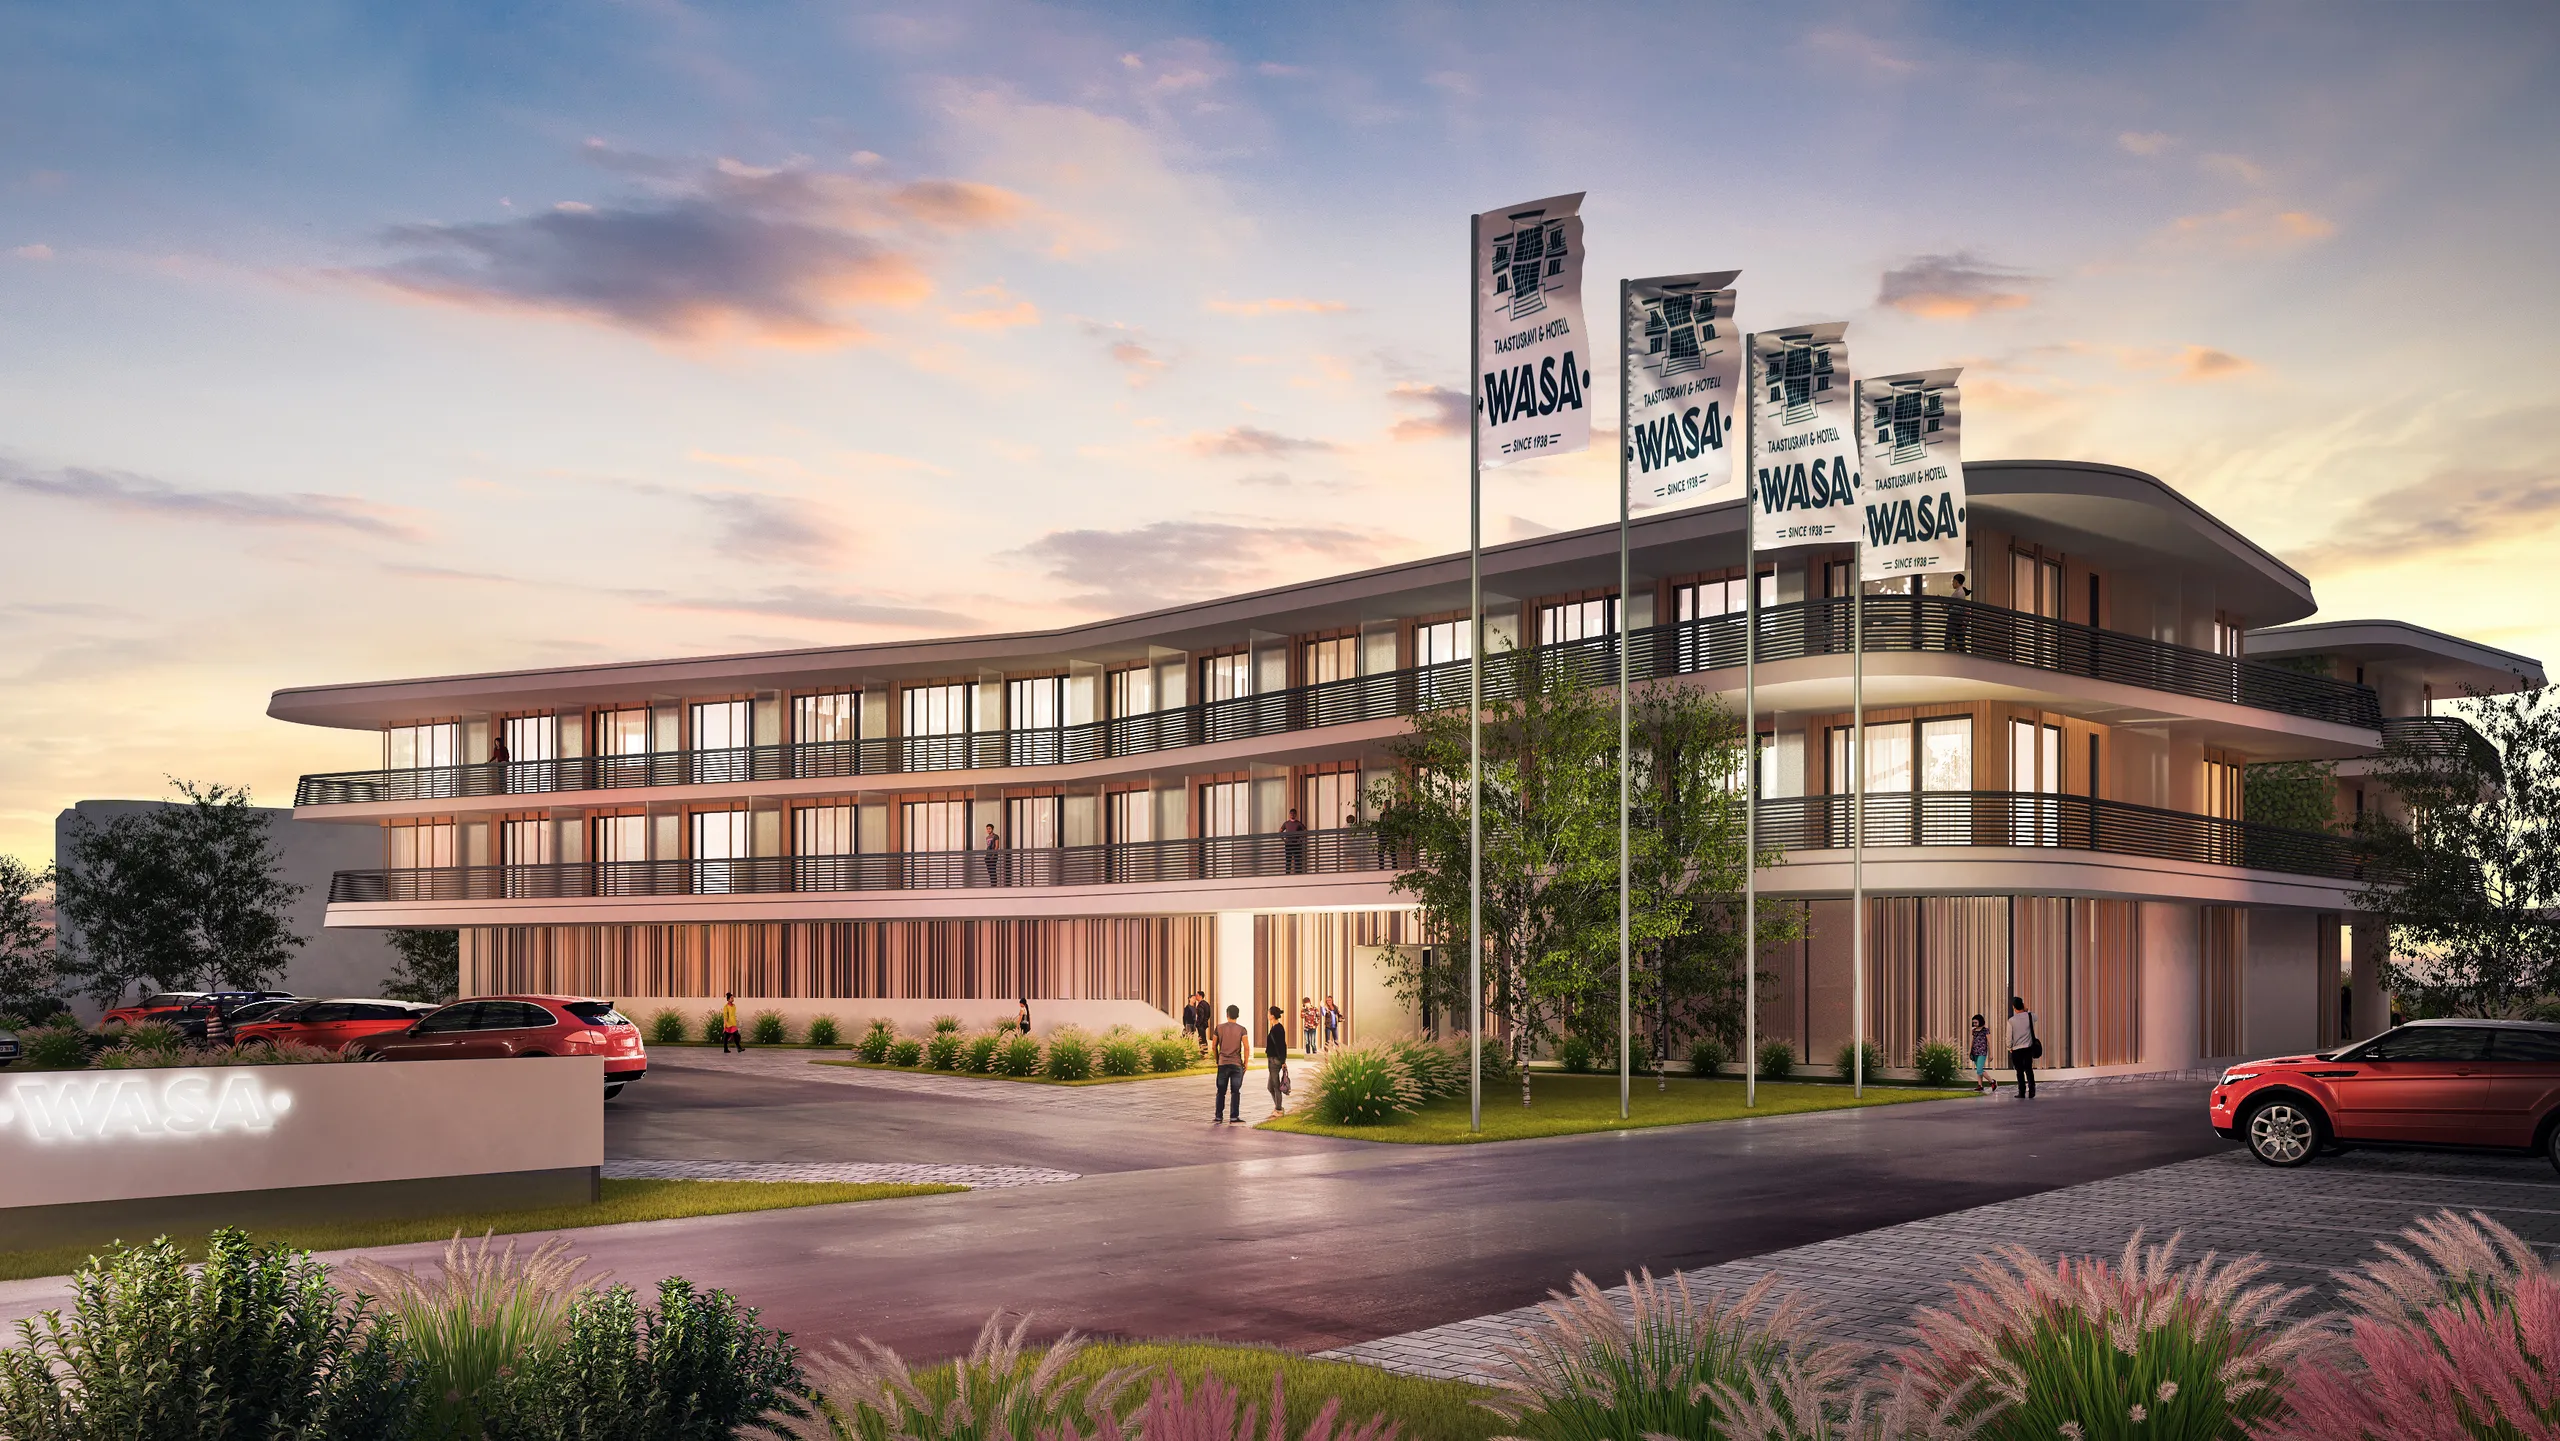
Arhitektuurne visualiseerimine
Photoreal exteriors, interiors and aerials from your model, checked by an artist line by line.
Vaata arhitektuurset visualiseerimist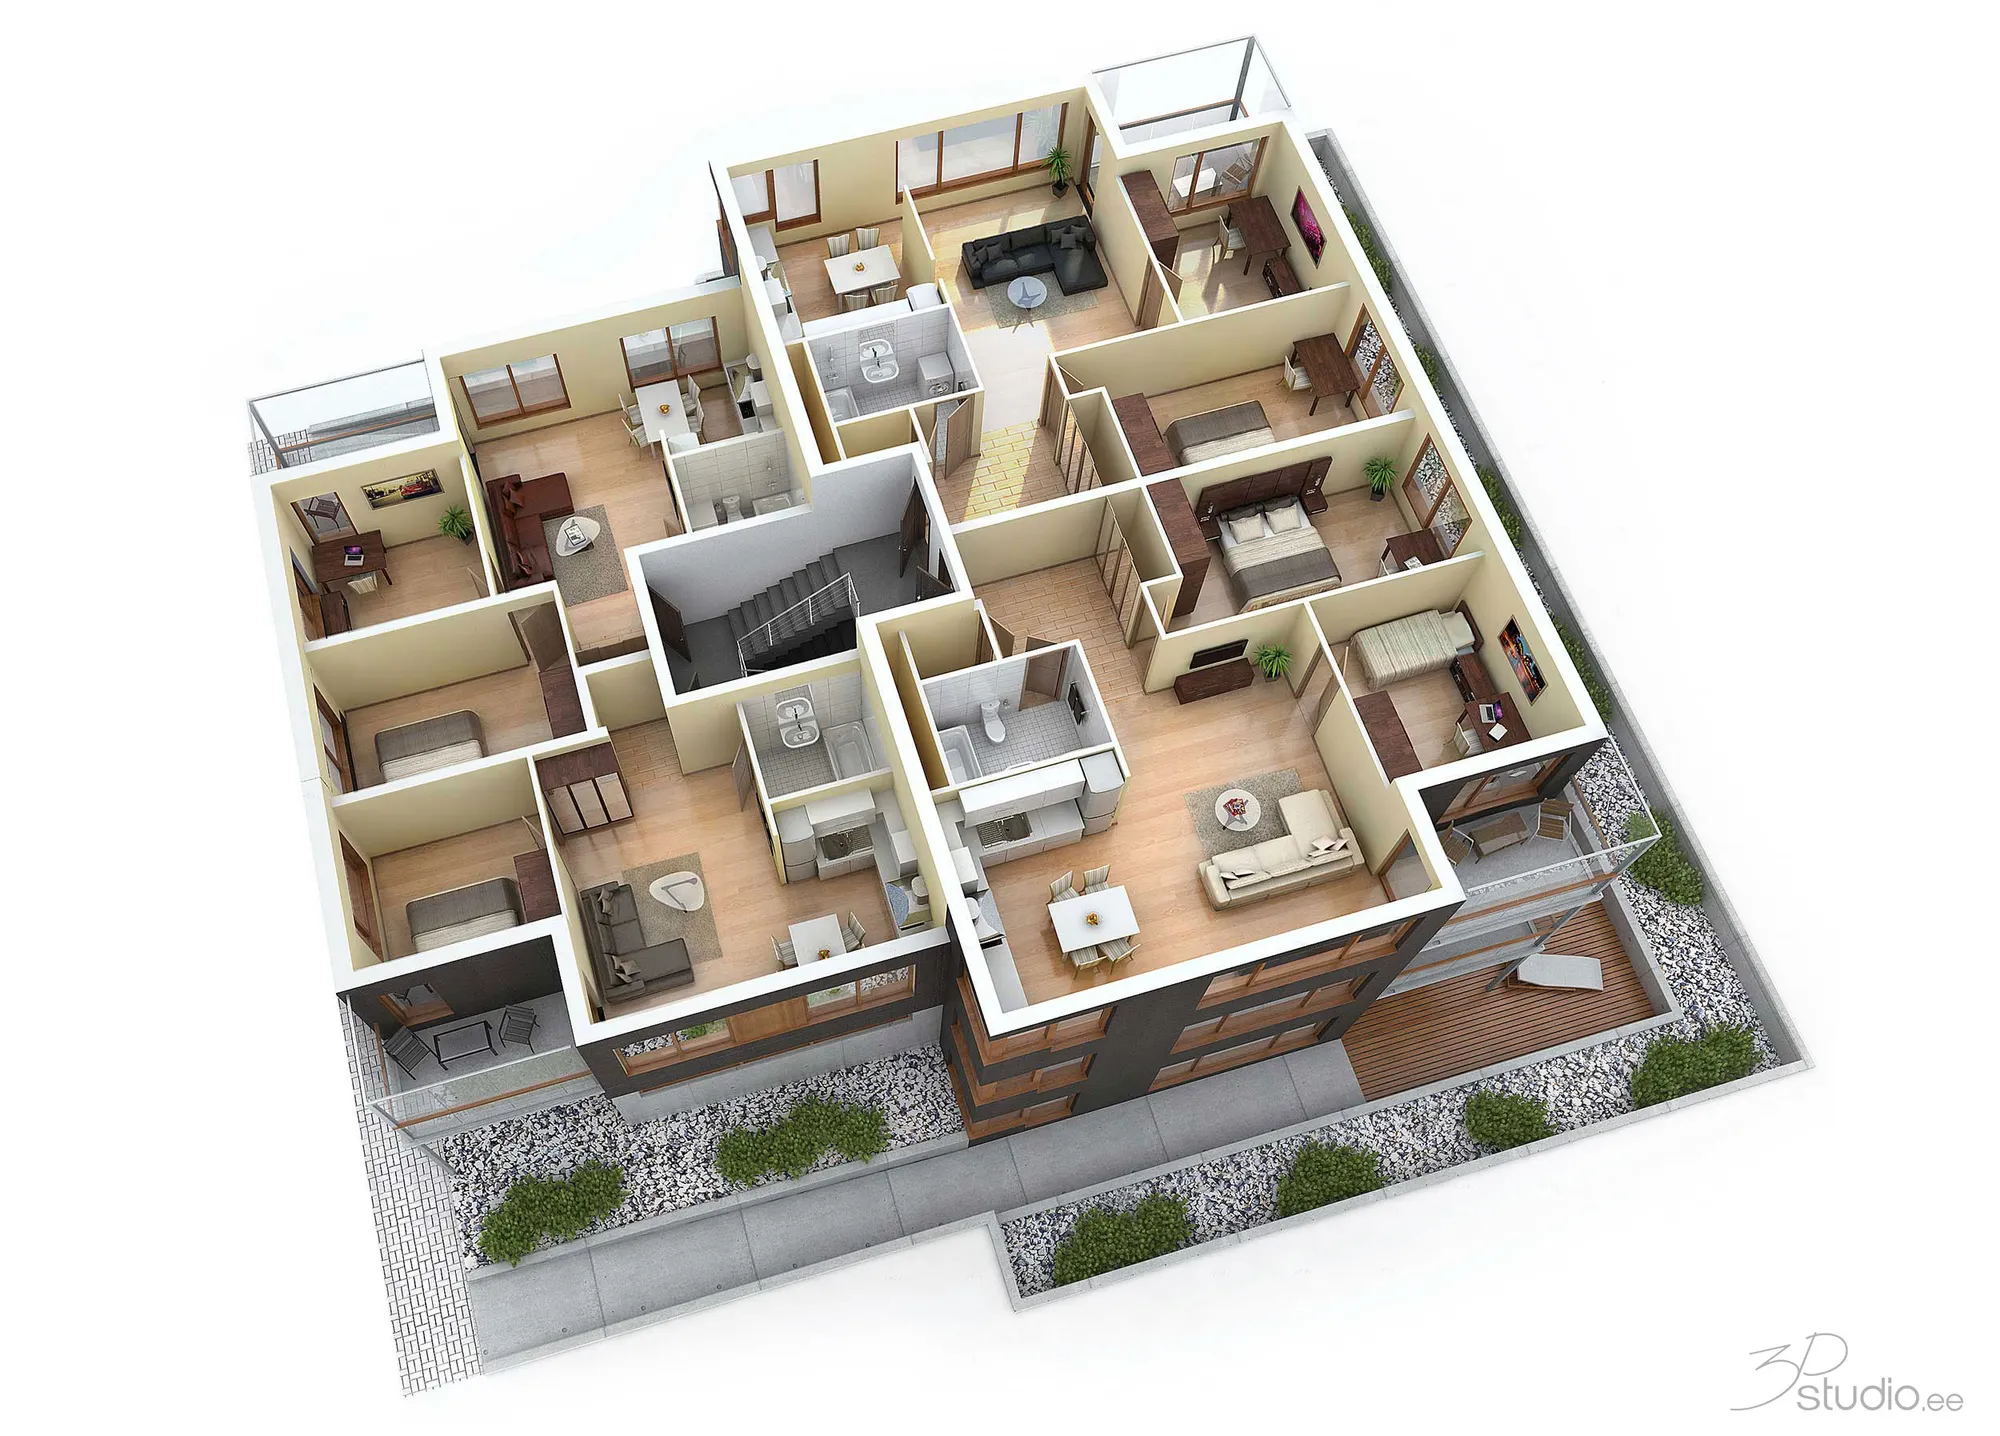
3D-korruseplaanid
Furnished 3D floor plans from your model, for brochures and property portals.
Vaata 3D põrandaplaane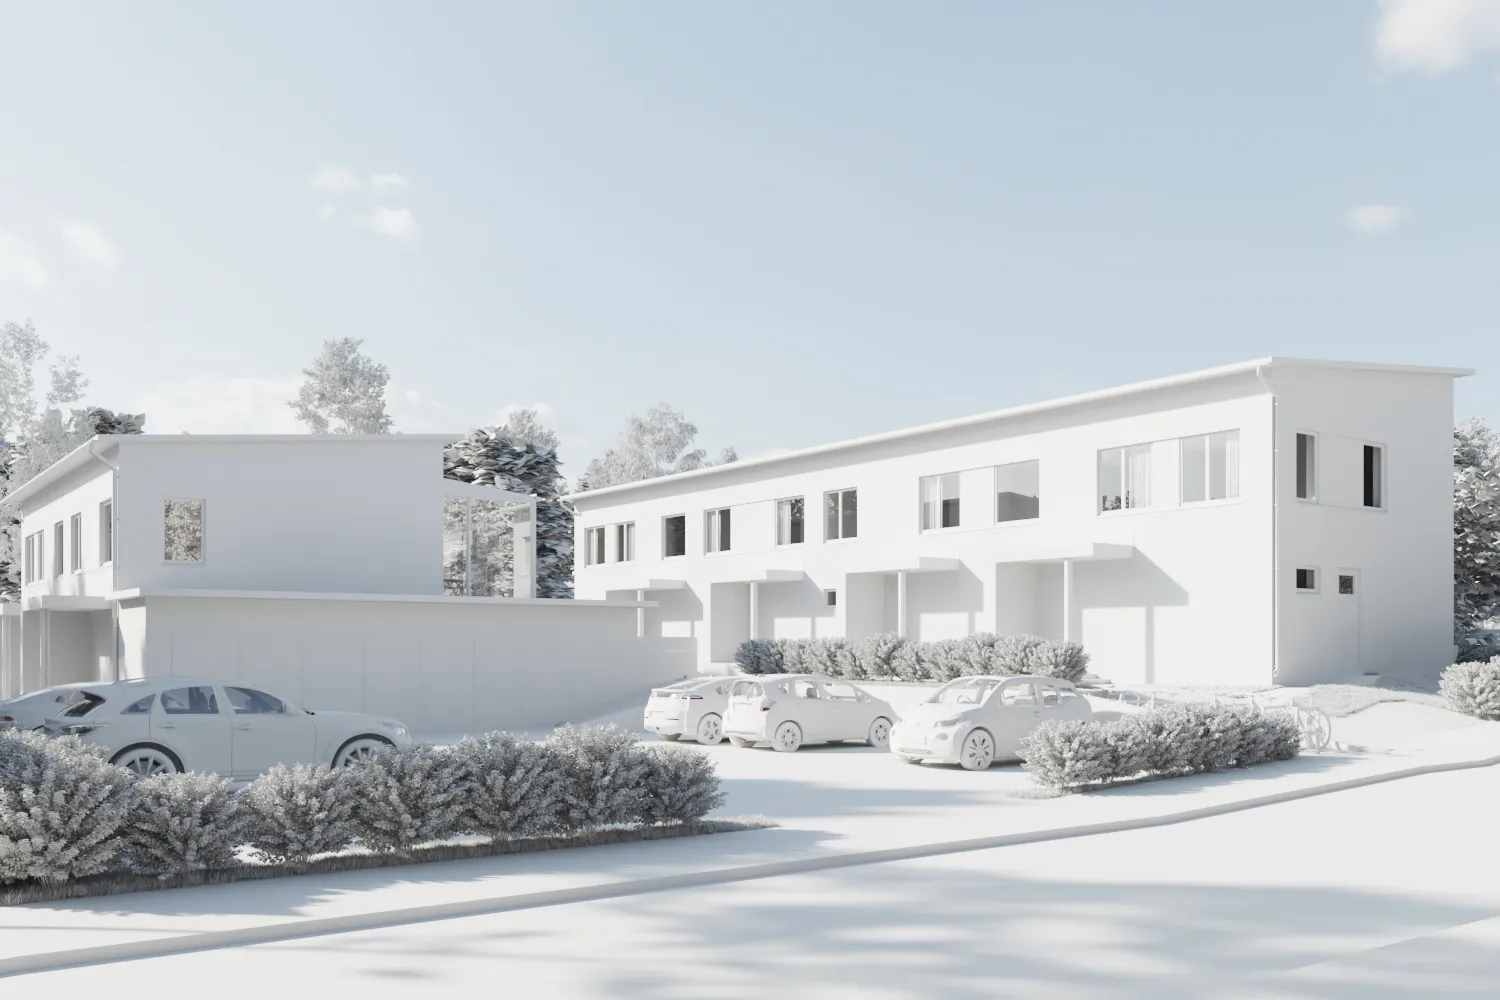
3D modelleerimine
No 3D model yet? We build it from your CAD or PDF drawings.
Vaata 3D modelleerimist
AI rendering FAQ
Questions about AI rendering for architecture
Files, accuracy, price and privacy.
Küsi meilt küsimusWhat file do I upload?
A screenshot of your 3D model as a PNG, JPG or WebP image. It can come from any program: SketchUp, Revit, Archicad, Rhino, Vectorworks, 3ds Max or Blender. You do not upload the model file itself.
Will the AI change my design?
It keeps the shape of the building, the windows, the roofline and the number of floors. It changes the materials, the light and the surroundings. Very fine details, such as thin window bars, can come out simpler than in the model.
How long does a render take?
About 20 seconds for an HD render. The first render after a quiet period can take a little longer while the system starts.
Is it really free?
Yes. You get 3 renders a day without an account or a card. A free account adds 40 credits, enough for 3 more HD renders, and keeps your renders in one place.
Can I use the images commercially?
Yes, on every plan, including the free one. There is no watermark.
What happens to my images?
Only the screenshot you choose is sent, never your model file. We do not use your images to train AI and we do not publish your renders.
Can your studio make the final images?
Yes. 3Dstudio.co has rendered architecture for 13 years. Send the model and say what the images are for, and we reply with a fixed price within 30 minuti jooksul.
Rohkem tasuta tööriistu
Muud tasuta 3D ja CAD tööriistad
Igaüks neist töötab teie brauseris, nagu see siin.
IFC-vaatur
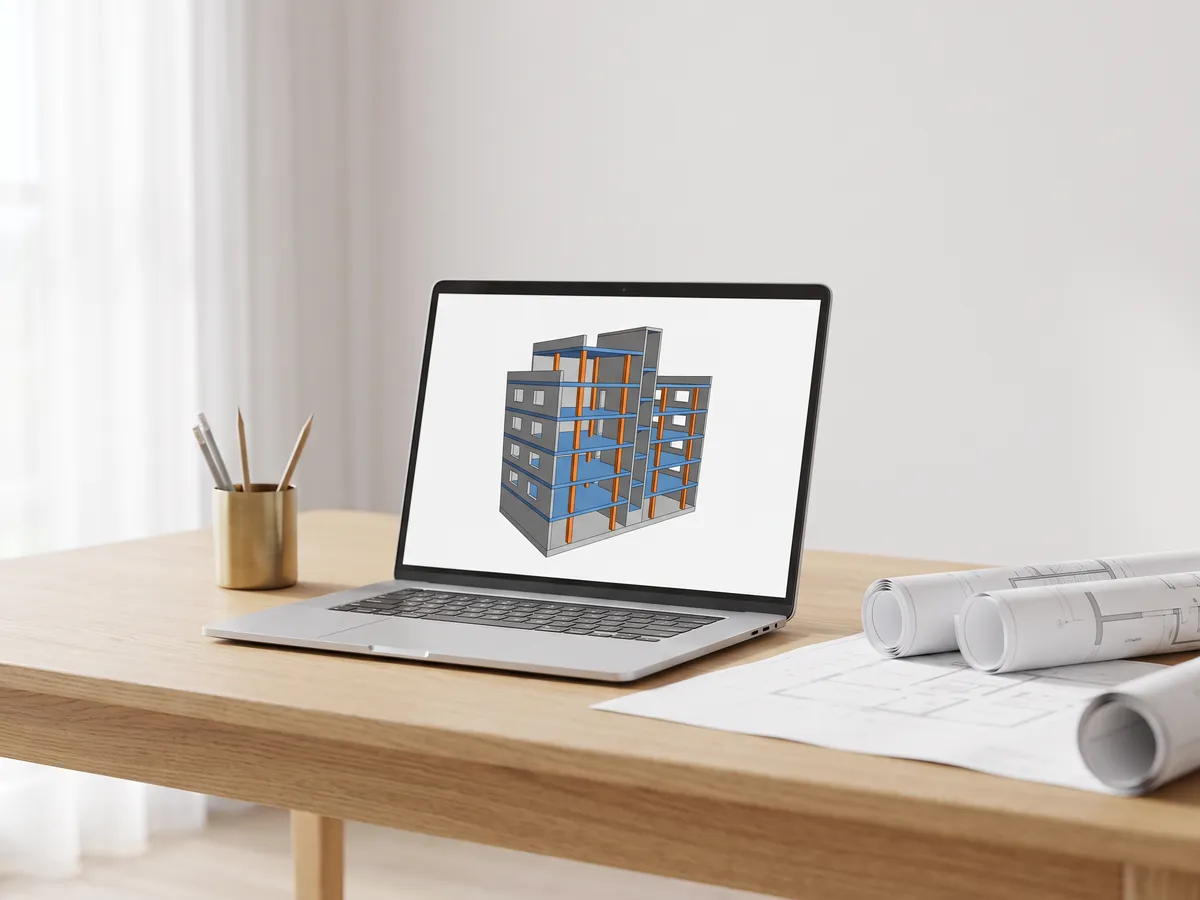
Avage IFC-failid Revitist, ArchiCADist ja Teklast. Filtreerige elemendi ja taseme järgi, kontrollige omadusi ja mõõtke.
Avage IFC-vaatur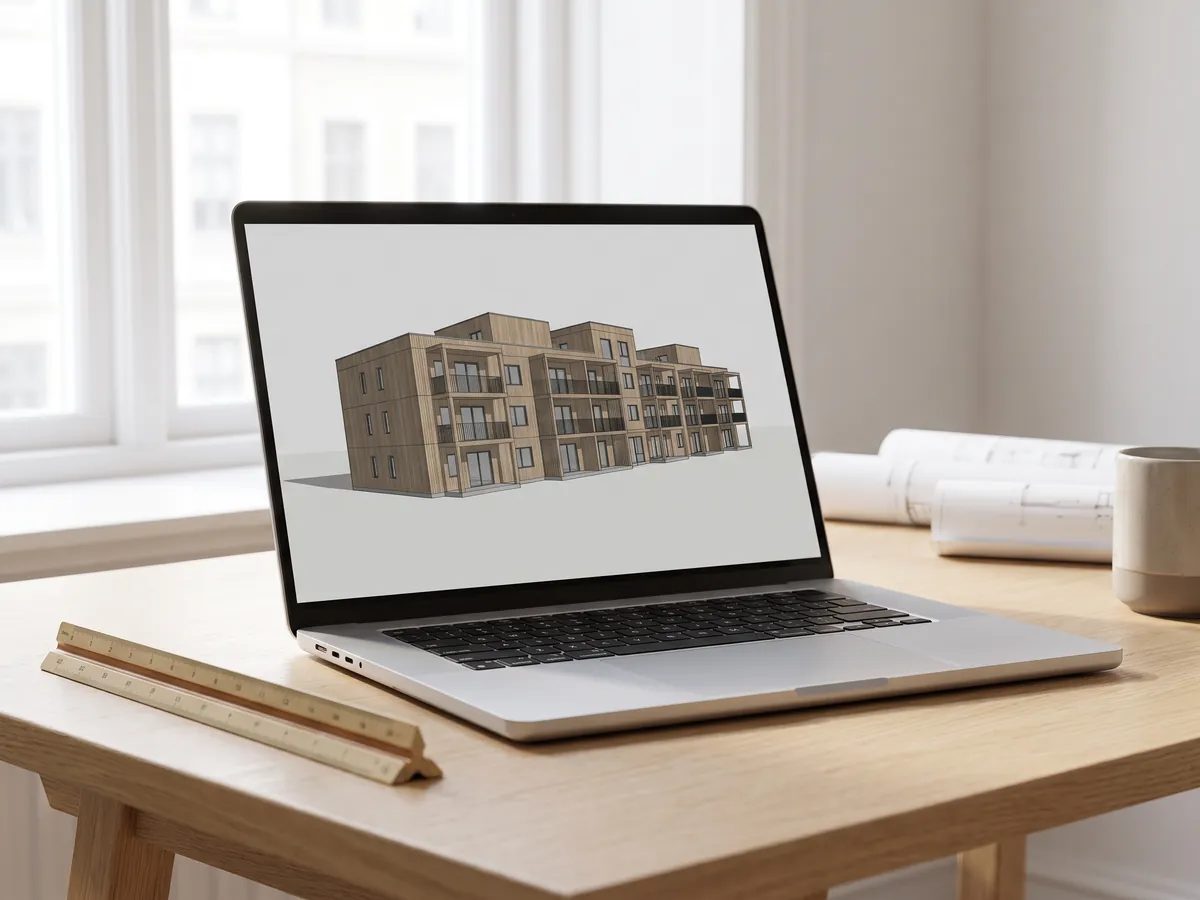
Revit vaatur
Avage .rvt failid ilma Revitita: Autodeski poolt IFC-ks teisendatud, seejärel vaadatav tasemete ja omadustega.
Ava Reviti vaataja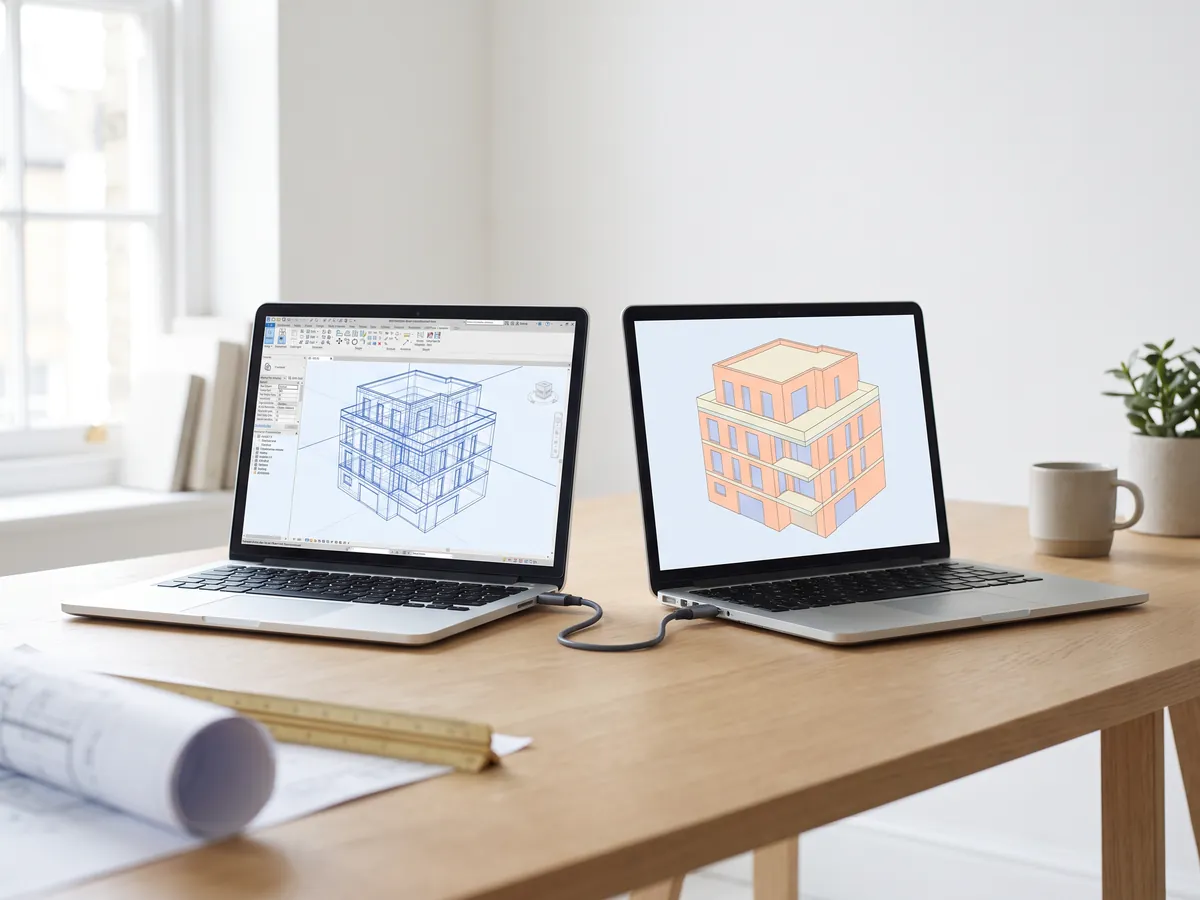
Revit to IFC konverter
Konverteerige RVT failid IFC 2x3 formaati koos tasandite ja omadustega, kasutades Autodeski enda konversiooni.
Teisenda Revit IFC-ks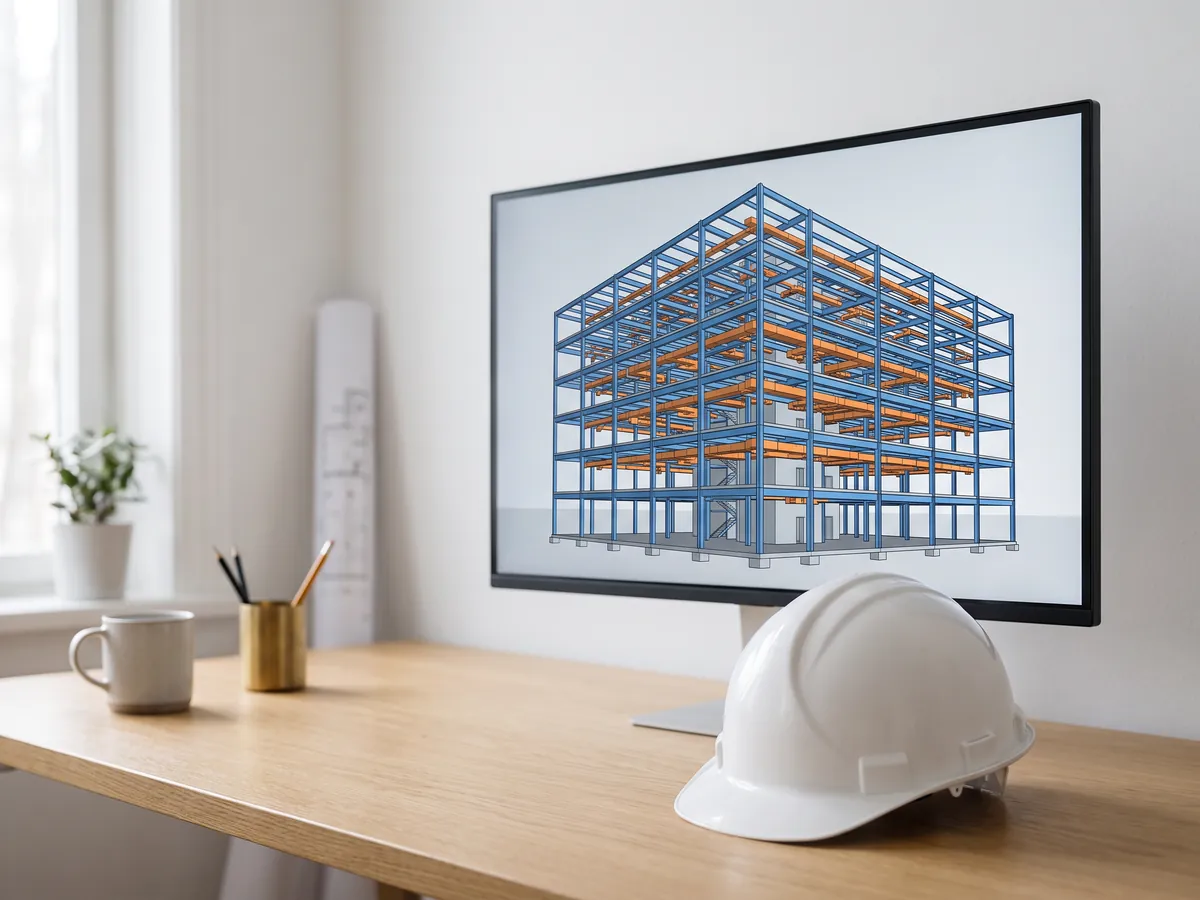
BIM-vaatur
Vaadake üle Revitist, Archicadist ja Teklast pärit BIM-mudelid ilma litsentsita: tasemed, atribuudid, mõõtmine.
Ava BIM-vaatur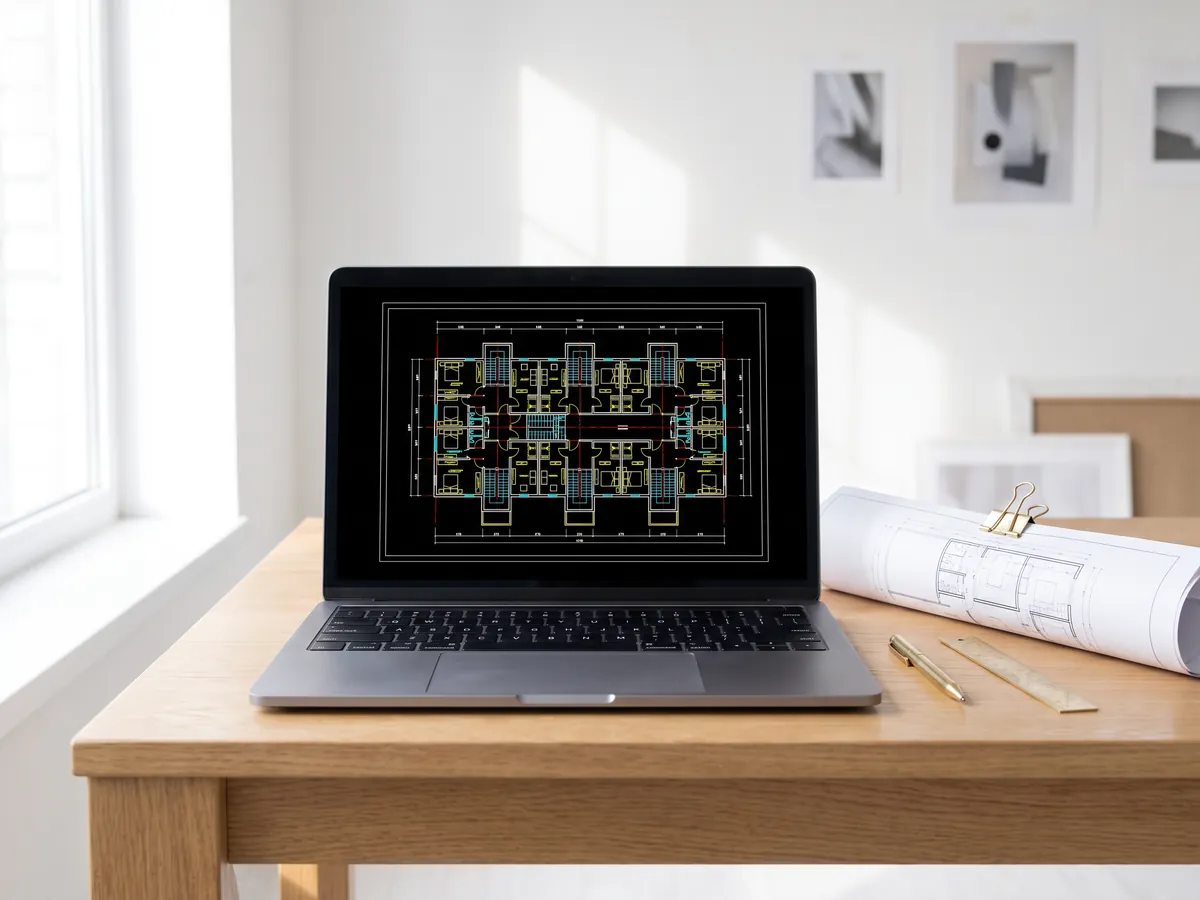
DWG vaatur
Avage AutoCAD DWG ja DXF joonised veebis: vaadake kõiki paigutusi, lülitage kihte sisse ja välja, suumige ja liigutage.
Avage DWG vaatur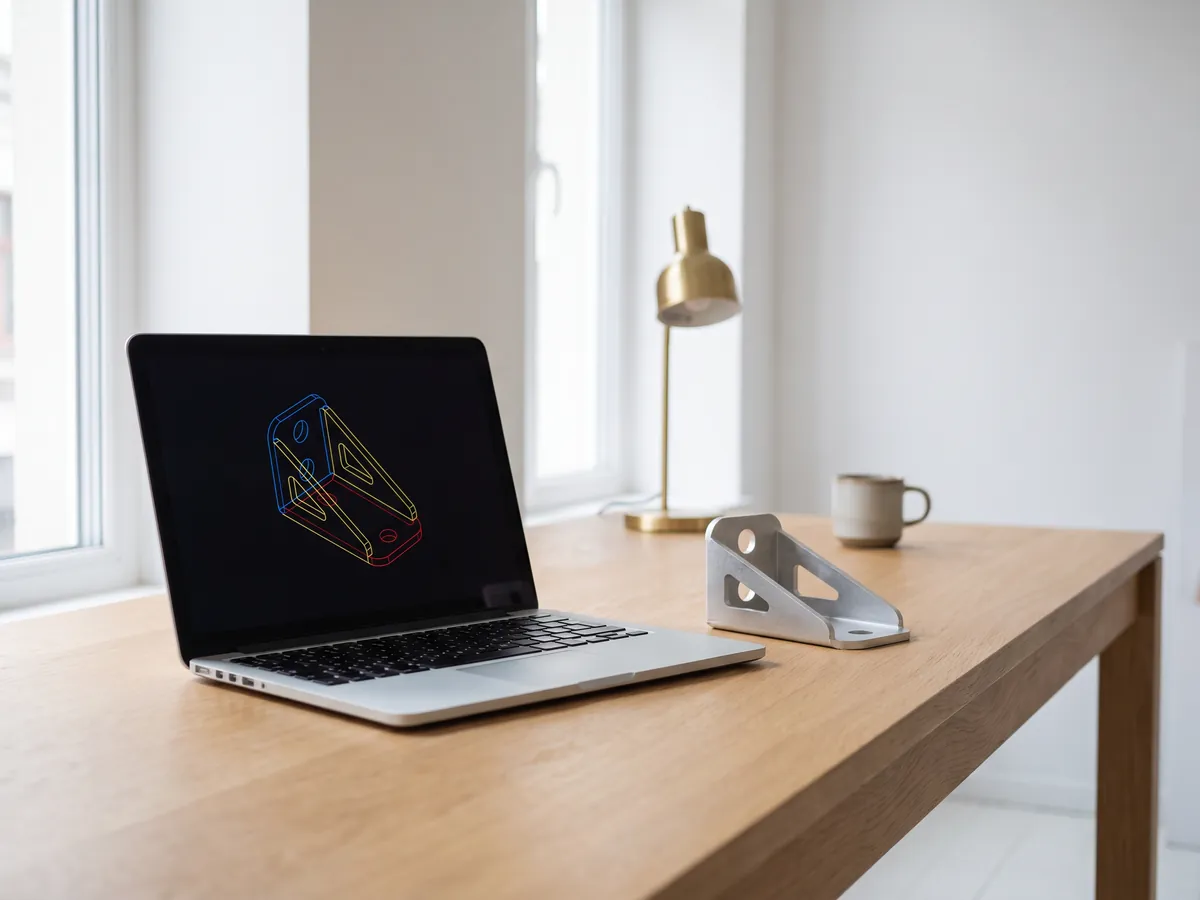
DXF-vaatur
Ava DXF-faile veebis: iga paigutus, kihid sisse ja välja, suumi, seejärel salvesta PDF-i või SVG-na.
Ava DXF-vaatur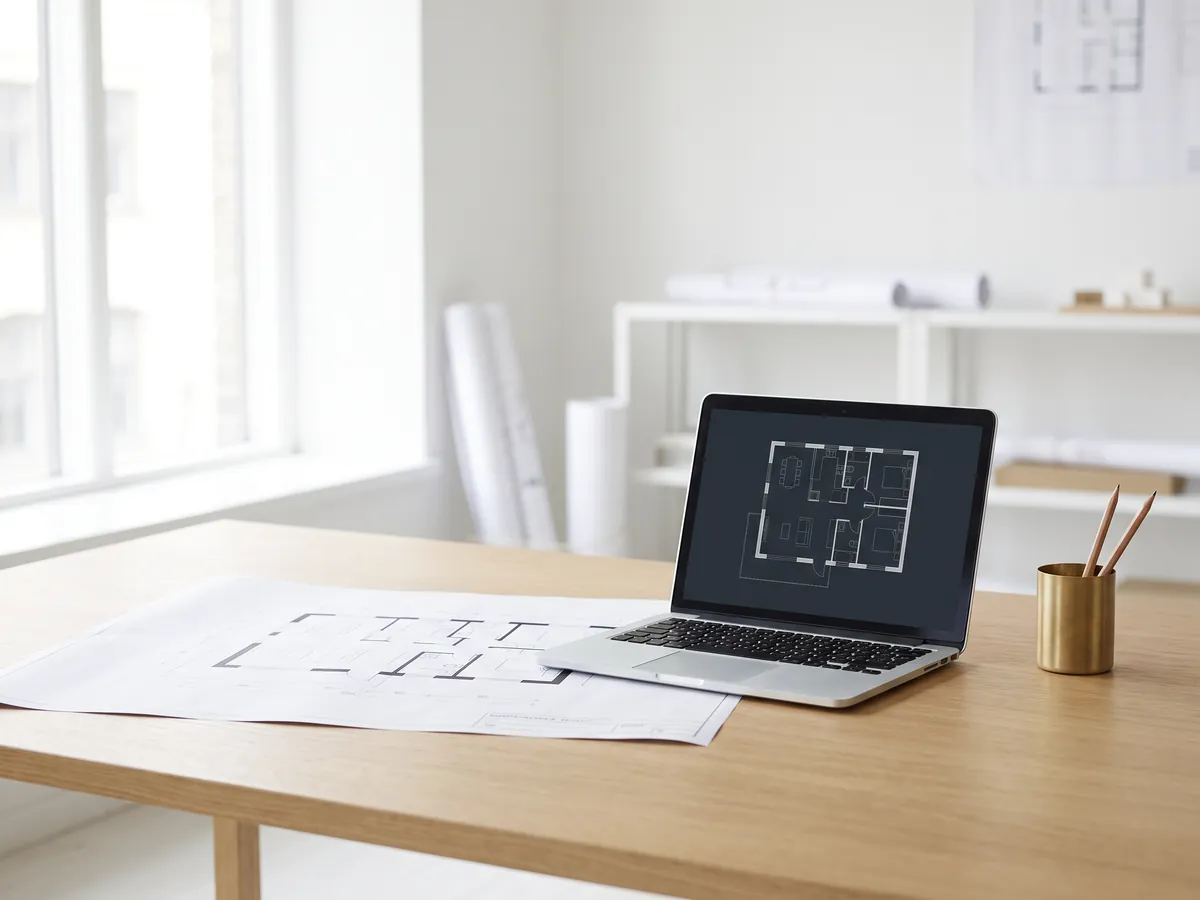
DWG PDF-iks
Prindi AutoCAD joonised PDF-iks: paigutused 1:1 tiitliplokkide, joone paksuste ja viirutustega.
Ava DWG PDF-iks
Normaalkaardi generaator
Looge mis tahes pildist normaali-, kõrgus-, karedus- ja AO-kaarte, vajadusel sujuvalt.
Ava normaalikaardi generaator
PDF to DWG
Muuda PDF-joonised CAD-joonteks AutoCAD-i jaoks: jooned, tekst ja kihid, joonise mõõtkavas.
Ava PDF to DWG
SVG to DXF
Teisenda SVG DXF-iks CAD-i, laserlõikuse ja CNC jaoks: täpsed jooned, kihid, tegelik suurus.
Ava SVG to DXF
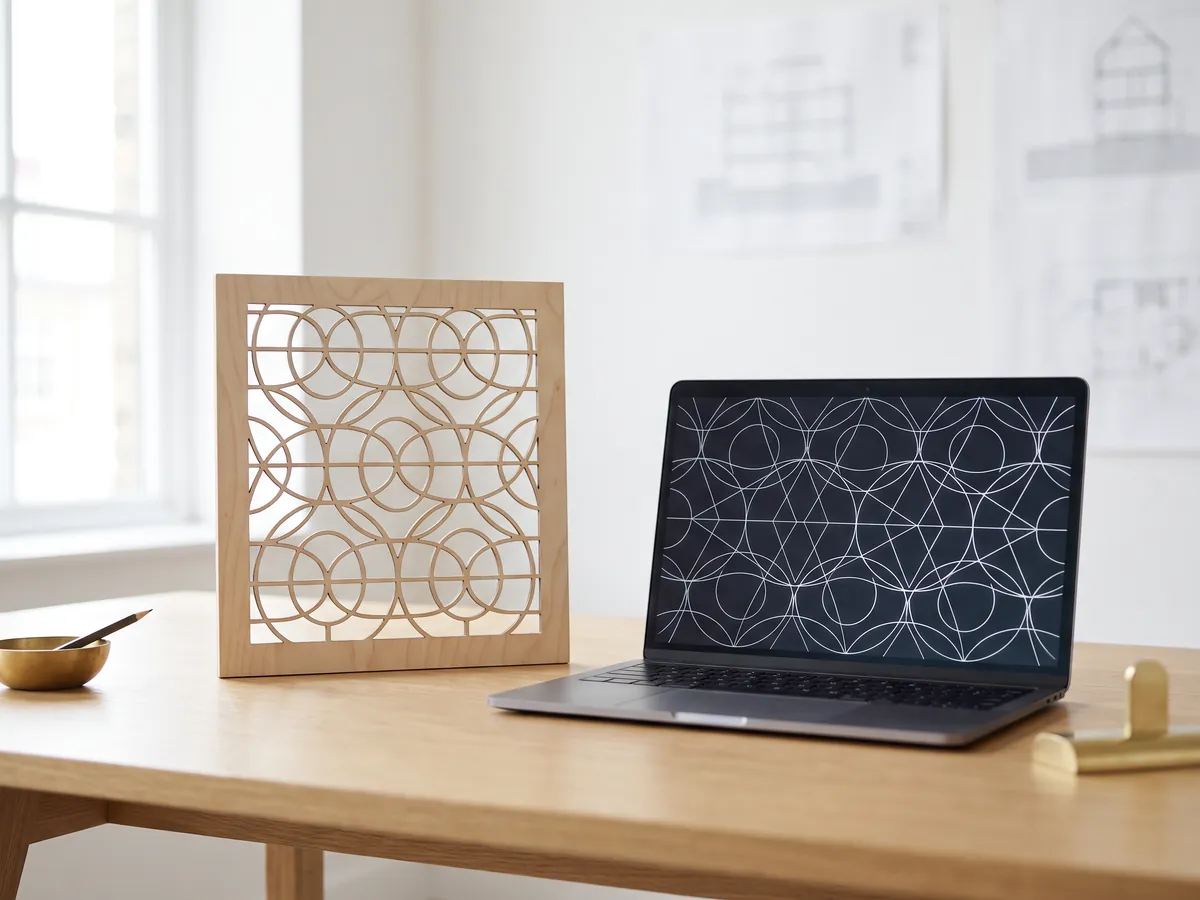
DXF konverter
Avage DXF joonised ja salvestage need PDF-i või SVG-na koos paigutuste, joonepaksuste ja täidetega.
Avage DXF konverter
Enne ja pärast liugur
Tehke kahe foto põhjal enne- ja pärast-liugur, video või pilt kuulutuste, Reels'ide ja teie veebisaidi jaoks.
Avage enne- ja pärast-loomevahend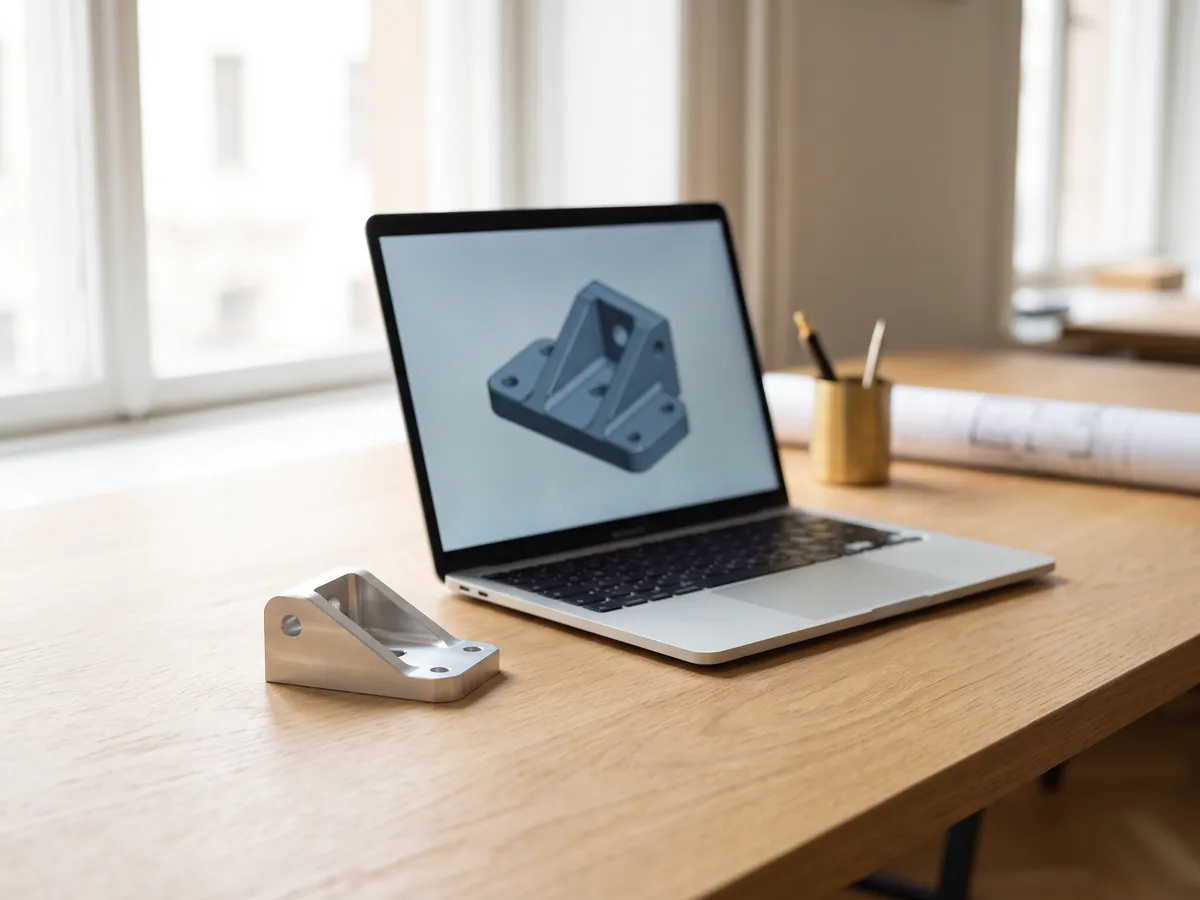
STEP vaatur
Avage STEP- ja IGES-failid SolidWorksist, Fusion 360-st ja Inventorist. Vaadake iga osa ja mõõtke.
Avage STEP-vaataja
3D-vaatur
Ava 18 tüüpi 3D-faile veebis, alates STEP-ist ja FBX-ist kuni GLB- ja IFC-ni, koos osade ja mõõtmisega.
Ava 3D-vaatur
GLB-vaatur
Ava GLB- ja glTF-failid koos nende materjalide ja tekstuuride, suuruse ja kolmnurkade arvuga.
Ava GLB-vaatur
OBJ-vaatur
Ava OBJ-failid koos nende MTL-materjalide ja tekstuuridega ning salvesta STL-i, GLB- või STEP-failina.
Ava OBJ-vaatur
SolidWorks-vaatur
Ava SolidWorks-i osade failid ilma SolidWorks-ita, seejärel salvesta need STL-i, STEP- või GLB-failina.
Ava SolidWorks-vaatur
STL-vaatur
Vaadake STL-faile 3D-printimiseks koos suuruse, ruumala, kaalu ja veetiheduse kontrolliga.
Avage STL-vaatur
3D konverter
Teisendage STEP, OBJ, FBX, STL, glTF, PLY, IFC ja muude vormingute vahel mõlemas suunas.
Ava 3D konverter
STEP STL-iks
Teisendage STEP- ja STP-failid SolidWorksist, Fusion 360-st ja Inventorist STL-iks 3D-printimiseks.
Ava STEP-STL-iks
3MF STL-iks
Konverteeri 3MF-failid Bambu Studiost ja PrusaSlicerist STL-iks, või STL 3MF-iks.
Ava 3MF STL-iks
Pilt STL-iks
Muutke PNG- ja JPG-pildid STL- või OBJ-reljeefideks ja litofaanideks 3D-printimiseks.
Avage pilt STL-iks
STL-i konverter
Teisenda 3D-failid ja pildid STL-iks 3D-printimiseks, veekindluse kontrolliga.
Ava STL konverter
OBJ konverter
Teisenda STL, FBX, STEP, glTF ja 3DS OBJ-ks koos materjalidega või OBJ teisteks vorminguteks.
Ava OBJ konverter
FBX konverter
Teisenda FBX-faile 3ds Max-ist, Mayast ja Blenderist OBJ, GLB või STL-iks.
Ava FBX konverter1,247
Teostatud projekti
13
Aastat tegutsemist
17
Riigid, kuhu oleme tarninud






★★★★★
Hinnatud 5.0 platvormil Clutch · Vaata meie arvustusi
Arhitektid, arendajad & sisearhitektid
Töötanud 215 ettevõtet alates 2013
125 klientidest 220 klienti tuli tagasi
Rohkem kui pooled meie klientidest on meid uuesti palganud
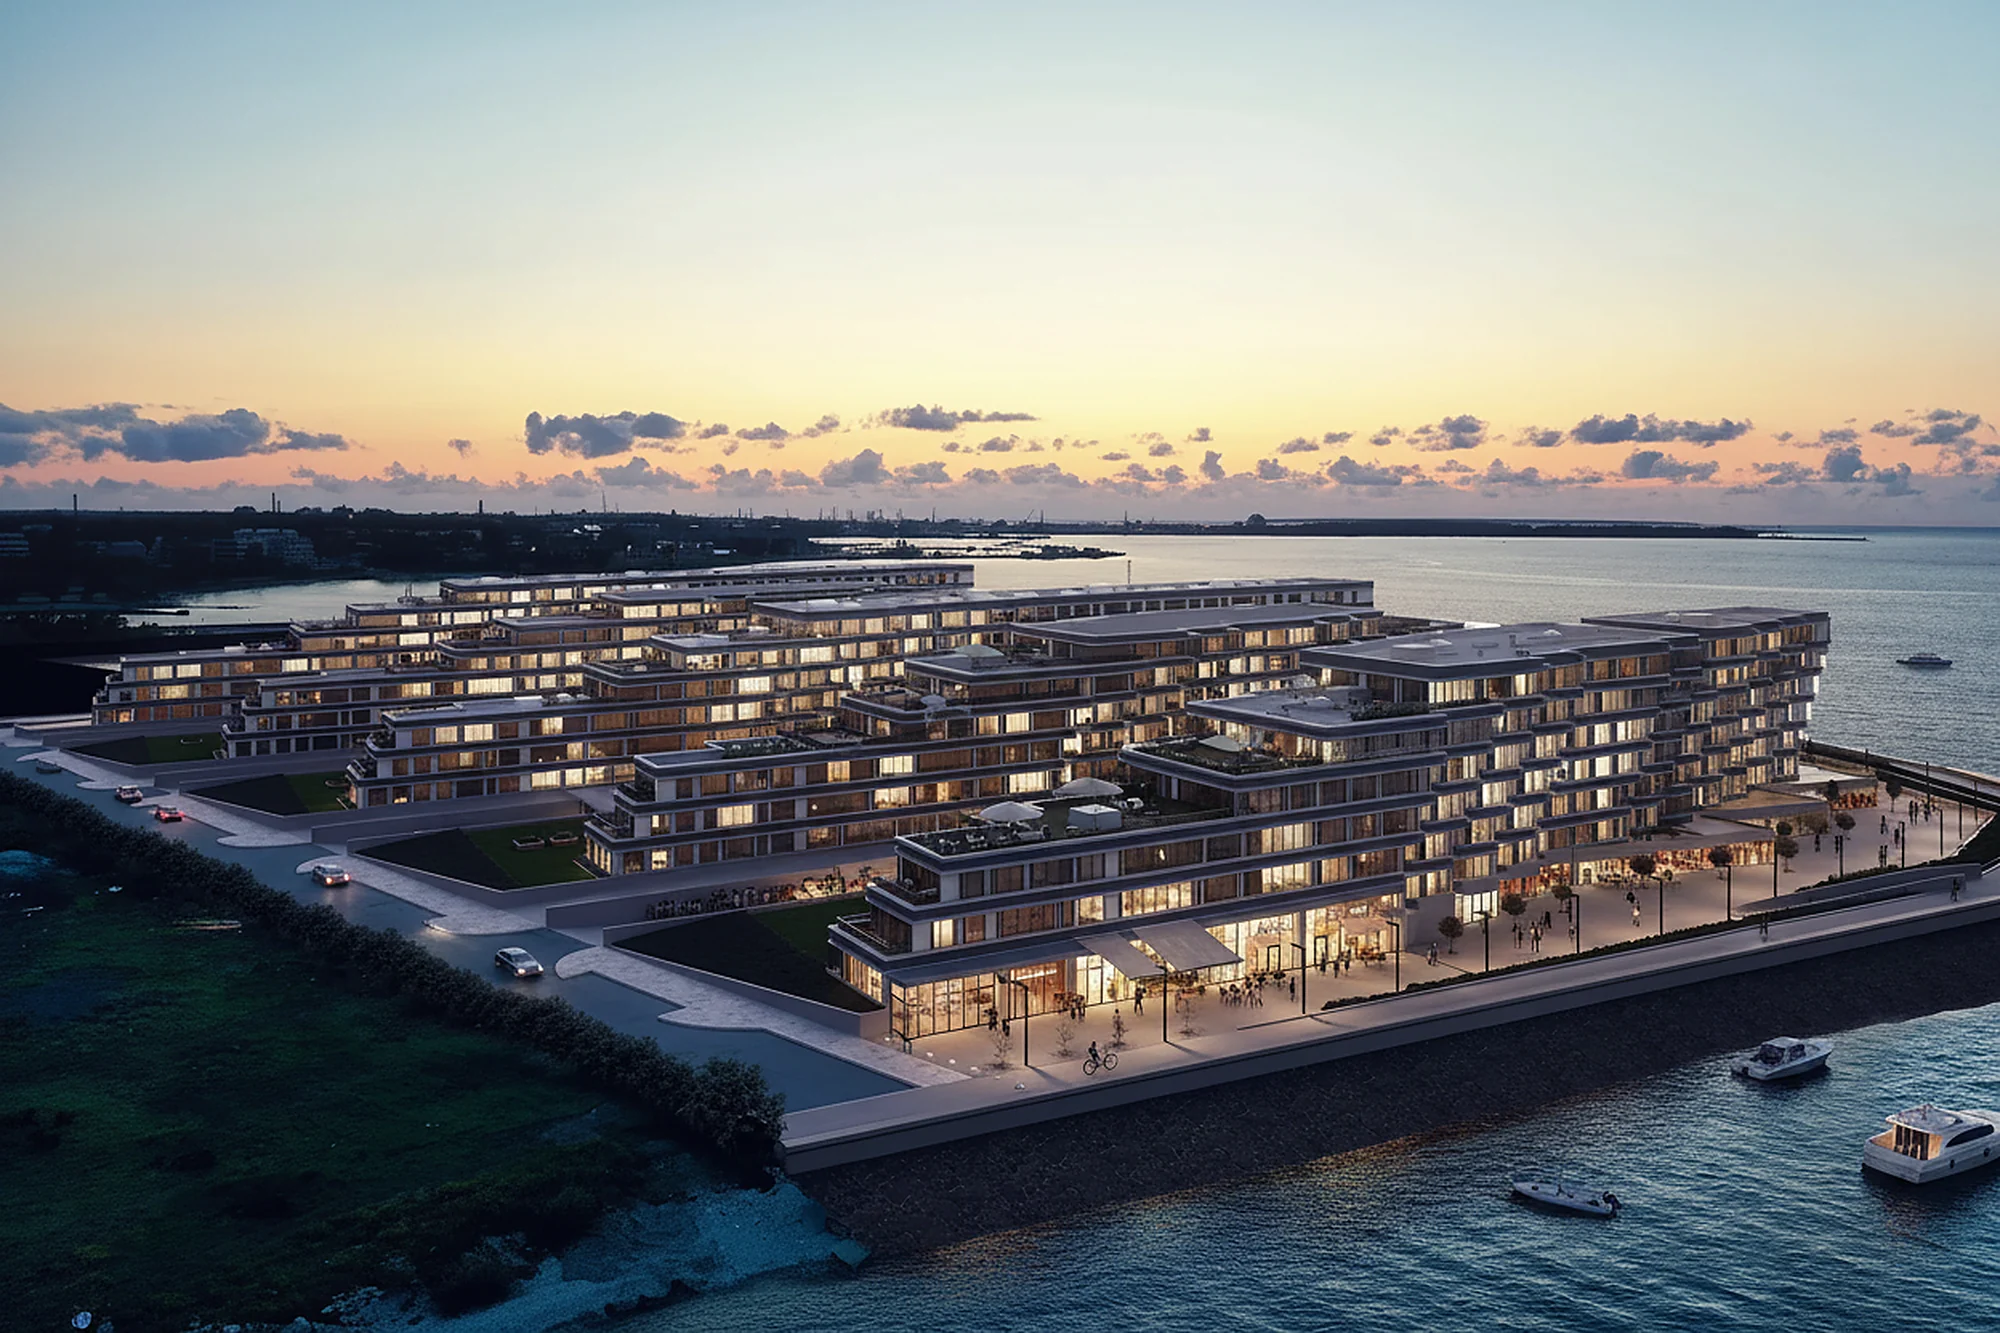
Try it on your own project
Render a screenshot of your model now
3 free renders a day, no sign-up and no card. You get the image in about 20 seconds.