How to Render in Revit: Built-in Rendering, Plugins and AI
Revit rendering works 4 ways: the built-in Render tool, a plugin, AI from a screenshot, or a studio. See the setup steps, a comparison table and the files to send.
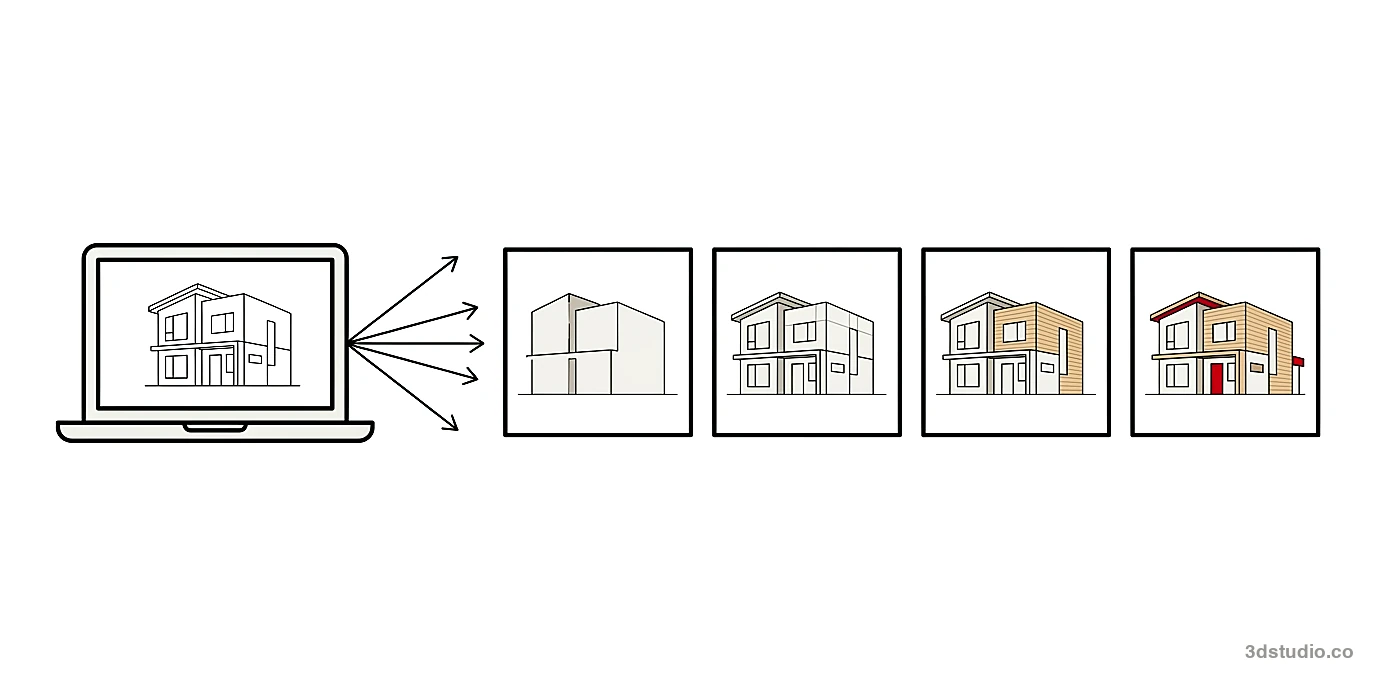
In this article
- Revit has a built-in Render tool for 3D views, and an Autodesk cloud option for subscribers.
- Plugins such as Enscape, V-Ray, Twinmotion, D5 Render and Lumion add more control over light and context.
- AI tools can make an image from a screenshot of a Revit 3D view, but nothing in the output is checked against your drawings.
- For images that must match the drawings, send the RVT or an IFC export to a studio.
To render in Revit, you have 4 options. Use the built-in Render tool, connect a rendering plugin such as Enscape, V-Ray, Twinmotion, D5 Render or Lumion, make an AI image from a screenshot, or send the model to a studio. The built-in tool needs no extra software. Plugins give more control over light and materials. AI needs the least setup. A studio makes final images that match the drawings.
This guide explains each route, the steps to set up a Revit scene (camera, materials, sun, quality, export), a comparison table, and the files to send if you want final images from an architectural visualization studio.
Ways to render in Revit
All 4 routes start from the same Revit model. They differ in where the image is made and who sets up the scene.
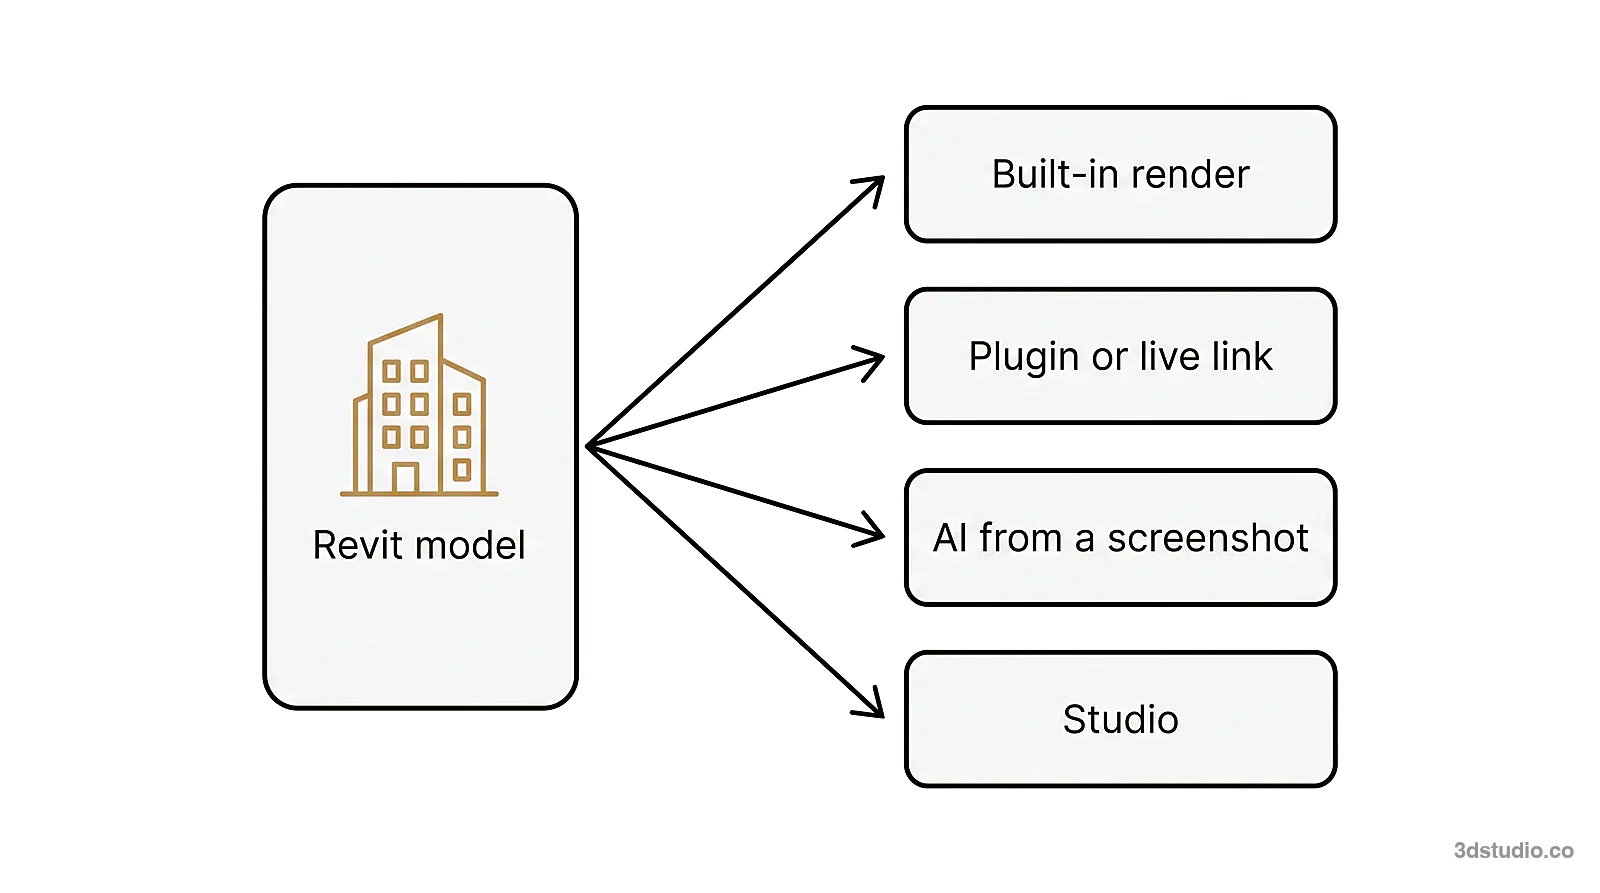
- Built-in render. Revit makes the image itself from a 3D view. It uses the materials already in the model.
- Plugin or live link. A separate rendering program receives the model from Revit, and you add context, materials and light there.
- AI from a screenshot. You export an image of a 3D view, and an AI tool produces a new image from it.
- Studio. You send the Revit file or an export, and a studio builds the scene and makes the final images.
Revit also has a real-time view, the Realistic visual style. It shows material appearances in the model view while you rotate it. Autodesk’s help lists it as a separate method from rendering. Use it for quick checks, and use the Render tool for the final image.
Revit built-in rendering
Revit has its own rendering tool. You open it on the View tab, in the Graphics panel, with the Render button. It works only in 3D views, and it uses the materials, lights and sun settings already in your project. Nothing is exported, so the image always matches the model.
Have a 3D model? 3Dstudio.co turns a screenshot of it into a photoreal image. The first render is ready in under 10 seconds. Free to start, no credit card.
Render your model freeAutodesk’s help for Revit 2027 says the in-product engine is Autodesk Raytracer, a physically based and unbiased renderer. When you upgrade an older project to Revit 2027, render settings made for the NVIDIA mental ray engine are mapped to Raytracer settings.
Revit cloud rendering
Revit cloud rendering is still part of Revit. On the View tab, the Render in Cloud button sends the view to Autodesk Rendering, and the Render Gallery shows the finished images. Autodesk’s Revit 2027 help says it is available to Autodesk subscribers and that cloud credits are required. It moves the work off your computer. Autodesk’s help for the service says it works only with 3D views, and that Render in Cloud no longer works from Revit 2018.2 and earlier. Autodesk recommends Revit 2018.3 or later, or in-product rendering. Check what your own subscription includes.
Twinmotion link
Revit 2027 also has a Twinmotion link. Once Twinmotion for Revit is installed, the View tab shows an Open in Twinmotion command. It creates a direct link, and a Synchronize command sends later changes to the Twinmotion project. Autodesk’s help describes Twinmotion as a real-time visualization tool for images, panoramas, videos and interactive presentations. Autodesk explains the full set of options in its own Revit rendering help.
How to set up a Revit scene for rendering
These steps follow the workflow in Autodesk’s help. Steps 1 to 5 can be done in any order, before you set the quality.
- Create the camera view. Open or create a 3D view with the angle you want. The Render tool works only in 3D views. To render a section or elevation, create a 3D view, right-click the ViewCube and choose Orient to View.
- Set material appearances. Each material has a render appearance, which you set in the Materials dialog. Check the materials that fill most of the view first: walls, roof, floor, glass.
- Add lights if you need them. For night or interior views, place lighting fixtures in the model. Turn off lights that are not visible, because extra lights slow the render.
- Add plants, people and cars. Revit renders entourage families together with the model. They add scale and life to an empty scene.
- Set the sun. In the Rendering dialog, under Lighting, choose a scheme that uses sunlight and pick a Sun Setting. The Browse button lets you define the location, date and time of day.
- Choose the quality. The options are Draft, Medium, High, Best and Custom. Autodesk advises starting with Draft to check the settings, and using the high quality settings only when the materials and settings give the result you want.
- Set the resolution. Under Output, choose Screen for an image shown on a display, or Printer for print, and set the DPI. Higher resolution takes longer to render.
- Set the background. Choose a color, a sky with clouds, a custom image or a transparent background. Autodesk notes that for interior views with natural light, a sky with clouds gives more diffuse light.
- Render a region first. Render a small part of the view at Draft quality to check materials and light, then render the whole view.
- Adjust the exposure and save. After the render, you can open the Exposure Control dialog and render again. Save the image as a project view, or use Export in the Rendering dialog. Revit exports BMP, JPEG, PNG and TIFF. Autodesk suggests TIFF if you will open the file in Photoshop.
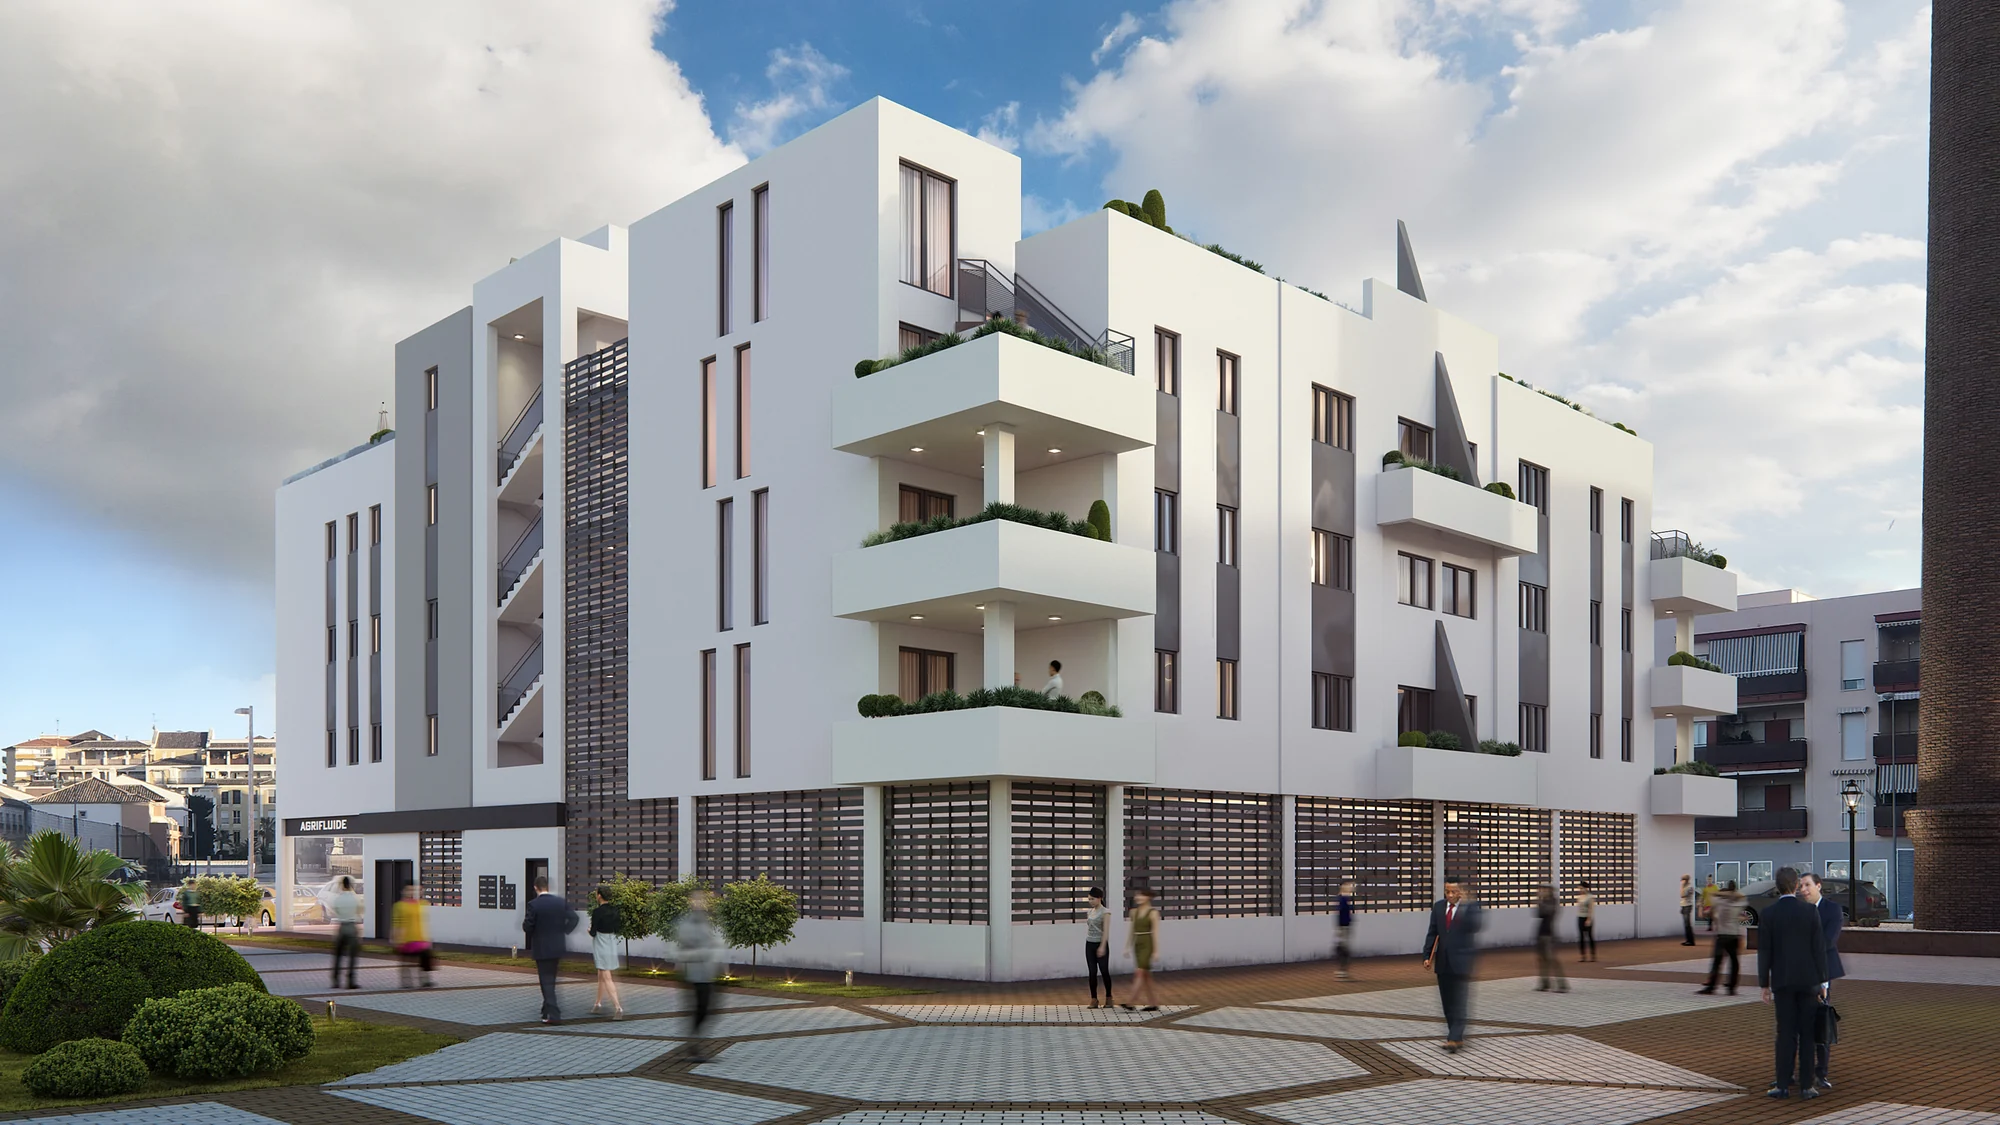
Tip: hide elements that are not in the view and lower the detail level before you render. Autodesk’s help lists this as one of the most effective ways to cut render time.
Revit rendering software: plugins and engines
Revit rendering software falls into 3 groups: the built-in engine, real-time plugins and live links, and photoreal engines. This section covers the last 2 groups. A plugin sends the Revit model to a stronger rendering program. Most of them add a library of trees, people and materials, and most give more control over light than the built-in tool. Each vendor describes its own tool like this:
| Tool | How it connects to Revit | What the vendor says it does |
|---|---|---|
| Enscape | Runs inside Revit | Real-time visualization inside the design tool, with changes shown as you make them. A free trial is offered on the vendor site. |
| V-Ray for Revit | Runs inside Revit | A photorealistic rendering engine that works without altering the original BIM data. A free trial is offered on the vendor site. |
| Twinmotion | Direct link from the View tab | Real-time images, panoramas, videos and interactive presentations. The link is described in Autodesk’s Revit help. |
| D5 Render | D5 Sync add-in, with D5 Render installed | Live sync of geometry, materials and cameras from Revit into D5 Render, for photorealistic rendering in real time, with an asset library. |
| Lumion | Free LiveSync plugin | A real-time connection between Revit and Lumion Pro for images, animations and panoramas. |
Licenses and plans change, so check each vendor’s page for what is free and what is paid. Several of these tools now include AI features as well.
Each of them needs someone to set up materials, light and entourage before the images look finished. Real-time tools are quick for design review. For marketing images, a separate visualization scene is usually prepared, because a BIM model is built for documentation. Our guide to architectural 3D modeling explains the difference between a BIM model and a visualization model.
AI rendering from a Revit screenshot
AI tools skip the scene setup. You export an image of a 3D view, upload it, and the tool makes a new image from it. 3Dstudio.co runs a free AI rendering tool: free AI rendering for architecture, from a screenshot of your 3D model. It is one option among several.
To make the screenshot in Revit:
- Open a 3D view and set the visual style to Shaded or Consistent Colors.
- Frame the view you want. The camera angle you choose is the one in the result.
- Go to File, Export, Images and Animations (Image), and save a PNG. A normal screenshot of the window also works.
- Upload the image to the AI tool, and choose the light and the materials you want.
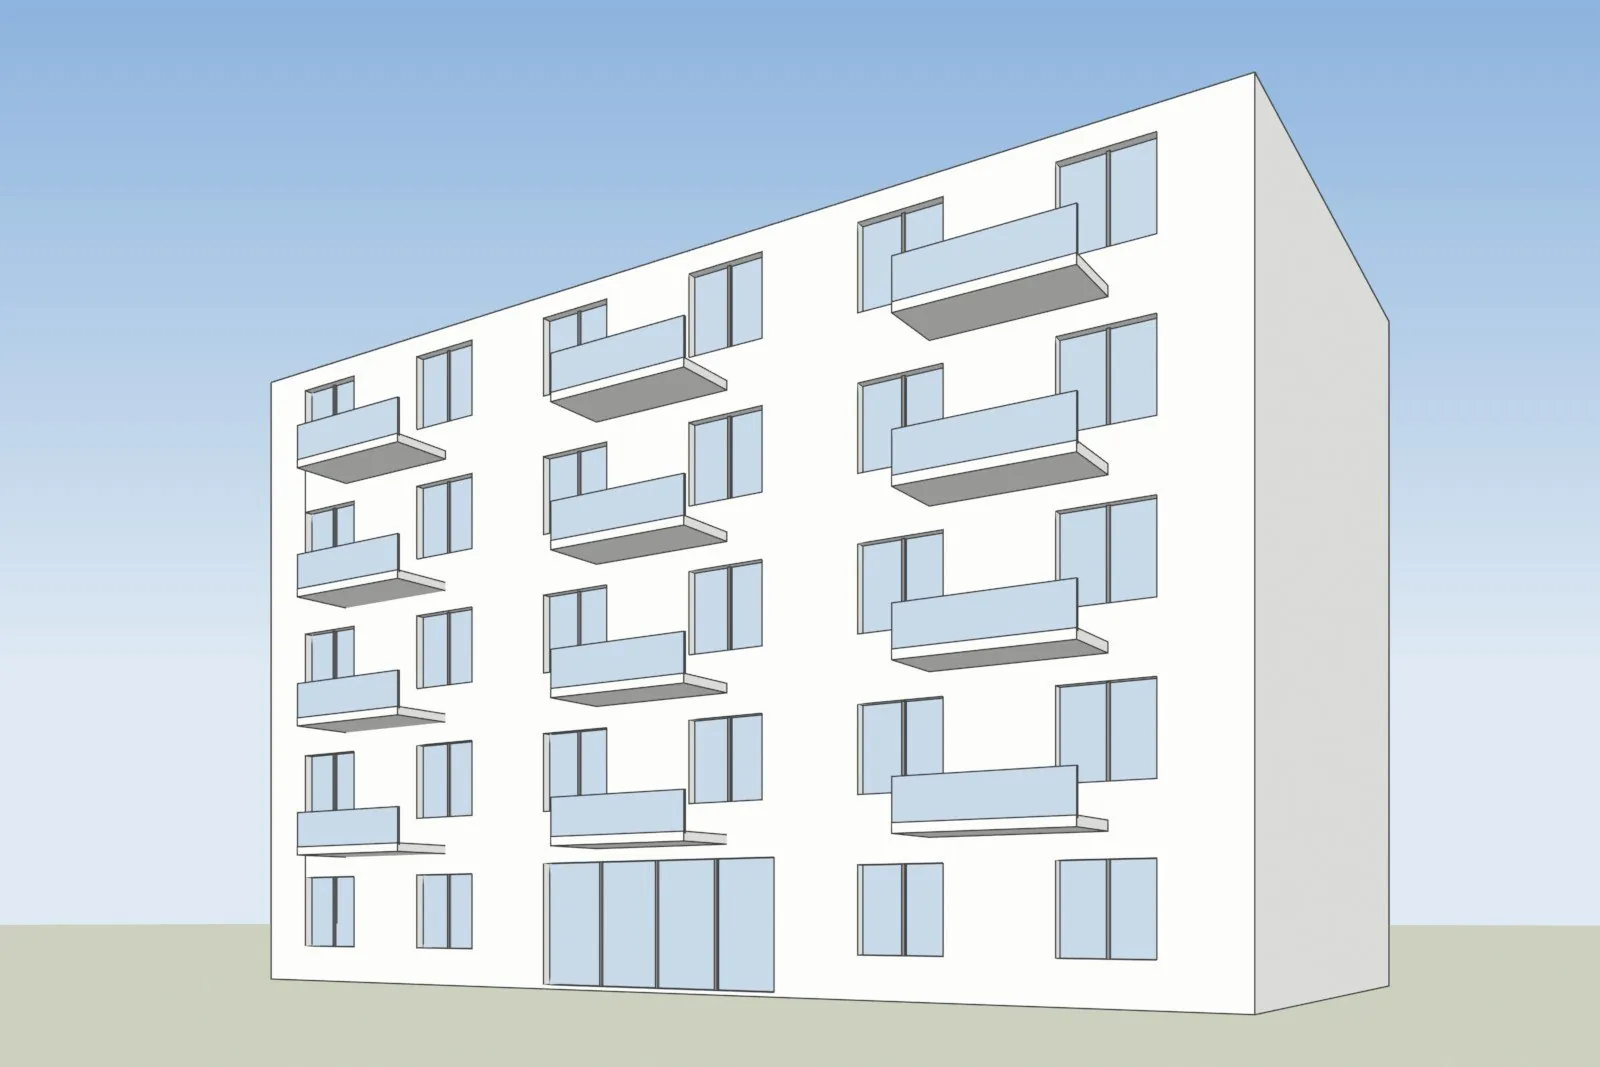
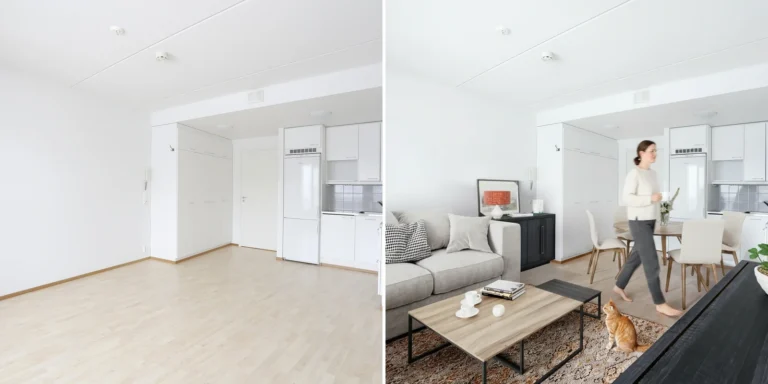
A SketchUp-style screenshot of a 3D model, left, and the free AI render tool’s image of the same view, right.
The example above starts from a SketchUp-style screenshot. The Revit steps are the same: any shaded screenshot of a 3D view can be the input.
AI tools are good for exploring options and early concepts. Depending on the tool, details such as window frames, balconies or the roofline can change or come out simpler, and nothing in the output is checked against your drawings. Compare every AI image with the model before you show it to anyone. For images that must match the drawings, such as marketing, planning, a client or a jury, a studio builds the model from the drawings and a person checks it. Our guide to AI rendering for architects compares the types of AI tools in more detail.
Rendering software for Revit: which route to choose
The right rendering software for Revit depends on what the image is for and how much time you have.
| Route | Setup effort | Suited to | Main limit |
|---|---|---|---|
| Realistic visual style | None | Quick checks while you model | A real-time view, not a rendered image |
| Built-in Render tool | Low | Draft views and internal reviews | Uses the model’s own materials, so it can look plain |
| Cloud rendering | Low | Keeping your computer free while a view renders | Needs an Autodesk subscription and cloud credits |
| Real-time plugin | Medium | Design review, walkthroughs, client meetings | Someone must own materials, light and entourage |
| Photoreal engine such as V-Ray | High | Controlled still images | More setup and longer render times |
| AI from a screenshot | Low | Options and early concepts | Details can change, and nothing is checked against the drawings |
| Studio | Send files | Marketing, planning and sales images that must match the drawings | A project cost and a delivery time |
Send a Revit model to a studio
A studio is the better choice when the image will be used for marketing, sales, a planning submission, a client or a jury, and it has to match the drawings. It is also the better choice when you have no in-house visualization staff or a fixed launch date. 3Dstudio.co works in 3ds Max, Corona, V-Ray, SketchUp, Revit, ArchiCAD, AutoCAD and Photoshop. We model from your BIM and CAD files. We do not author BIM models.
These files are enough to get a fixed price:
- The Revit file (RVT). It saves rebuilding the geometry. Say which design stage it shows and which areas will still change.
- An IFC export. It works if you cannot share the RVT. In Revit, use File, Export, IFC, as described in Autodesk’s help on how to export a model to IFC. You can check what the file contains in our free IFC viewer, which opens the model on your own computer.
- Plans and elevations. PDF or DWG files show the real dimensions and materials.
- Views. Saved 3D views or screenshots of the camera positions you want.
- Materials and references. A material schedule, mood images, and a site map or photos for the surroundings.
The process has 4 stages. You upload the files and get a reply within 30 minutes: a fixed price and a delivery date, or the 1-2 questions we need answered first. A clay model comes next, where camera, lens and time of day are agreed while changes are cheap. Then a photoreal first look of one view, with 2 revision rounds included. The final images are delivered in 4K with full usage rights. See how the process works, browse the portfolio, or read what drives price in our 3D rendering cost guide. Projects start at €1,000, and the pricing page has the typical ranges.
Common Revit rendering problems
| Problem | Likely cause | What to do |
|---|---|---|
| The render takes very long | Many elements, high quality, large image size, or glass and blurred reflections | Hide elements that are not in the view, lower the detail level, render a region, and start at Draft quality |
| The image looks flat | Materials set up for documentation, and an empty scene | Add plants and people, use a sky with clouds, check the main materials, or move to a plugin |
| The Render button does nothing for a plan or section | The Render tool works only in 3D views | Create a 3D view oriented to that view with the ViewCube |
| The image is too dark or too bright | Exposure settings | Adjust the exposure after rendering, and render again |
| The sky and clouds are missing in Photoshop | PNG export can lose the background in Photoshop | Export a TIFF |
| A plugin scene is out of date | The model changed after the last sync | Use the plugin’s sync command after each design change |
If the result still does not look right, check the model before you change the render settings. A render shows what the model contains. Render settings cannot add detail that the model does not have. See our guide to photorealistic rendering for what makes an image read as real.
Questions about rendering in Revit
Can Revit make photorealistic renders?
Yes. Autodesk’s help describes the Render tool as creating a photorealistic image of a 3D view. The result depends on the materials, light and entourage in the scene. For final marketing images, you can also use a plugin or a studio.
Does Revit still have cloud rendering?
Yes. Autodesk’s Revit 2027 help describes Render in Cloud on the View tab, using Autodesk Rendering. It is listed as available to Autodesk subscribers, and cloud credits are required. Autodesk’s help for the service says it no longer works from Revit 2018.2 and earlier. Check your subscription for the current terms.
Can I render a floor plan or a section in Revit?
Not directly, because the Render tool works only in 3D views. Create a 3D view and orient it to the plan, section or elevation with the ViewCube, then render that view.
How do I get a render from Revit without extra software?
Use the built-in Render tool on the View tab. If you want a different look without a plugin, export a screenshot of a 3D view and try a free AI rendering tool, then check the result against your model.
What does a studio need to render a Revit model?
The RVT file or an IFC export, plans and elevations as PDF or DWG, the camera views you want, and material specifications or reference images. For 3Dstudio.co that is enough to get a reply within 30 minutes.
Diagrams in this post are drawn with an AI image tool from our brief and checked by our team.
More on AI rendering
- 3Dstudio.co AI Render
- SketchUp AI rendering
- SketchUp Rendering Software: Plugins and Free Options Compared
- How to Render in SketchUp: Built-in Tools, Plugins and AI
- Twinmotion Price in 2026: Free Tier, Seats and Real Costs
- D5 Render Price in 2026: Community, Pro, Teams and Real Costs
- Lumion Price in 2026: Every Plan, Real Costs and a Cheaper Route
- V-Ray Price in 2026: Plans, Licenses, Host Programs and a Cheaper Route
- Enscape Price in 2026: Every Plan, What It Includes and a Cheaper Route
- Nano Banana Architecture: How to Keep Your Design in AI Renders
- SketchUp Diffusion: What It Is Now, What It Costs and How to Keep Your Model
- AI Rendering for Architects: How to Keep Your Design
- ArchiVinci Alternative: An Honest Comparison for Architects
- Gendo AI Alternative: An Honest Comparison for Architects