3D Visualization for Architects: Uses, Tools and When to Outsource
What 3D visualization is for architects, what to render in-house and what to give a studio, and how it changes at design review, planning, competition and marketing.
In this article
- A grey model settles the camera and massing before any material is added, while changes are still cheap.
- Real-time tools suit a design that is still changing; a studio suits hero images, planning views and competition boards.
- A verified planning view has a camera position fixed by survey and a written method. It is not a certificate.
- A competition board needs a few consistent images; check the print size table before you choose a resolution.
3D visualization for architects is the use of a 3D model of a design to produce images, animations and 360-degree views that test the design, explain it to clients, support planning applications, enter competitions and market the finished building. Architects make early design views themselves in real-time tools; a studio is usually hired for photoreal hero images, planning views in real context, competition boards and marketing sets.
The table below shows what the images have to prove at each stage, what to send and the mistake to avoid. Our architectural visualization service builds these sets from your drawings, and 3D rendering for architects explains how we work with practices.
| Stage | Question the image must answer | Typical output | What to send | Common mistake |
|---|---|---|---|---|
| Design review | Does the massing work from the street? | Grey (clay) views from a Revit or SketchUp model | The model or drawings, and the viewpoints to test | Choosing the camera after materials are added |
| Planning | How does the scheme sit among its real neighbors? | Eye-level context views or a photomontage | Site photos, survey data, neighboring footprints | Planting shown at full growth, context simplified |
| Competition | What is it, what is it made of, where does it sit? | 1 hero view, 2 to 3 supporting views and a section | The drawings and the board layout | Too many views, mixed light |
| Marketing | What does the finished building look like at its best? | Hero exterior, aerial, interiors, animation | The existing scene from earlier work | Rebuilding the scene instead of reusing it |
In-house tools vs a visualization studio
Many practices render in the office with real-time tools such as Enscape, Twinmotion, Lumion or D5 Render. These tools show the design model as you work on it, which is what a design that is still changing needs. A studio builds a finished image: the model is prepared from the drawings, lit and checked as one picture.
| Task | Real-time tool in the office (Enscape, Twinmotion, Lumion, D5 Render) | Visualization studio |
|---|---|---|
| Testing design options | Good fit. Change the model, look again. | Not needed yet. Early changes are cheapest in your own model. |
| Weekly client reviews | Good fit. Walk through the current model with the client. | Rarely needed. |
| Photoreal hero image | Possible. The result depends on the time and skill available in the office. | Good fit. Built, lit and checked as a finished image. |
| Planning view with real surroundings | Possible for rough views. Matching a site photograph needs careful setup. | Good fit when the context must match the site photos or survey data you supply. |
| Competition board under deadline | Possible if the team has free time before the deadline. | Good fit when the team is busy drawing. |
| Marketing set and animation | Possible. Real-time tools export video and 360-degree panoramas. The finish depends on the time and skill available. | Good fit. One scene gives stills, animation and 360-degree views. |
Do it in-house when the design is still changing and the team can iterate inside Revit or ArchiCAD. Hire a studio when the image has to persuade a jury, a committee or buyers, or when nobody in the office has time before the deadline. The full decision, including what to send and what to expect, is in our guide to outsourcing 3D rendering vs keeping it in-house.
Design reviews with clients
Before any material or light is added, the first useful image is often a grey model: an untextured 3D model built from the drawings, shown from the camera angle a client wants to test. A change is cheap at this stage. Use it to check how tall the building reads from the street, whether the massing works from the angle a buyer will stand at, and whether a balcony line blocks a neighbor’s window.
The camera, lens and time of day get agreed on the grey model, while moving them is still cheap. How the quote and process work sets out all 4 stages.
After the camera is agreed, the scene gets its first photoreal preview: materials, light and surroundings are added, and it is still open to change. Every project includes 2 revision rounds. Make design changes at the grey model or preview stage, because moving a glass wall or a roof pitch after the final render costs more.
Planning submissions and verified views
A planning committee judges a building in its setting. It wants to see the scheme from the sidewalk, or from the viewpoint a case officer names, with the neighboring buildings, trees and street furniture in the frame. Show new trees at the size they will have when the scheme is finished, and do not simplify the neighboring buildings. Context modeled from measured drawings or site photographs is easier to defend in questions than a stock image pasted in.
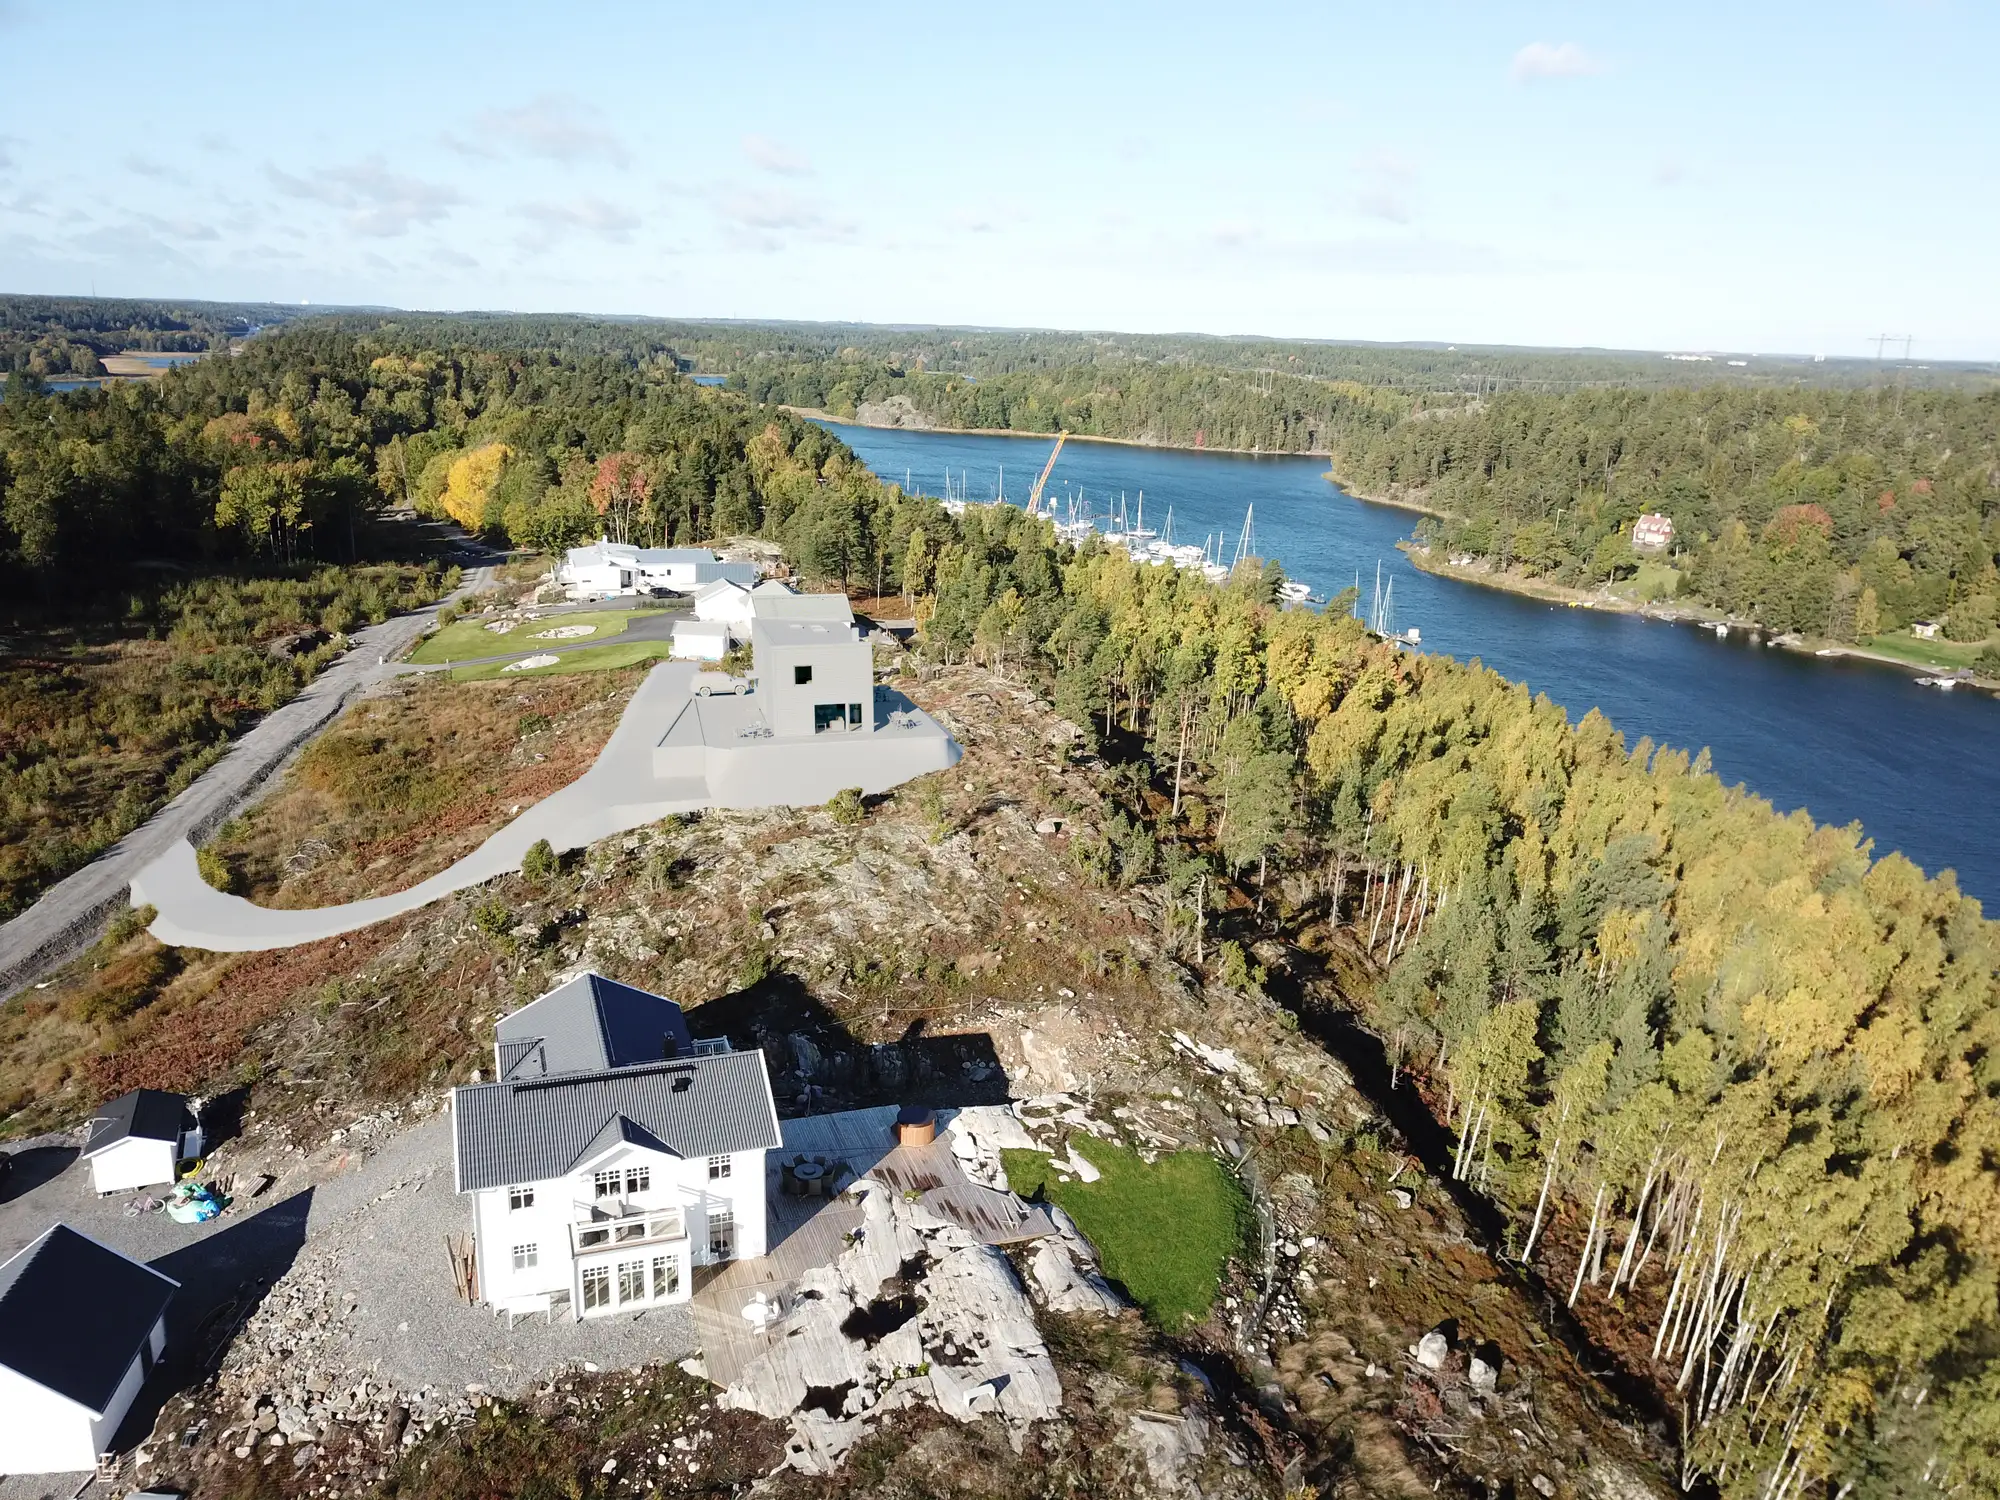
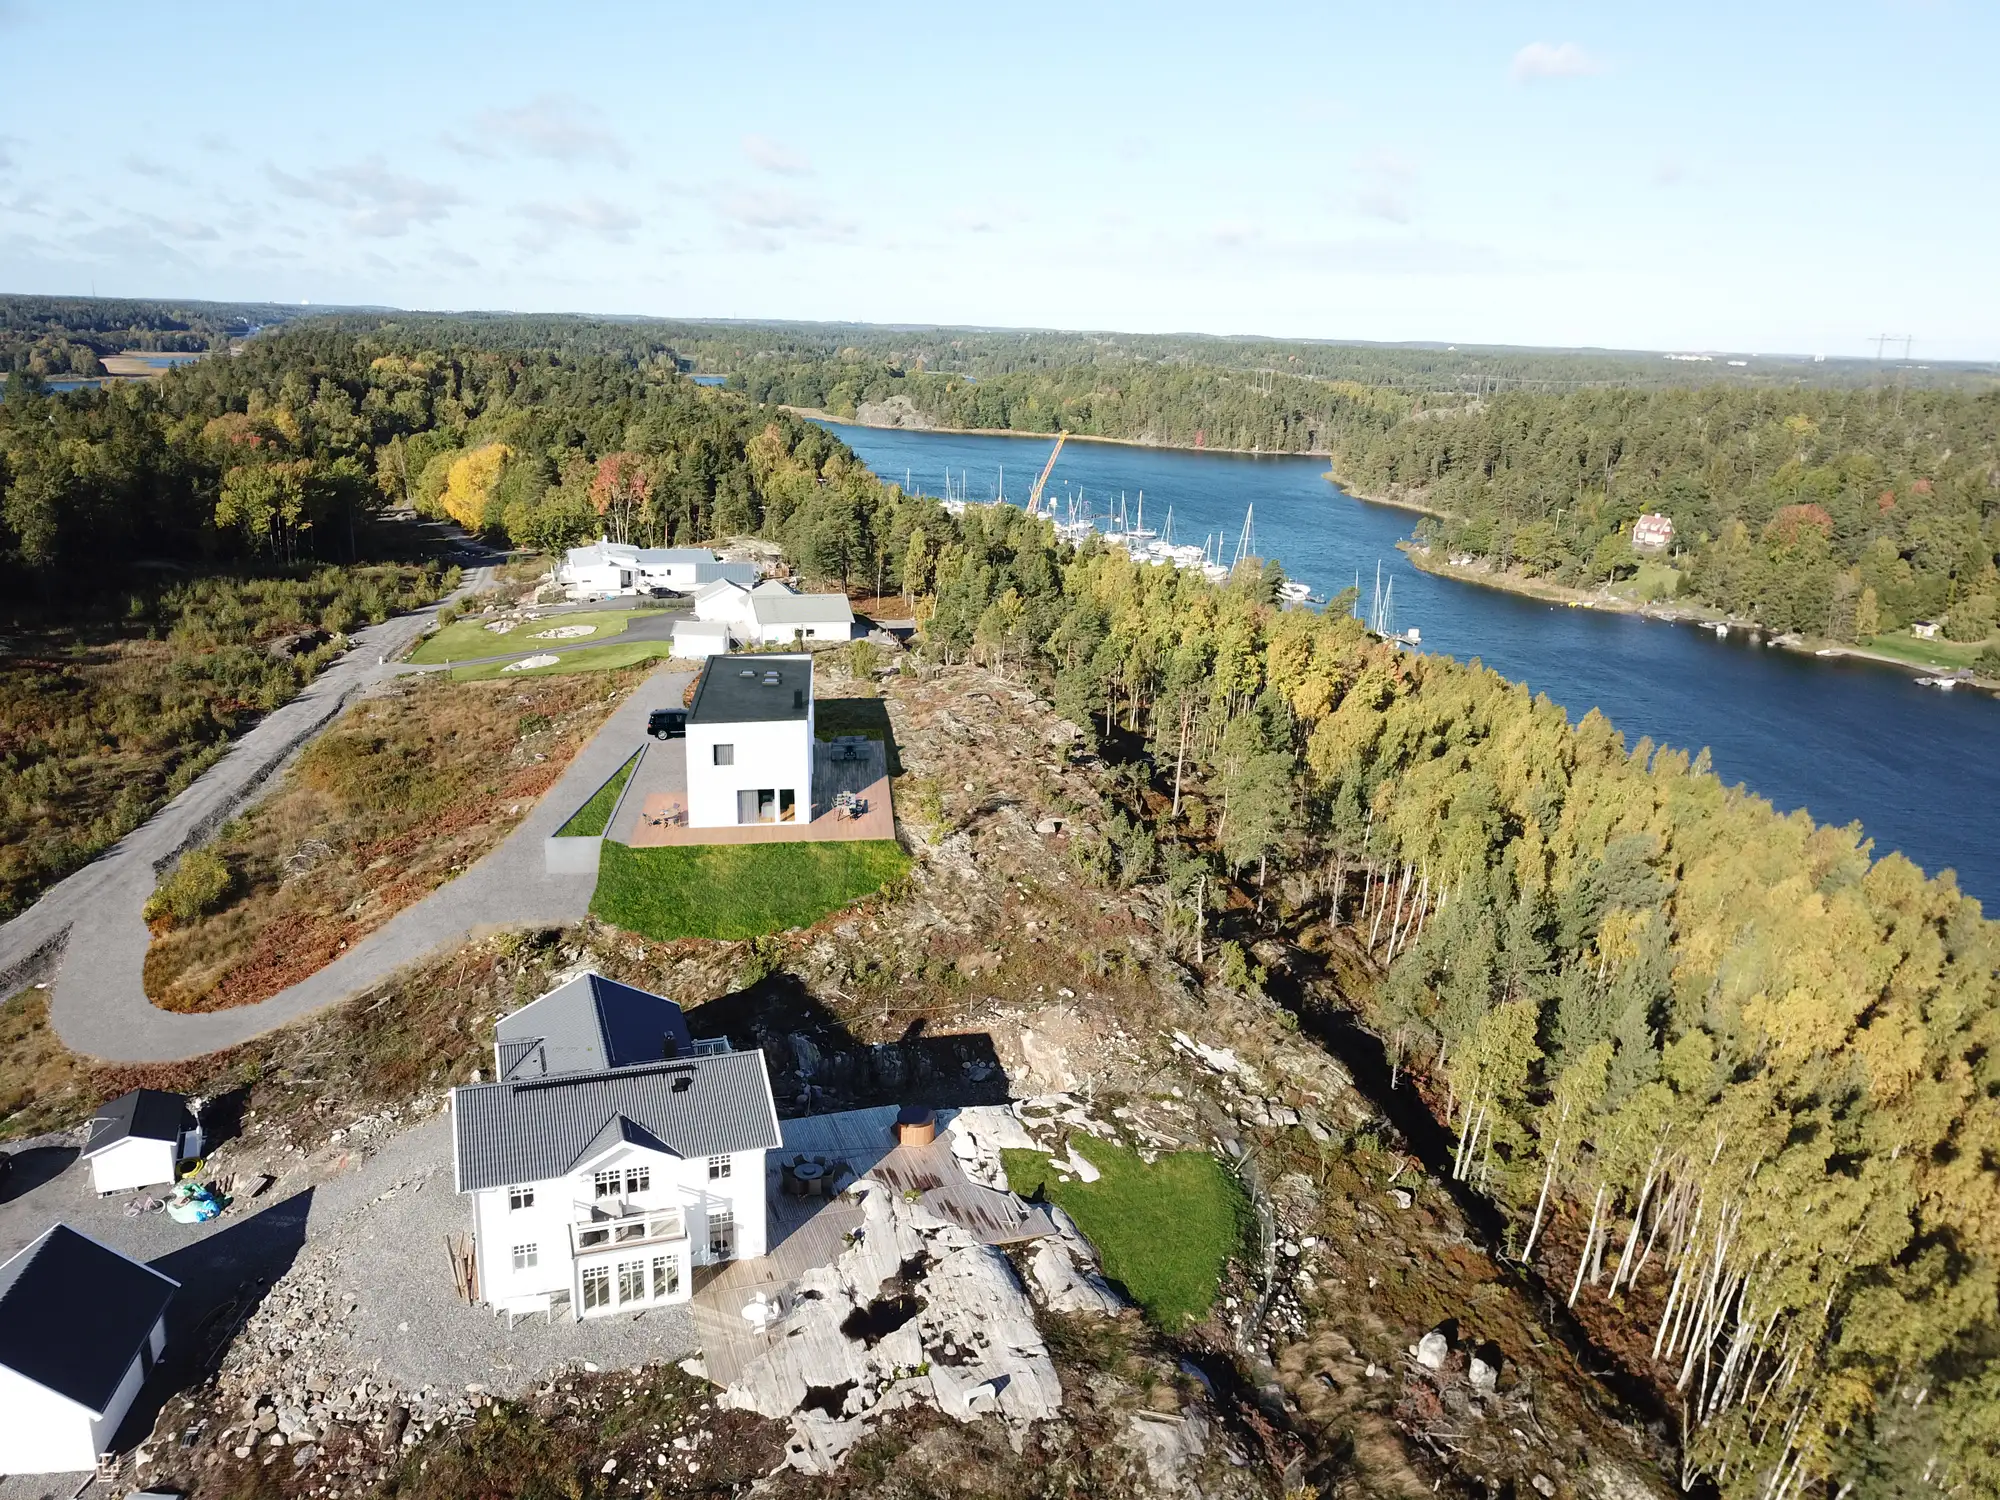
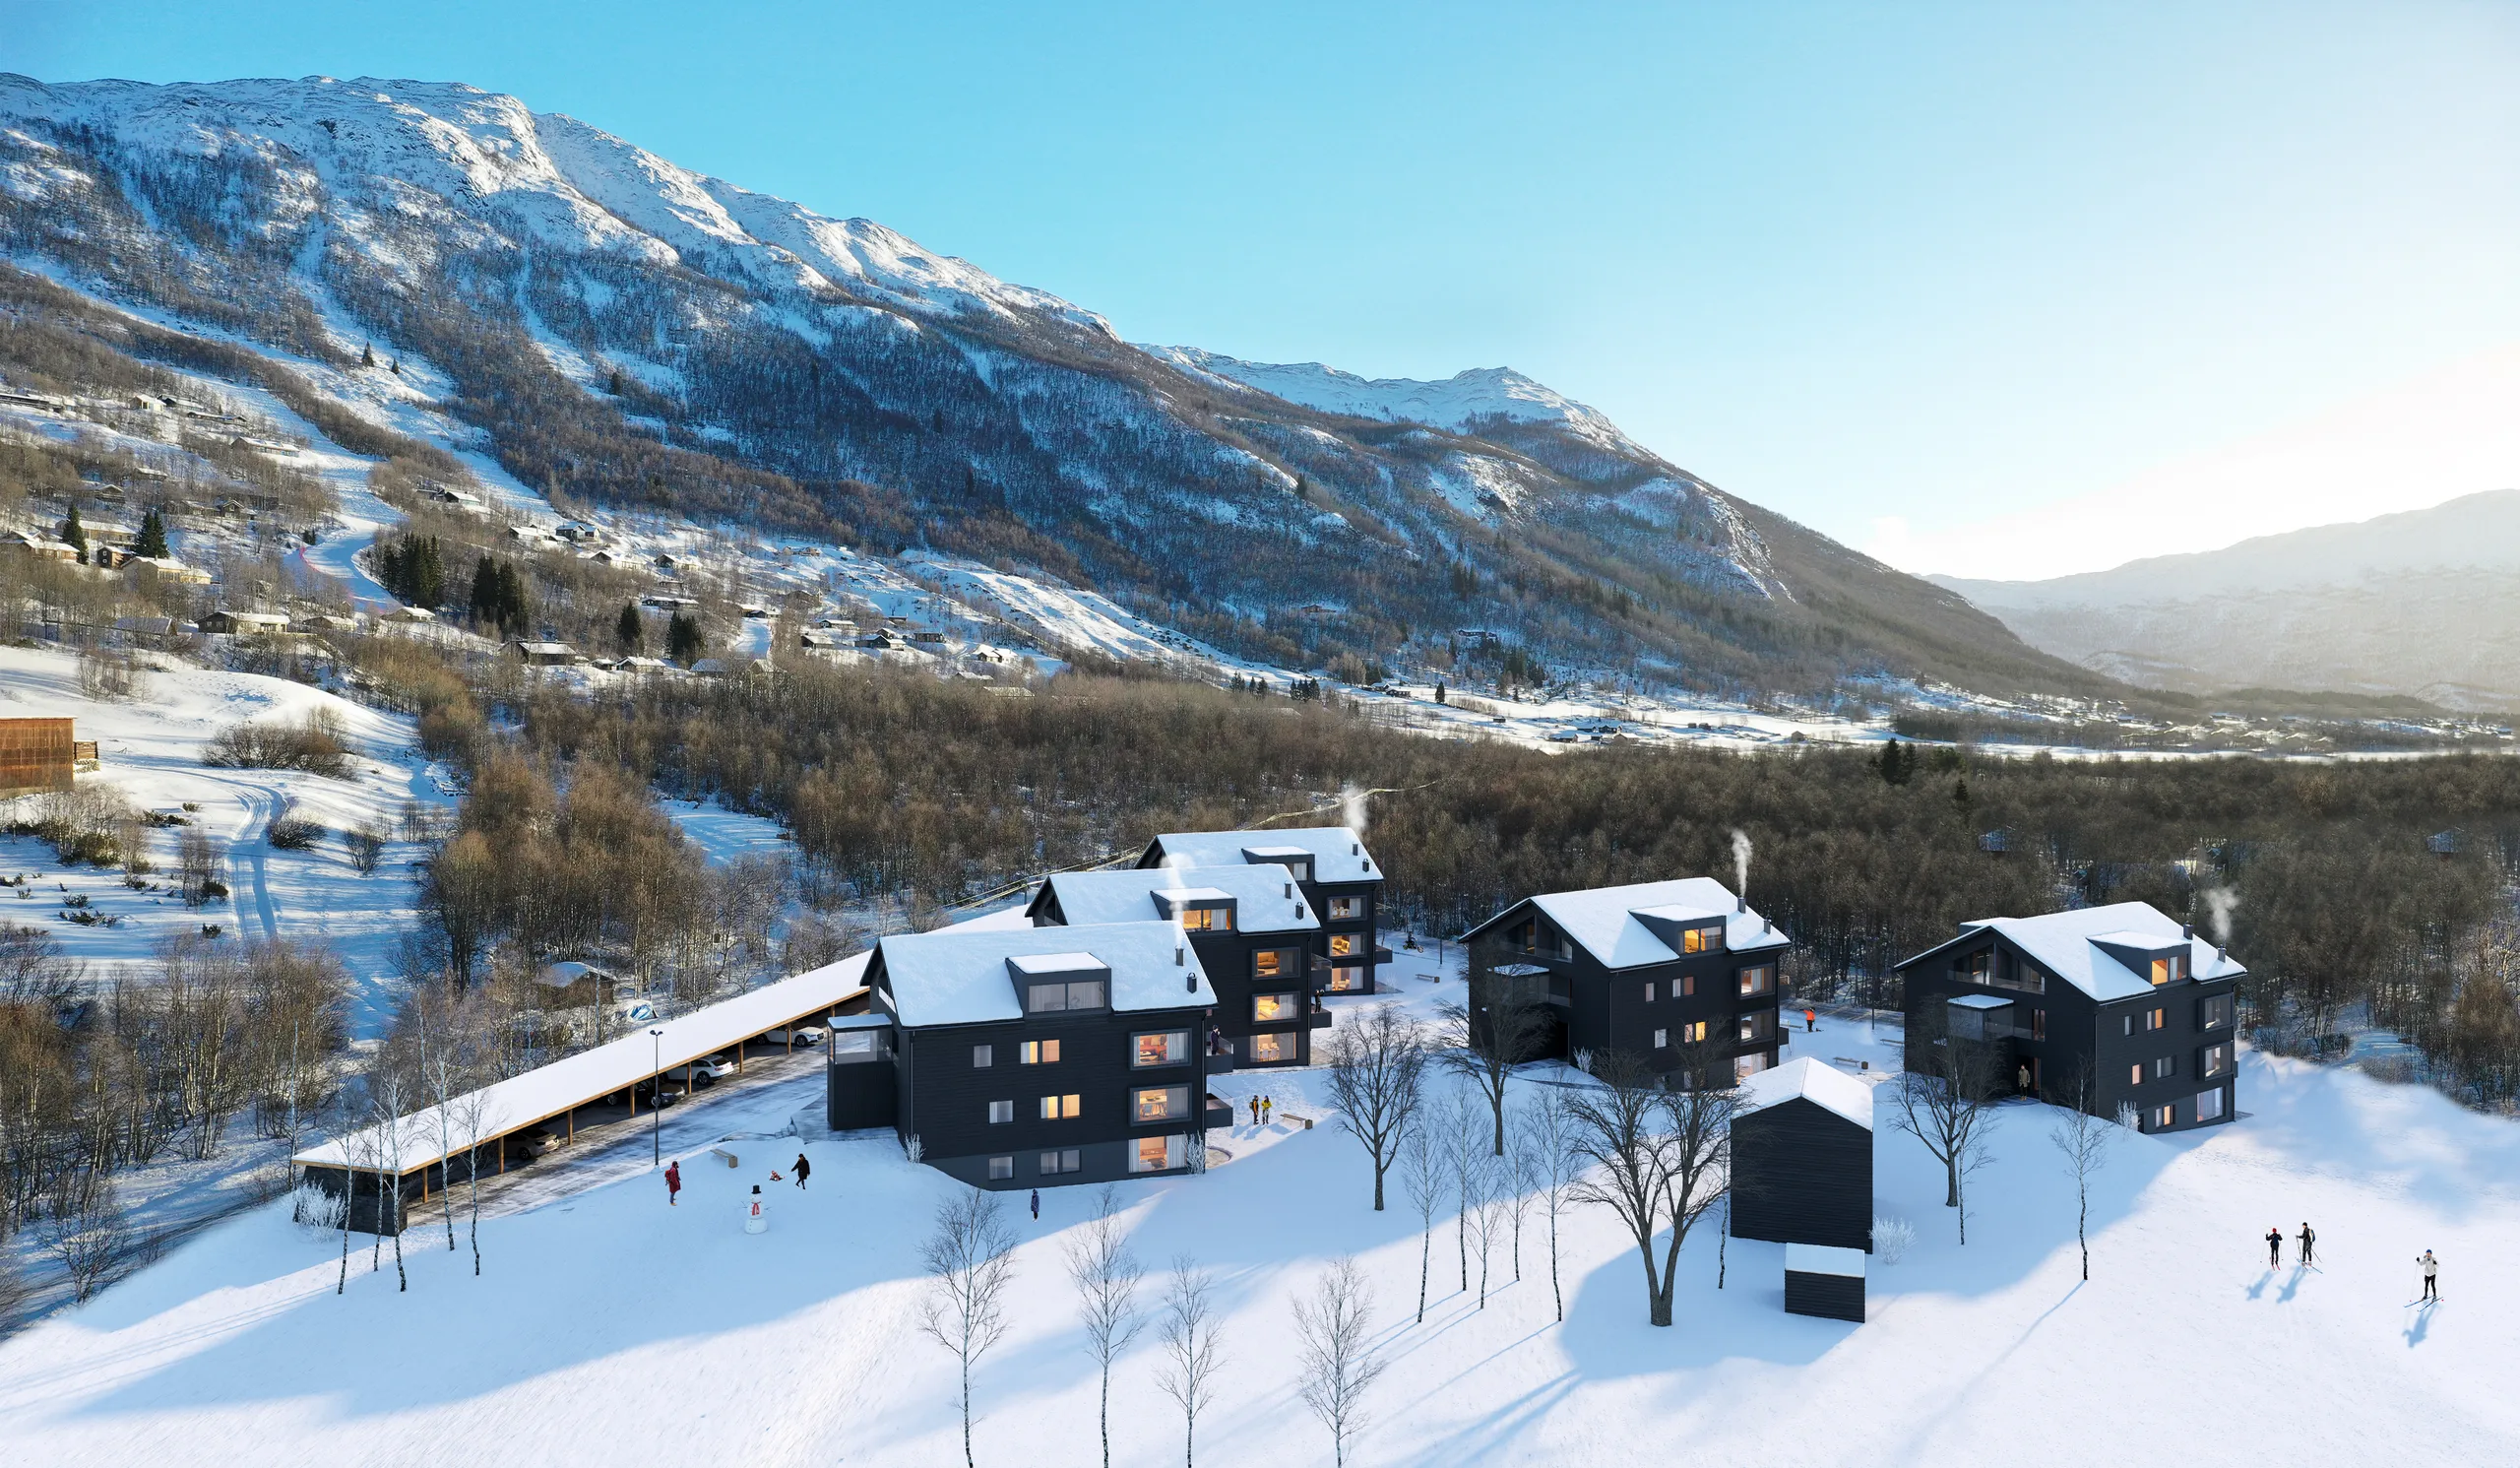
Left is the untextured model and right is the finished image from the same aerial camera, showing the new buildings in their real coastal setting.
Some authorities ask for a verified view. A verified view is a photomontage whose camera position is fixed by a site survey and whose method is written down. It is not a certificate. In the UK, the Landscape Institute guidance Technical Guidance Note 06/19 describes 4 visualization types:
- Type 1: annotated viewpoint photograph.
- Type 2: 3D wireline or model, usually without a photograph.
- Type 3: photomontage or photowire.
- Type 4: photomontage or photowire that can be verified by survey and scale.
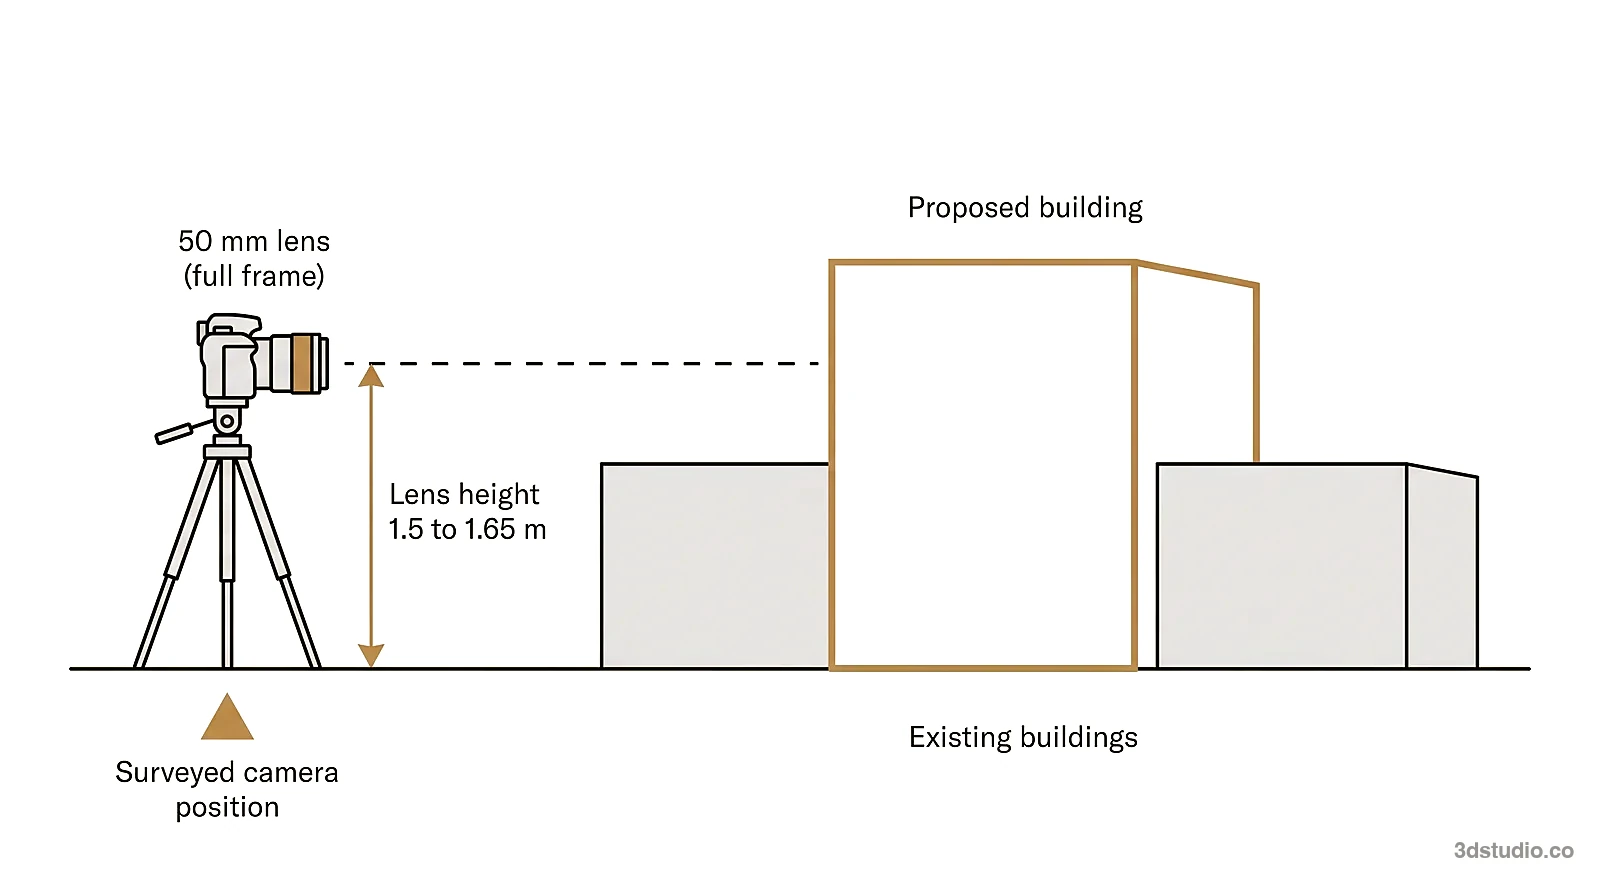
Type 4 is the one people mean by a verified view. The guidance asks for a defined camera and lens (a full-frame camera with a 50 mm lens, unless the authority agrees otherwise), a camera position fixed with enough accuracy to place the model correctly, and a written Technical Methodology. The lens height above the ground is normally between 1.5 and 1.65 meters, and the methodology explains any other height. The image should say that it is Type 4. London planning also uses accurate visual representation (AVR) levels from the London View Management Framework. Other countries have their own rules, and your planning officer will say which type is needed.
The work is shared. The surveyor fixes the camera positions and site data, and the visualizer builds the model and matches it to the survey and the photograph. We build context views from the survey data and photographs you send, from the camera position you specify. If your authority asks for a verified view, say so when you send the files. For the ground-level view itself, see our 3D exterior rendering service and the 3D exterior rendering guide.
Architecture competitions and what a jury needs
A jury looks at many boards in a short time. From a board it needs to see what the building is, what it is made of and where it sits. It also needs one image that explains the main idea of the design on its own. A board that shows every angle is harder to read than 1 hero view and 2 to 3 supporting views, each answering a different question, such as the street, an interior, a plan or a section. Check the competition brief for a maximum number of images.
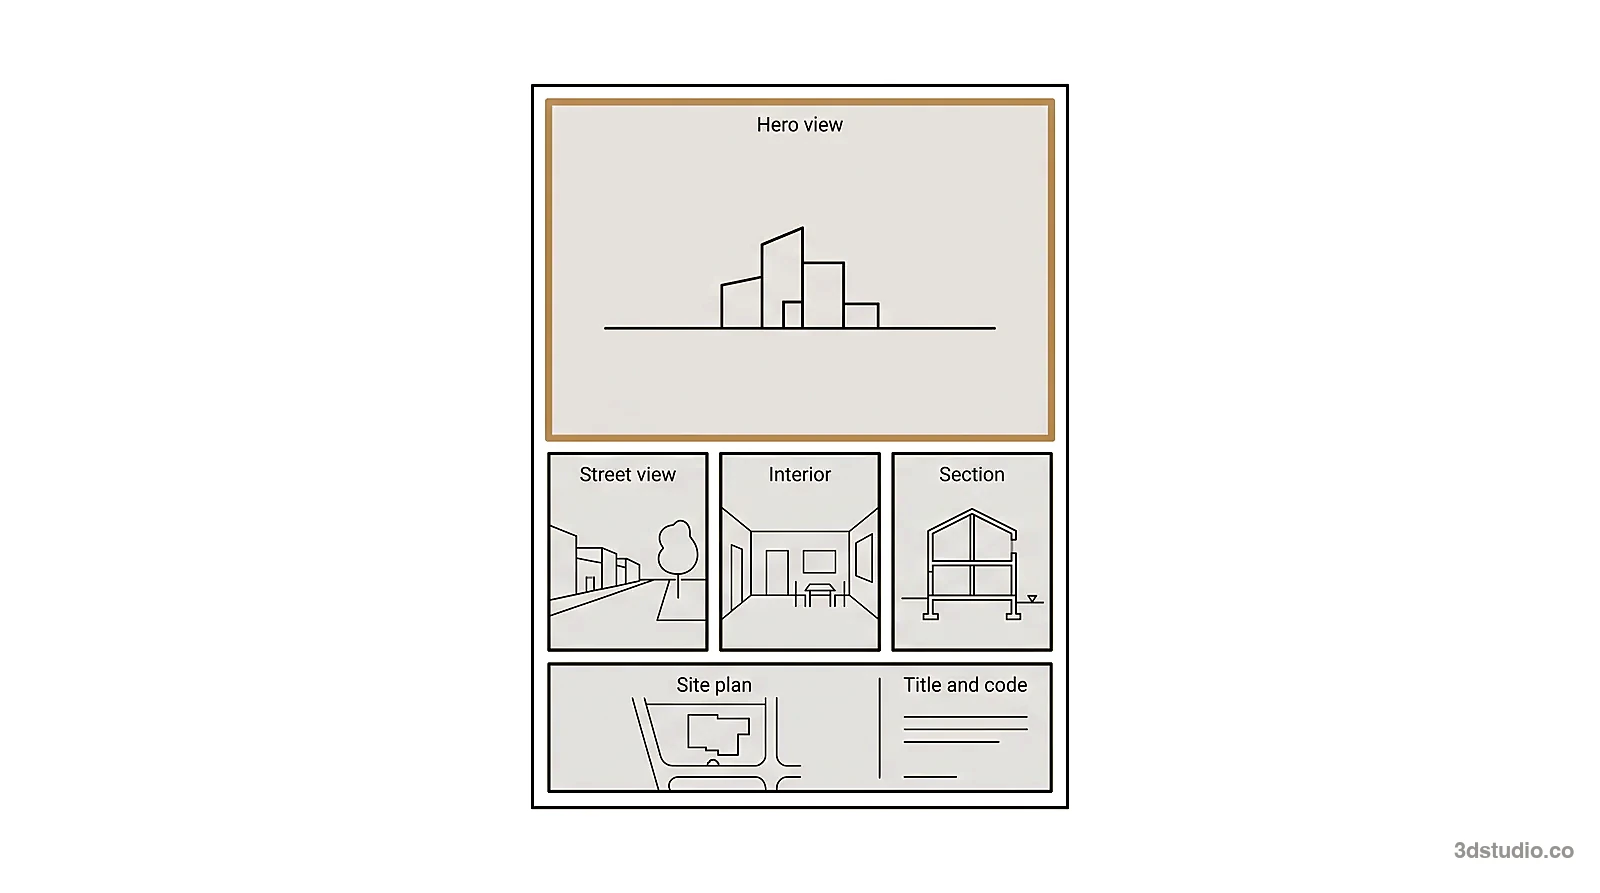
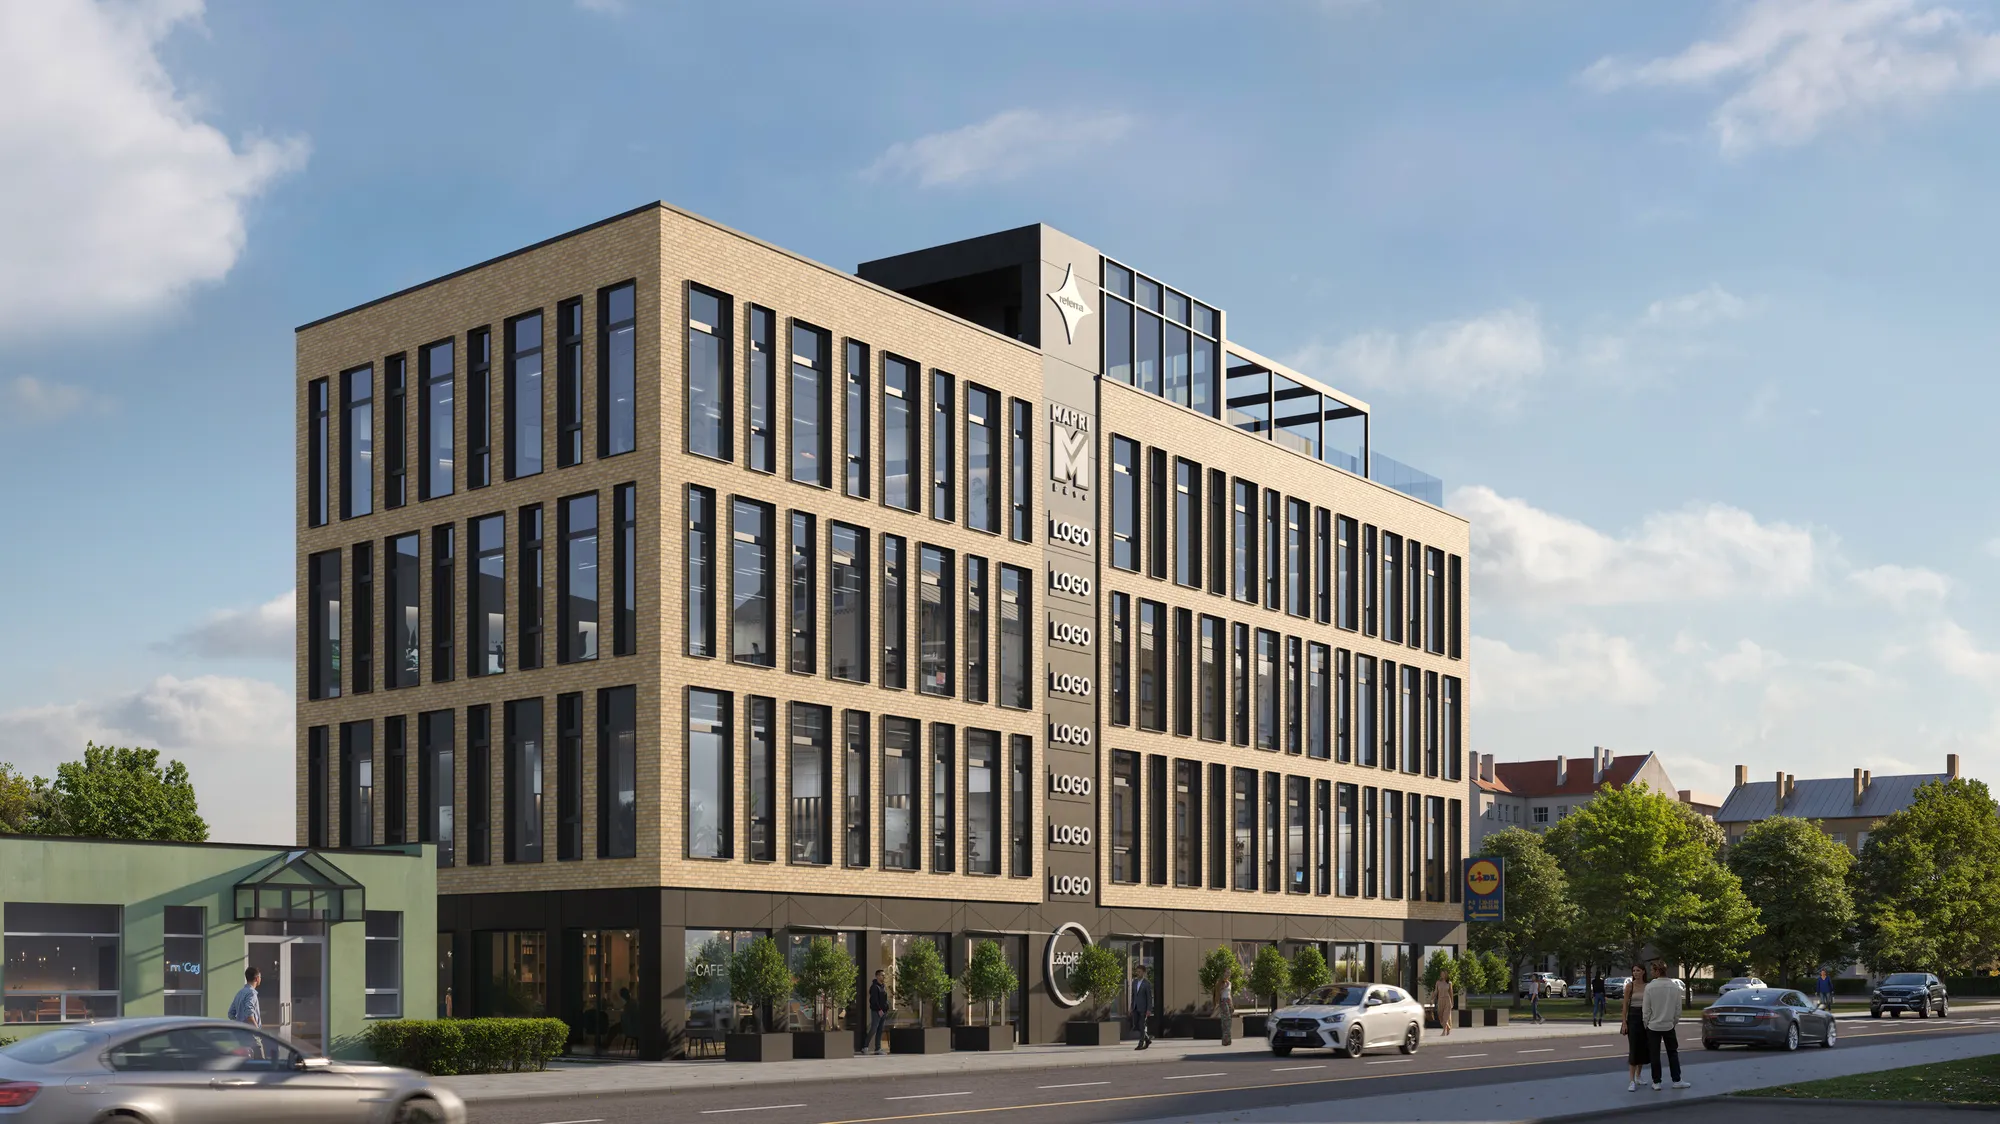
A section cut rendering is often the clearest way to show how a building works without adding another perspective view.
Many competitions are anonymous. Images must carry no studio watermark or logo, and no names in the file names or metadata. The visualization studio must not publish the work before the results. Tell the studio the anonymity rules when you send the brief. We work under NDA as standard and never publish a project without written permission.
Print sizes for a competition board
Board text is set by the architect in the layout file, not inside the render. Text that can be read on a laptop but not across a jury room is a layout question: set it larger in the layout. Render resolution decides something else, which is how sharp the picture is when it is printed large. Pixels = millimeters / 25.4 x ppi (pixels per inch), shown here for portrait boards at 150 and 300 ppi.
| Board size | Size in mm | Pixels at 150 ppi | Pixels at 300 ppi |
|---|---|---|---|
| A3 | 297 x 420 | 1754 x 2480 | 3508 x 4961 |
| A2 | 420 x 594 | 2480 x 3508 | 4961 x 7016 |
| A1 | 594 x 841 | 3508 x 4967 | 7016 x 9933 |
| A0 | 841 x 1189 | 4967 x 7022 | 9933 x 14043 |
A 4K image (3840 x 2160 pixels) fills the width of an A2 board at about 230 ppi. A full-width hero on an A1 board needs 8K to reach about 330 ppi, and 8K to 12K is available on request. We deliver 4K as standard. Ask the printer what resolution the board needs, because boards viewed from a distance are often printed at lower ppi.
Keeping a consistent set across a submission
The images in one submission should look like one set. If the hero image is lit at dusk with a warm sky and a supporting interior is lit like midday, a jury or a committee sees an inconsistent set. Keep one lighting setup, one material library and one camera height across the whole submission.
This is also how the price works: the first view of a scene carries the cost of building it, and further views of the same scene cost much less, because the model and materials already exist. A competition board with a hero and several supporting views, or a planning set that grows when a case officer asks for another angle, both benefit. What moves the price of a set is on our pricing page, and the 3D rendering cost guide explains every driver. Repeat clients and later phases of an already-modeled project are priced differently again, because the scene is kept rather than rebuilt.
Marketing the finished project
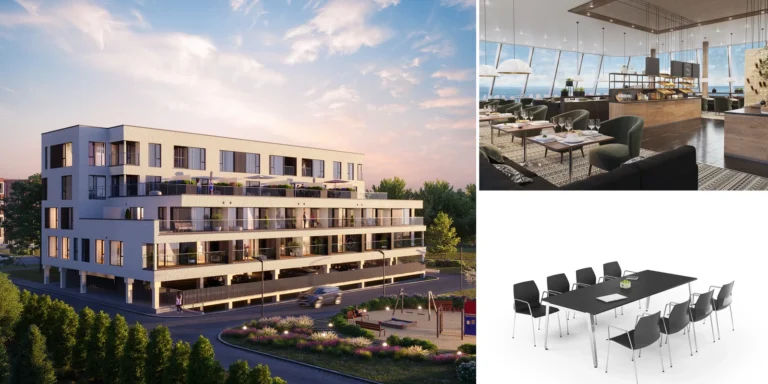
Once a scheme is built, or is going to buyers before completion, the same scene can be reused for marketing instead of being rebuilt: a hero exterior for a brochure cover, an aerial for a location page, an interior for a listing. Full usage rights come with every delivered image, with no license fee, so the same frame can go on a brochure, a portal, a site banner, in the press, on social and on the practice’s own site. The 3D scene stays with the studio, which keeps later views cheap. For off-plan sales, see pre-construction marketing rendering.
Output types and where they fit
| Output | Best stage |
|---|---|
| Still image (exterior or interior) | All stages |
| Grey (clay) view | Design review |
| Section cut rendering | Competition, client explanation |
| Aerial view | Planning, marketing |
| 3D animation or walkthrough | Competition, marketing |
| 360-degree virtual tour | Marketing, client review |
| 3D floor plan | Marketing, client explanation |
What makes a presentation image read clearly
3 decisions make an image easy to read: camera height, lens and time of day. Set the camera at eye level, 1.5 to 1.65 meters above the ground, for any view that a planning officer or jury will judge as realistic. Keep the camera level, or correct the perspective, so vertical lines stay vertical. Use clear daylight when the image has to show massing and materials, and dusk light with lit windows for a hero image. Check every set for these 6 mistakes:
- Camera above eye level. A raised camera shows more roof and less street than a person standing on the street sees. Check that the lens height is 1.5 to 1.65 meters.
- Lens too wide. Verticals lean and near objects stretch. Avoid very wide lenses for street views, and use 2-point perspective correction to keep verticals straight.
- Trees at full maturity. Show planting at the size it will have when the scheme is finished.
- Neighbors simplified or left out. Compare the image with a site photograph from the same position.
- Different light and color in each image. Put the whole set side by side and compare sky, shadows and color.
- Entourage that hides the building. A few people, a car or two and ordinary planting look real. A person in every window and diners at every table look staged. The building should be the main subject of the image.
AI image tools and architectural visualization
AI image tools such as Midjourney, ChatGPT image generation and Stable Diffusion can make architectural images, and they are good for exploring options and early concepts. Depending on the tool, details such as window frames, balconies or the roofline can change or come out simpler, and nothing in the output is checked against the drawings. That makes them unsafe for a planning submission, or for a competition image that a jury compares with the plans. A studio model is built from the drawings and checked by a person. Use AI for a mood board in the brief, not for the submitted image.
Briefing under deadline pressure and files to send
How to brief under a tight deadline
The fastest brief is built from files, not from a discovery call: send the drawings, name the deadline up front, and mark or describe the viewpoints you want. A fixed price and a delivery date come back within 30 minutes of the files arriving, with no questionnaire first. Delivery takes about a week for a single view and 2 to 3 weeks for a medium set.
Files to send from Revit, ArchiCAD or SketchUp
A coordinated model from Revit, ArchiCAD, SketchUp or 3ds Max is fastest, but a DWG, a PDF plan and elevation set, an IFC file, or even a photo of a hand sketch is enough to start a quote.
- The drawings: DWG, PDF, Revit, ArchiCAD, SketchUp or 3ds Max, or a photo of a sketch
- The site: measured site data, site photographs, a map pin, and any neighboring footprints you hold
- Materials: a specification or schedule, supplier links, or a mood board
- House style: 3 to 5 images your last set should have looked like, so the new set is judged against your own work
- Viewpoints: marked on a plan, or described in a sentence
Questions about 3D visualization for architects
What is 3D visualization in architecture?
It is the use of a 3D model of a design to produce images, animations and 360-degree views. Architects use it in 4 places: design reviews with clients, planning submissions, architecture competitions and marketing the finished building. The same model can serve all 4, so later views cost less than the first.
Can ChatGPT or other AI tools make architectural renderings?
Yes for exploring options and early concepts, no for submission images. Depending on the tool, details such as window frames, balconies or the roofline can change or come out simpler, and nothing is checked against the drawings. Use AI for a mood board in the brief, and a model built from the drawings for the image you submit.
Should architects render in-house with Enscape or Lumion, or hire a studio?
Both, for different jobs. In-house real-time tools suit fast iteration while the design is changing. A studio suits photoreal hero images, planning views in real context, competition boards under deadline and marketing sets. The full comparison is in our outsourcing guide above.
What resolution does an architecture competition board need?
It depends on the board size. An A1 board at 300 ppi is 7016 x 9933 pixels. A 4K image is enough for the width of an A2 board, and a full-width A1 hero needs 8K, which is available on request. The print size table above lists A3 to A0.
What is a verified view or AVR in a planning application?
It is a photomontage with a camera position fixed by a site survey and a written method, not a certificate. In the UK this is Landscape Institute TGN 06/19 Type 4, and London uses AVR levels. The lens height is normally 1.5 to 1.65 meters. Ask your planning officer which type is needed.
Can the same scene be reused for marketing after a competition or planning win?
Yes. The scene stays with the studio rather than being rebuilt, so further views of it for a brochure, a portal listing or a press release cost much less than the first view.
Diagrams in this post are drawn with an AI image tool from our brief and checked by our team.