3D Modeling in Blender: A Beginner Tutorial
A structured beginner path for 3D modeling in Blender, covering the interface, mesh editing, modifiers, your first objects, UVs, materials and rendering.
In this article
- A step by step learning path for 3D modeling in Blender, from the interface to rendering
- How edit mode, modifiers and UV unwrapping fit into a normal modeling workflow
- The difference between modeling a hard surface object and an organic one
- Where to send a model instead of building it yourself
This is a beginner learning path for 3D modeling in Blender, a free, open source 3D application. It covers the interface, mesh editing, modifiers, a first hard surface object, a first organic object, UV unwrapping, materials and rendering, in the order a new modeler usually needs them.
Every step below uses Blender’s own tools, so it works whether the goal is to learn 3D modeling as a skill or just to understand what a modeler does. For a model built without learning the software, 3D Studio’s 3D modeling service builds it to order instead.
Blender interface basics
Blender opens into a 3D viewport in the middle, a properties panel on the right, and an outliner listing every object in the scene above it. A timeline sits along the bottom for animation, though it is not needed for a first model.
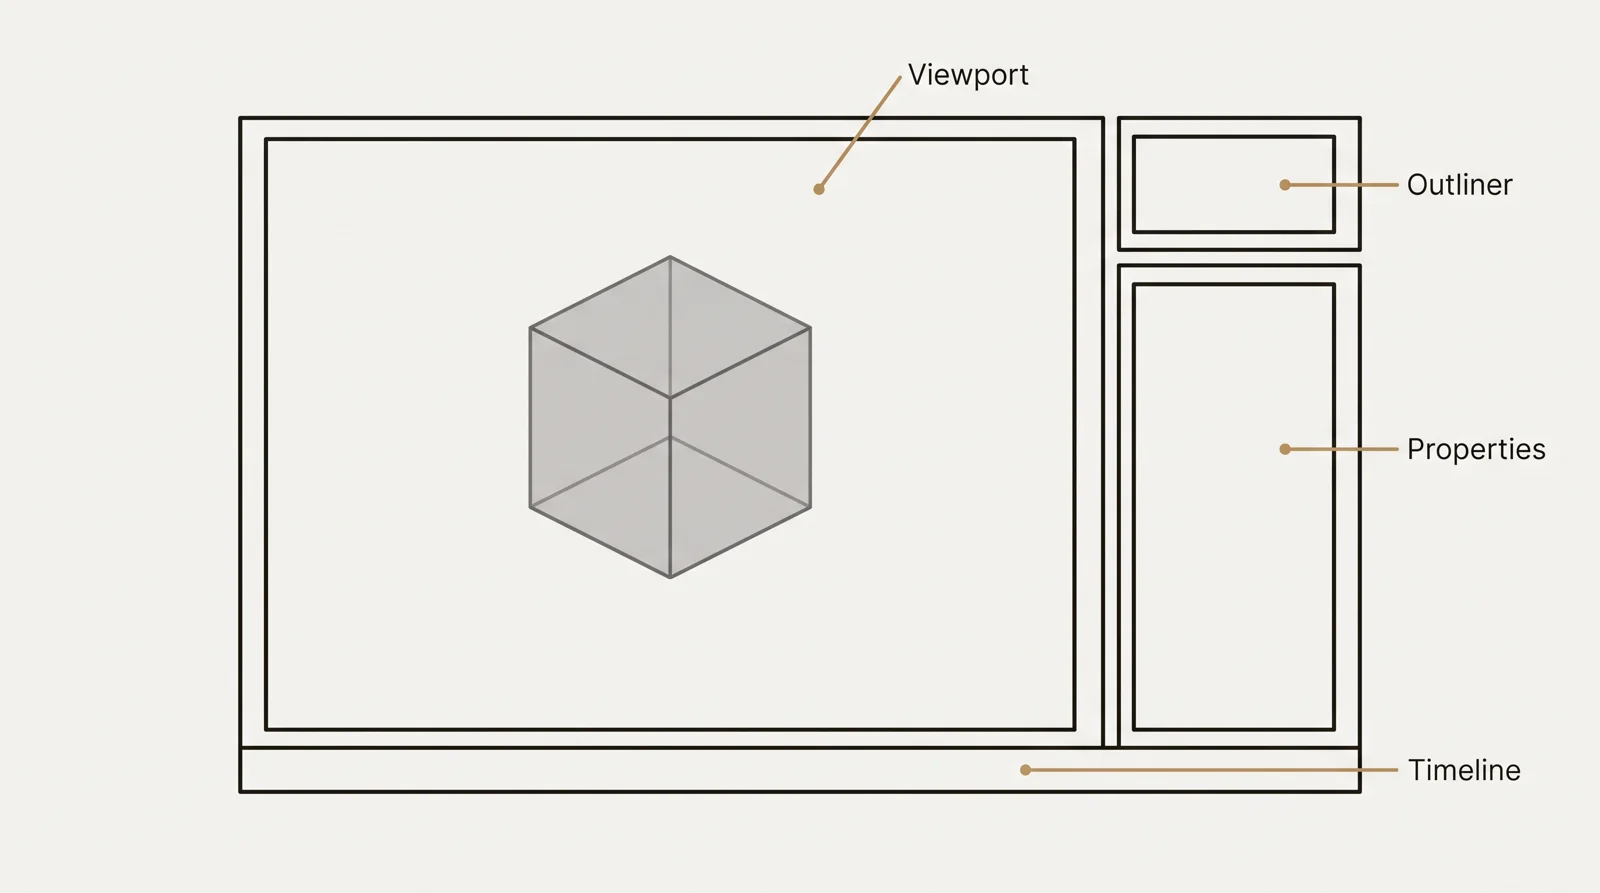
The viewport is where most of the work happens. A middle mouse drag orbits the view, scroll wheel zooms, and shift plus middle mouse pans. Numpad keys jump to a front, side or top view, which helps when lining up a model against a reference image.
A new object starts in object mode, for moving, scaling and rotating the whole object. The Tab key switches to edit mode, for working on the mesh itself: its vertices, edges and faces. Both modes are used constantly, so Tab is one of the first shortcuts worth learning by feel.
Blender’s own interface documentation covers every panel in detail, including the ones not needed for a first model.
Edit mode and mesh basics
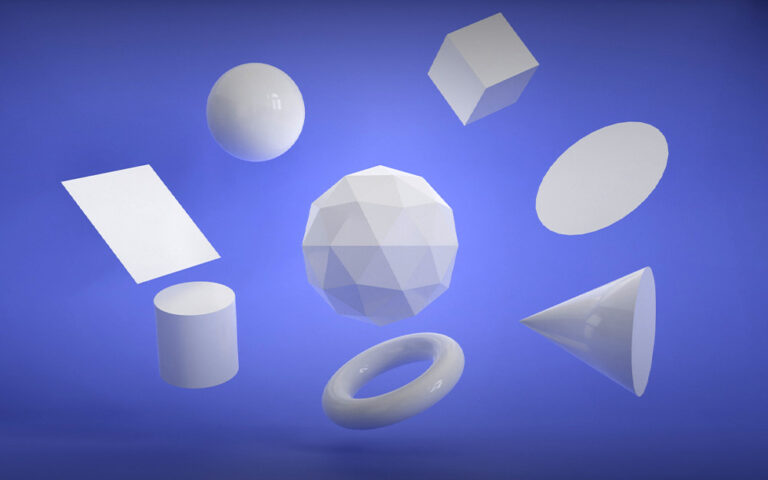
A 3D mesh is built from three kinds of elements: vertices (points), edges (the lines between two vertices) and faces (the flat surface bounded by edges). Every polygon mesh is made of these three, however complex the final shape looks.
In edit mode, the 1, 2 and 3 keys switch between selecting vertices, edges and faces. A few tools cover most of what a beginner needs:
- Extrude: pulls a new face, edge or vertex out from the current selection, the main way to add volume to a shape
- Loop cut: adds a new ring of edges around a shape, giving more geometry to work with
- Bevel: rounds a sharp edge or corner by a small amount
- Merge: joins two or more vertices into one, closing a gap in the mesh
Tip: save often, and save a new version before trying something that might not work out. Undo has a limit, but an earlier saved file does not.
Modifiers
A modifier is a change applied on top of a mesh without altering the underlying vertices, edges and faces. Several modifiers can stack on one object, and each one can be turned off, reordered or removed at any time, which makes them a safer way to try an idea than editing the mesh directly.
A few modifiers come up in almost every beginner project:
- Mirror: builds one half of a symmetrical object and copies it to the other side automatically
- Subdivision Surface: smooths a blocky mesh into rounder shapes, common on organic objects
- Array: repeats an object a set number of times along a line or curve
- Bevel: rounds every edge of an object at once, instead of one edge at a time
- Boolean: combines, subtracts or intersects two objects, useful for cutting a hole through a shape
Modifiers are usually applied, meaning turned into real geometry, only once the shape underneath is finished. Blender’s own modifiers documentation lists every modifier, including several not covered here.
Modeling a first hard surface object
Hard surface modeling covers objects with flat faces, straight edges and mechanical detail: furniture, vehicles, buildings, hardware. It is a good starting point because the tools involved, extrude, inset, bevel and the Mirror modifier, are the same ones used throughout hard surface modeling work at any skill level.
A simple first object, such as a stool, a mug or a low table, teaches the core workflow: block out the rough shape with a cube or cylinder, extrude and cut in the major details, then bevel the hard edges so they catch light properly instead of looking perfectly sharp. Reference images, even a rough sketch or a few photos, make this step much faster than guessing proportions from memory.
Modeling a first organic object
Organic shapes, anything with curves that do not follow a straight mechanical logic, are usually built differently. Instead of extruding a mesh piece by piece, most organic work starts from a simple base shape, a sphere or a rounded cube with a Subdivision Surface modifier, then moves into Sculpt Mode.
Sculpt Mode works more like digital clay than mesh editing: brushes push, pull, smooth and inflate the surface directly. A first attempt at digital sculpting is usually slower and messier than hard surface work, and that is normal. The skill improves with repetition more than with any single tutorial.
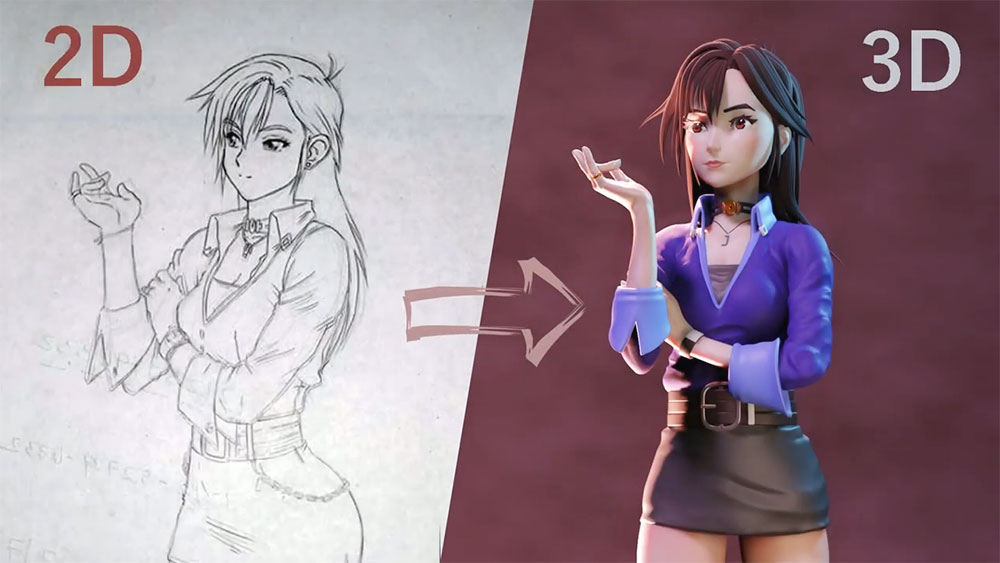
Character work, in particular 3D character modeling, combines both approaches: a sculpted or hand modeled organic body, with hard surface modeling for clothing, armor or accessories.
UVs and materials
Once a model is finished, it needs UV coordinates before a texture can be applied. Blender’s UV Editor can unwrap a simple object automatically with Smart UV Project, or a modeler can mark seams by hand for more control over where the mesh gets cut. The full process, including seams, UV islands and texel density, is covered in this guide to UV unwrapping.
Materials control how a surface reacts to light. Blender’s default Principled BSDF shader covers most needs with a handful of settings: a base color, a roughness value for how matte or shiny the surface looks, and slots for image textures instead of flat colors. A base color and a roughness value alone, with no image texture at all, is often enough for a first material.
Rendering the model
Rendering turns the 3D scene into a final 2D image. Blender includes two render engines: Eevee, which renders in real time and is fast enough to preview lighting changes as they happen, and Cycles, which traces light more accurately and takes longer per image. Eevee is normally enough while learning, and Cycles is worth switching to once lighting needs to look closer to photoreal.
The pair below shows what that jump looks like: a model at the grey, untextured stage on a viewport screenshot, next to the same kind of object after materials and lighting were set up for a final render.
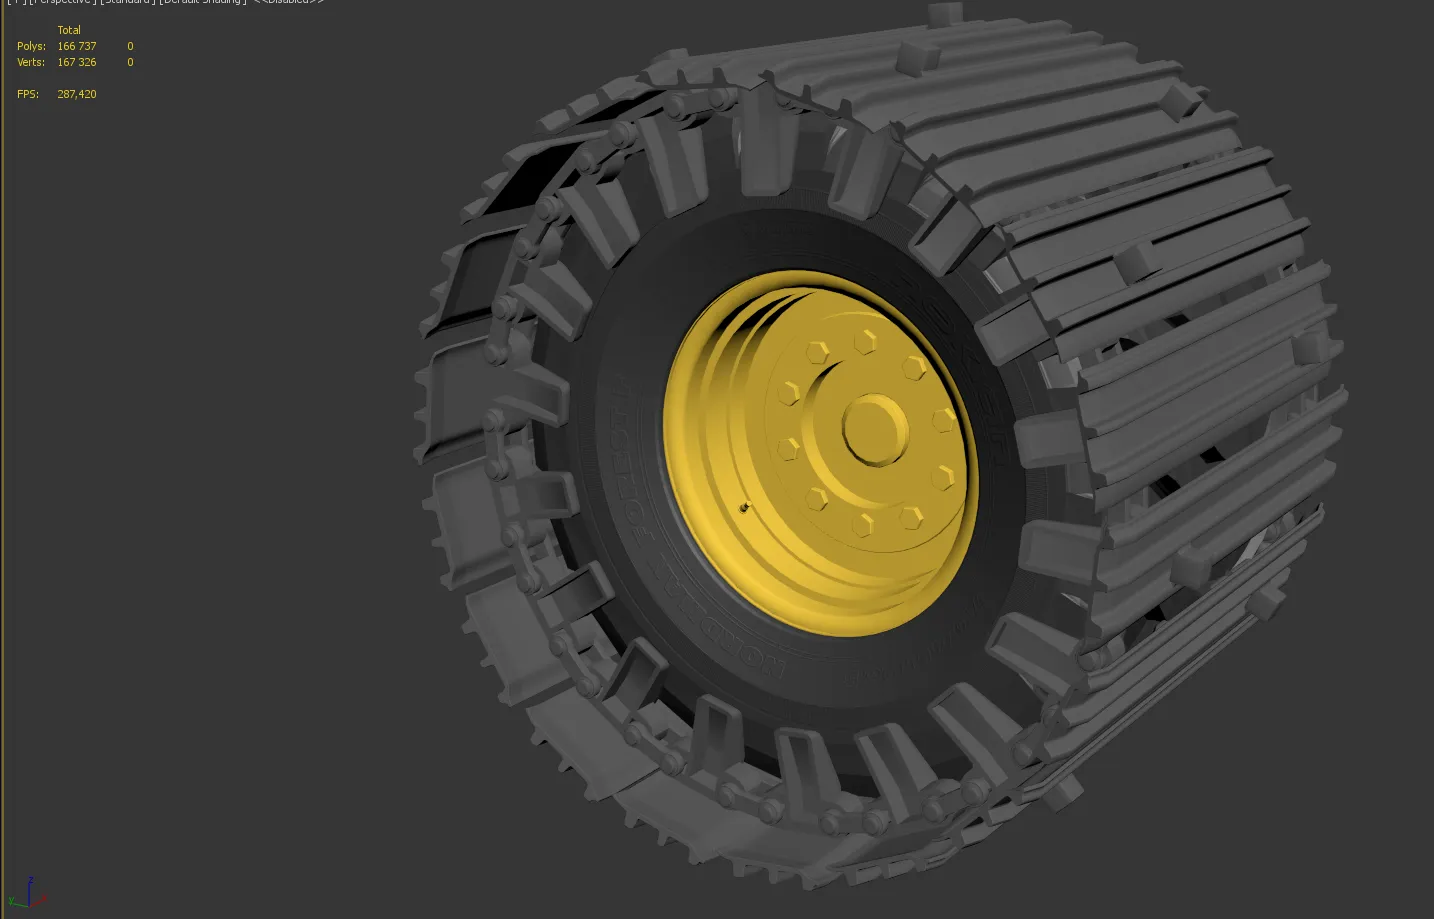
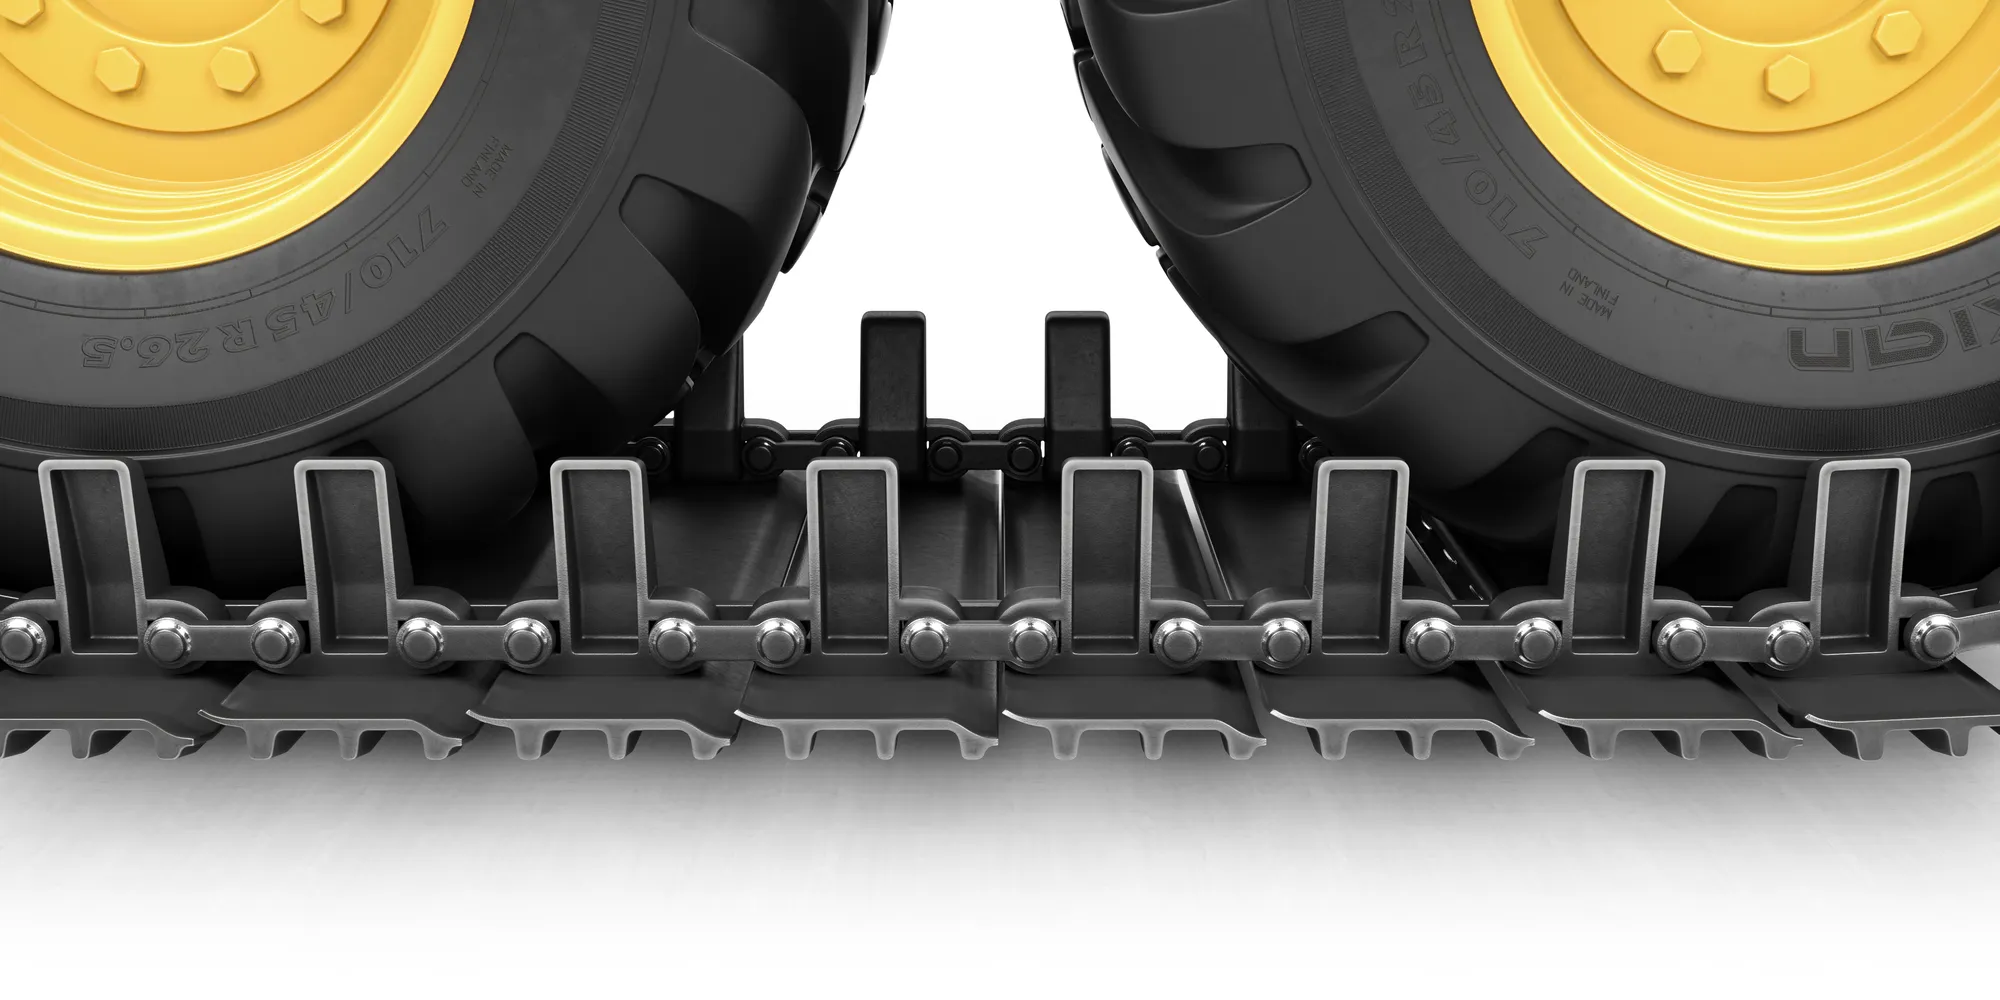
Lighting a scene usually starts with a single HDRI image as the world background, which lights the whole scene from every direction at once, then adds one or two extra lights only where they are needed. A camera object frames the final shot, and the render settings panel sets the output resolution and how many samples the render engine uses. More samples take longer to render but remove more noise from the image.
Getting 3D modeling done by a studio
Learning 3D modeling in Blender is one path to a finished model. Outsourcing it is another, and the two are not mutually exclusive: many teams model some assets themselves and send out the rest, usually whatever needs a level of polish or a deadline that is hard to fit around learning a new tool.
Game studios often ask for this kind of work, usually for game ready assets, several LOD versions of the same model, and texturing to match an existing art style. 3D Studio’s 3D modeling service builds models for game studios on this basis, as well as standalone product models for product rendering.
A model exported from Blender can also move into other pipelines directly. Files usually leave Blender as FBX or OBJ, and 3D Studio’s own FBX converter and OBJ converter handle format changes between applications without needing Blender installed.
Questions about 3D modeling in Blender
Is Blender good for 3D modeling?
Yes. Blender covers the full 3D modeling workflow: mesh editing, sculpting, UV unwrapping, materials and rendering, and it is used professionally alongside paid software, not only as a beginner tool.
How long does it take to learn 3D modeling in Blender?
It depends on the goal. The interface and basic mesh tools can be learned in a few sessions, while sculpting, hard surface precision and rendering keep improving with practice over a much longer period.
Do I need a powerful computer to run Blender?
A modest computer can run Blender for basic modeling. Sculpting high resolution meshes and rendering with Cycles both get noticeably faster with a dedicated graphics card, but neither is required to start.
Can a model made in Blender be used in a game engine?
Yes. Blender exports to formats game engines read directly, such as FBX and OBJ, and Blender models are commonly used in game pipelines once they are UV unwrapped and textured.